在常用的动画效果中,介绍了一些元素的创建,销毁,移动和变换的方法,这些方法都是针对单个动画的。 如果需要多个动画互相关联,或者元素需要有更复杂的运动方式,那么,仅仅依靠常用的动画效果可能就无法满足要求了。
本篇的高级动画效果主要介绍一些更加灵活的元素运动方式,如何组合多个动画,以及如何联动多个动画的方式。 掌握了这些方法,就能够表达出更加复杂的数学几何动画。
1. 沿着路径运动
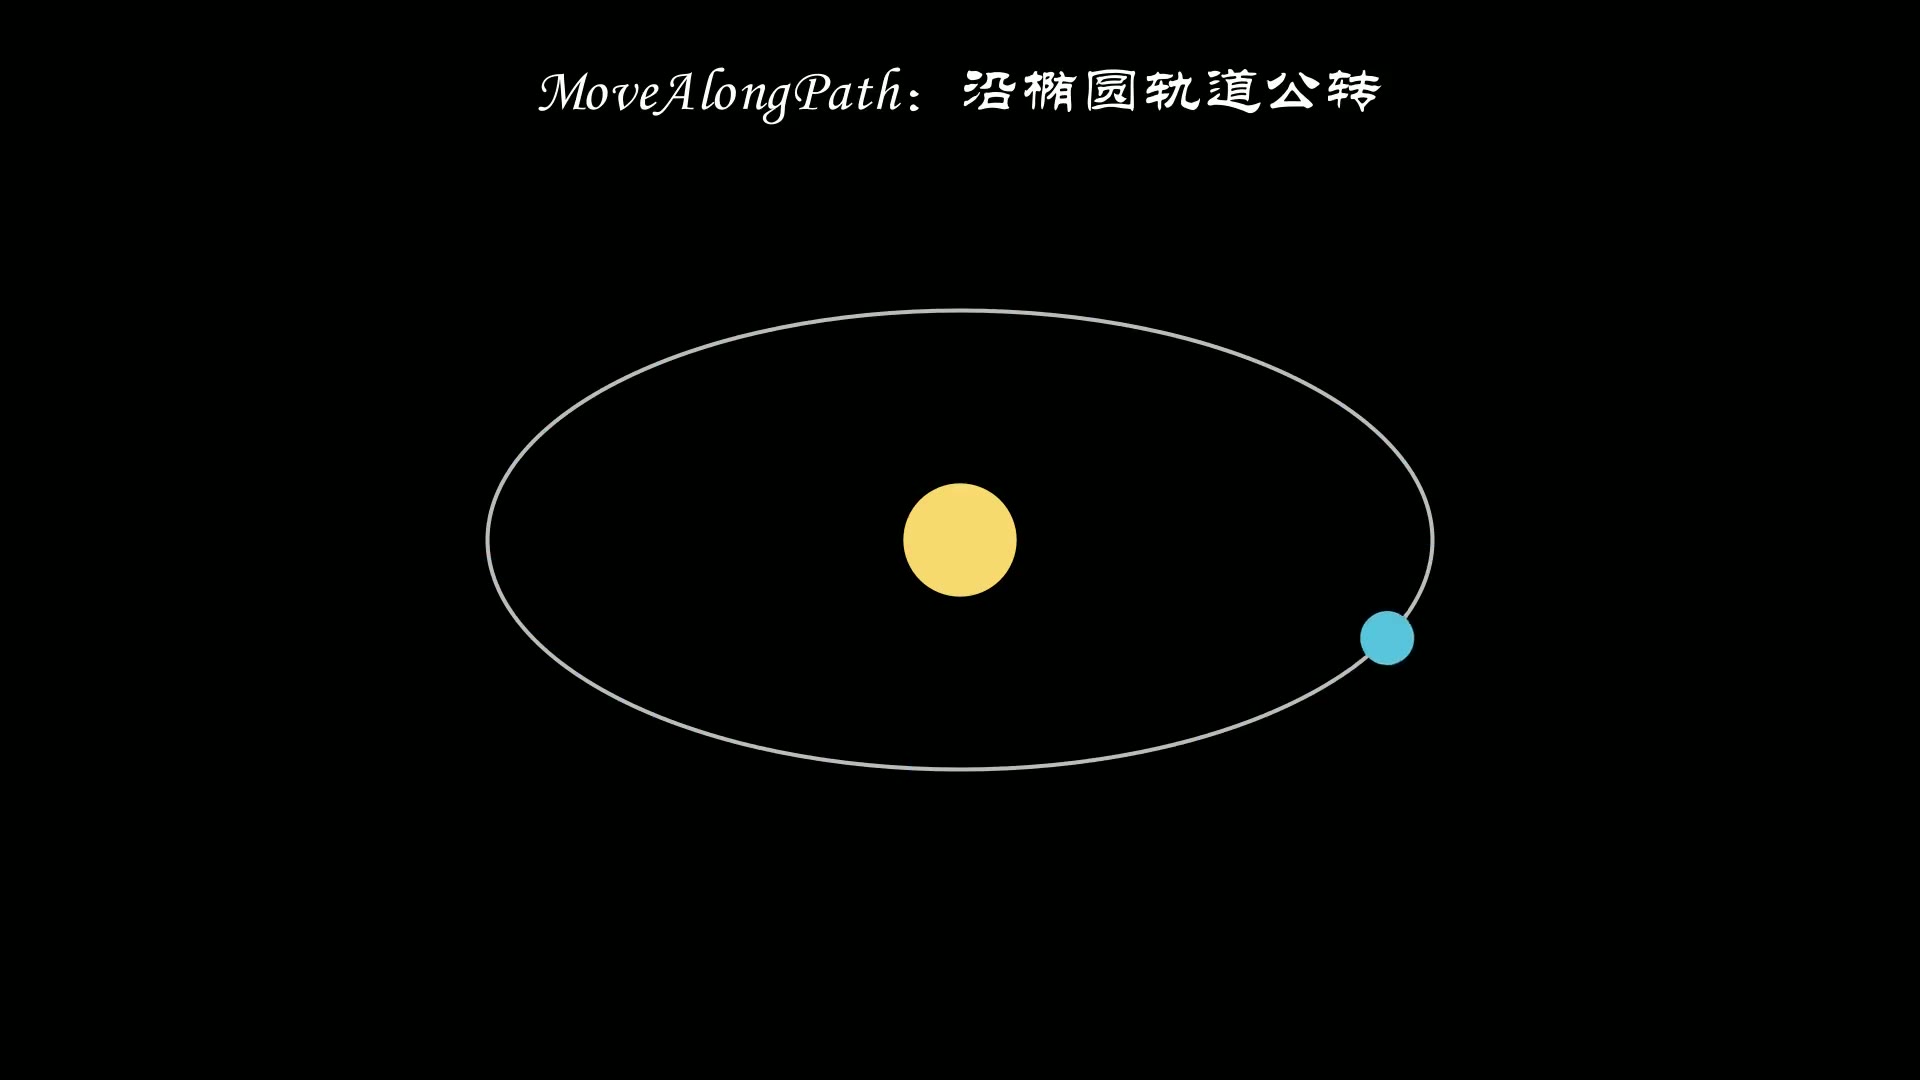
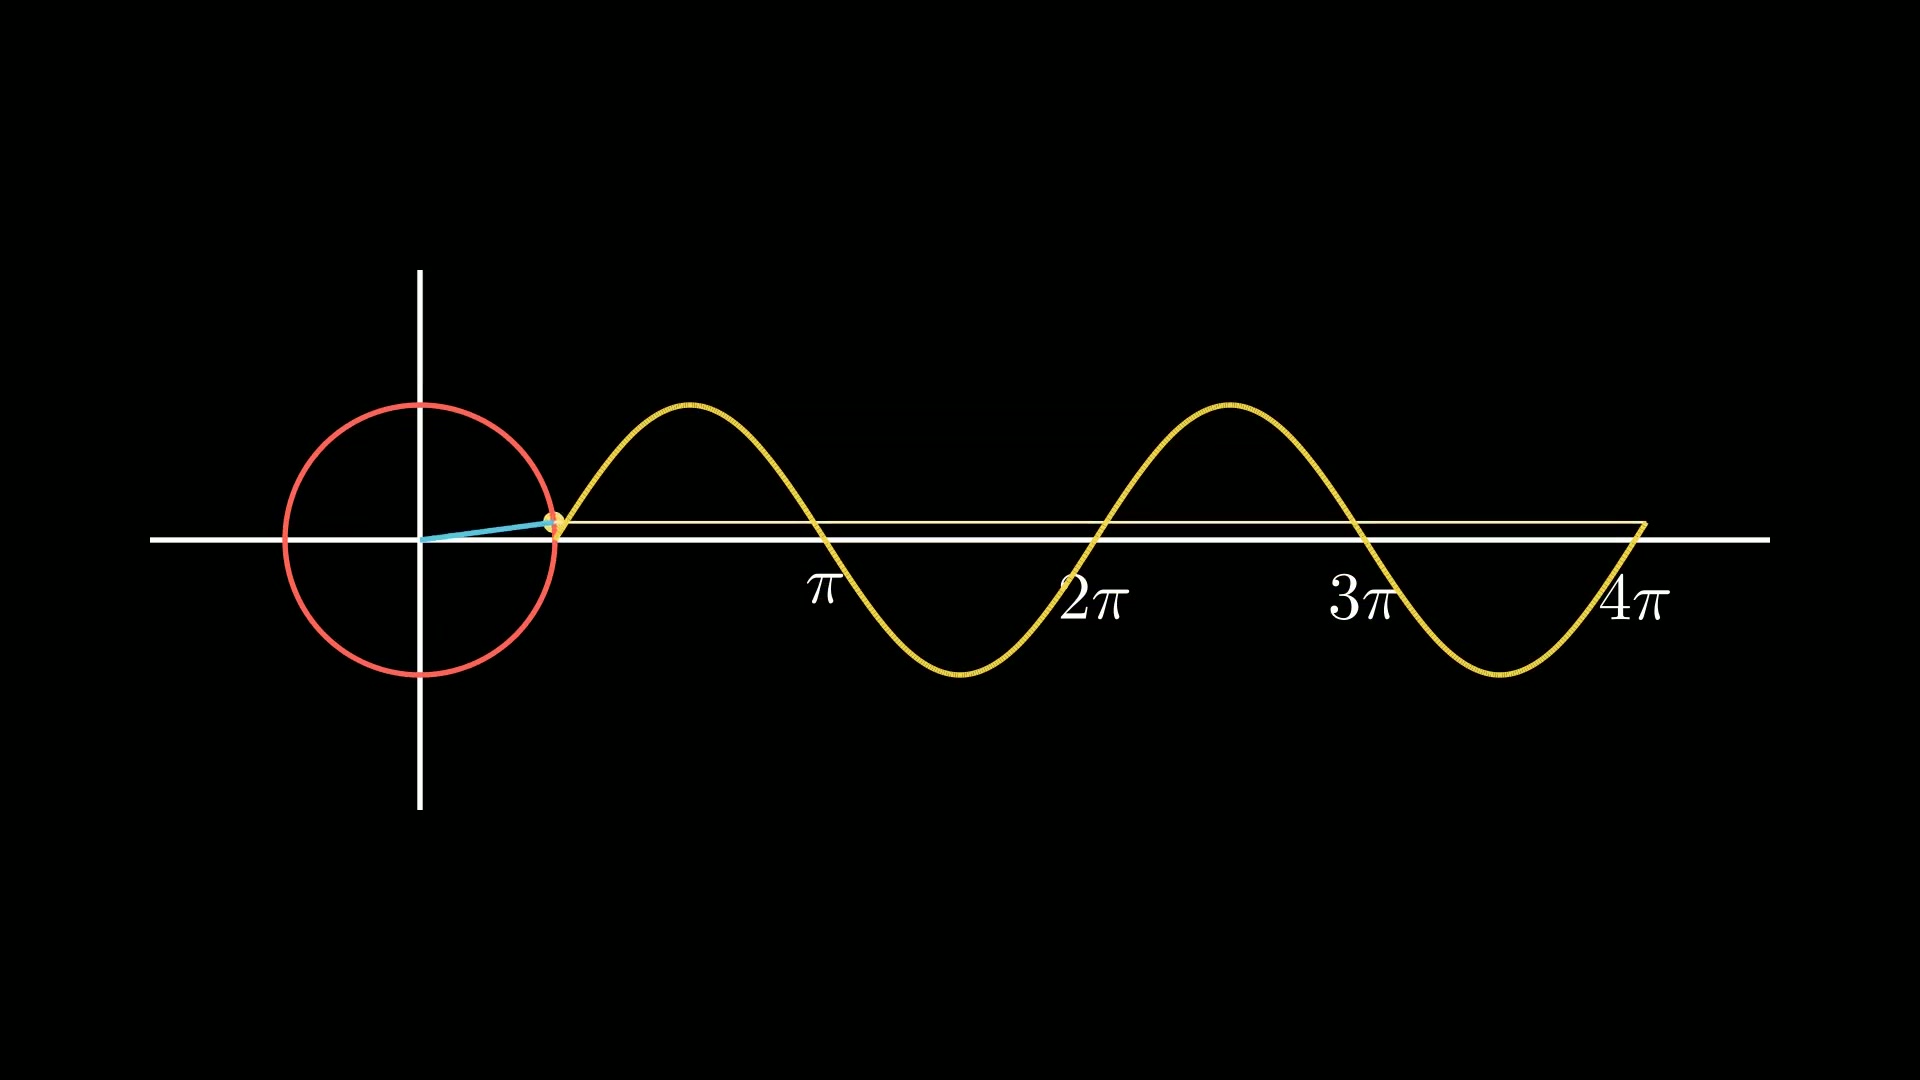
常用的动画一般都是直线运动或者圆弧运动,而 MoveAlongPath 可以让元素沿着任意的函数轨迹来运动。
下面的示例是一个点沿着一个较为复杂的三角函数形成的路径运动。
说明:以下片段省略了 class 定义,都写在 construct(self) 里;文中用 sc = self 把场景实例记作 sc,所以 sc.add()、sc.play() 等价于 self.add()、self.play()。
1
2
3
4
5
6
7
8
9
10
11
12
13
14
15
16
17
18
| from manim import *
import numpy as np
def head(cn, en):
t = Text(cn, font="STLiti", font_size=27).to_edge(UP)
s = Text(en, font="Consolas", font_size=20, color=YELLOW).next_to(t, DOWN, buff=0.10)
return VGroup(t, s)
def foot(cn):
return Text(cn, font="STLiti", font_size=20, color=YELLOW).to_edge(DOWN)
class MoveAlongPathDemo(Scene):
def construct(self):
self.add(head("高级特效:沿任意路径运动", "MoveAlongPath"))
path = ParametricFunction(lambda t: np.array([3 * np.cos(t), 1.4 * np.sin(t), 0]),
t_range=[0, TAU, 0.02], color=GREY_B).set_stroke(width=3)
dot = Dot(color=YELLOW, radius=0.16).move_to(path.get_start())
self.add(path, dot)
self.play(MoveAlongPath(dot, path, rate_func=linear), run_time=4.0)
self.play(FadeIn(foot("把 VMobject 作为路径传入,点会沿曲线逐帧移动")), run_time=0.4)
self.wait(1.6)
|
运行效果:
下载 Python 脚本
2. 保留运动路径
保留动画的轨迹,可以更好的追踪元素的变化规律。 通过 TracedPath可以设置保留运动轨迹的效果。下面的示例是一个点以一定的弧度运行,并将其运行的轨迹绘制出来。
1
2
3
4
5
6
7
8
9
10
11
12
13
14
15
16
17
18
| from manim import *
import numpy as np
def head(cn, en):
t = Text(cn, font="STLiti", font_size=27).to_edge(UP)
s = Text(en, font="Consolas", font_size=20, color=YELLOW).next_to(t, DOWN, buff=0.10)
return VGroup(t, s)
def foot(cn):
return Text(cn, font="STLiti", font_size=20, color=YELLOW).to_edge(DOWN)
class TracedPathDemo(Scene):
def construct(self):
self.add(head("高级特效:留下运动轨迹", "TracedPath"))
d = Dot(RIGHT * 2.6, color=YELLOW, radius=0.14)
trace = TracedPath(d.get_center, dissipating_time=None, stroke_color=BLUE, stroke_width=6)
self.add(d, trace)
self.play(d.animate(path_arc=PI / 2).shift(LEFT * 2.6), run_time=2.4)
self.play(d.animate(path_arc=-PI / 2).shift(LEFT * 2.6), run_time=2.4)
self.play(FadeIn(foot("TracedPath 也是一个 updater,逐帧追加当前位置")), run_time=0.4)
self.wait(1.2)
|
运行效果:
下载 Python 脚本
3. 动画组合
在常用的动画效果中,一般都是逐个显示各个动画效果,manim中提供了几个控制动画组合的方式。用的较多的两个分别是:
- 多个动画组合时,设置每个动画的延迟启动时间
- 多个动画组合时,前一个动画成功执行后再执行下一个动画
3.1 延迟启动
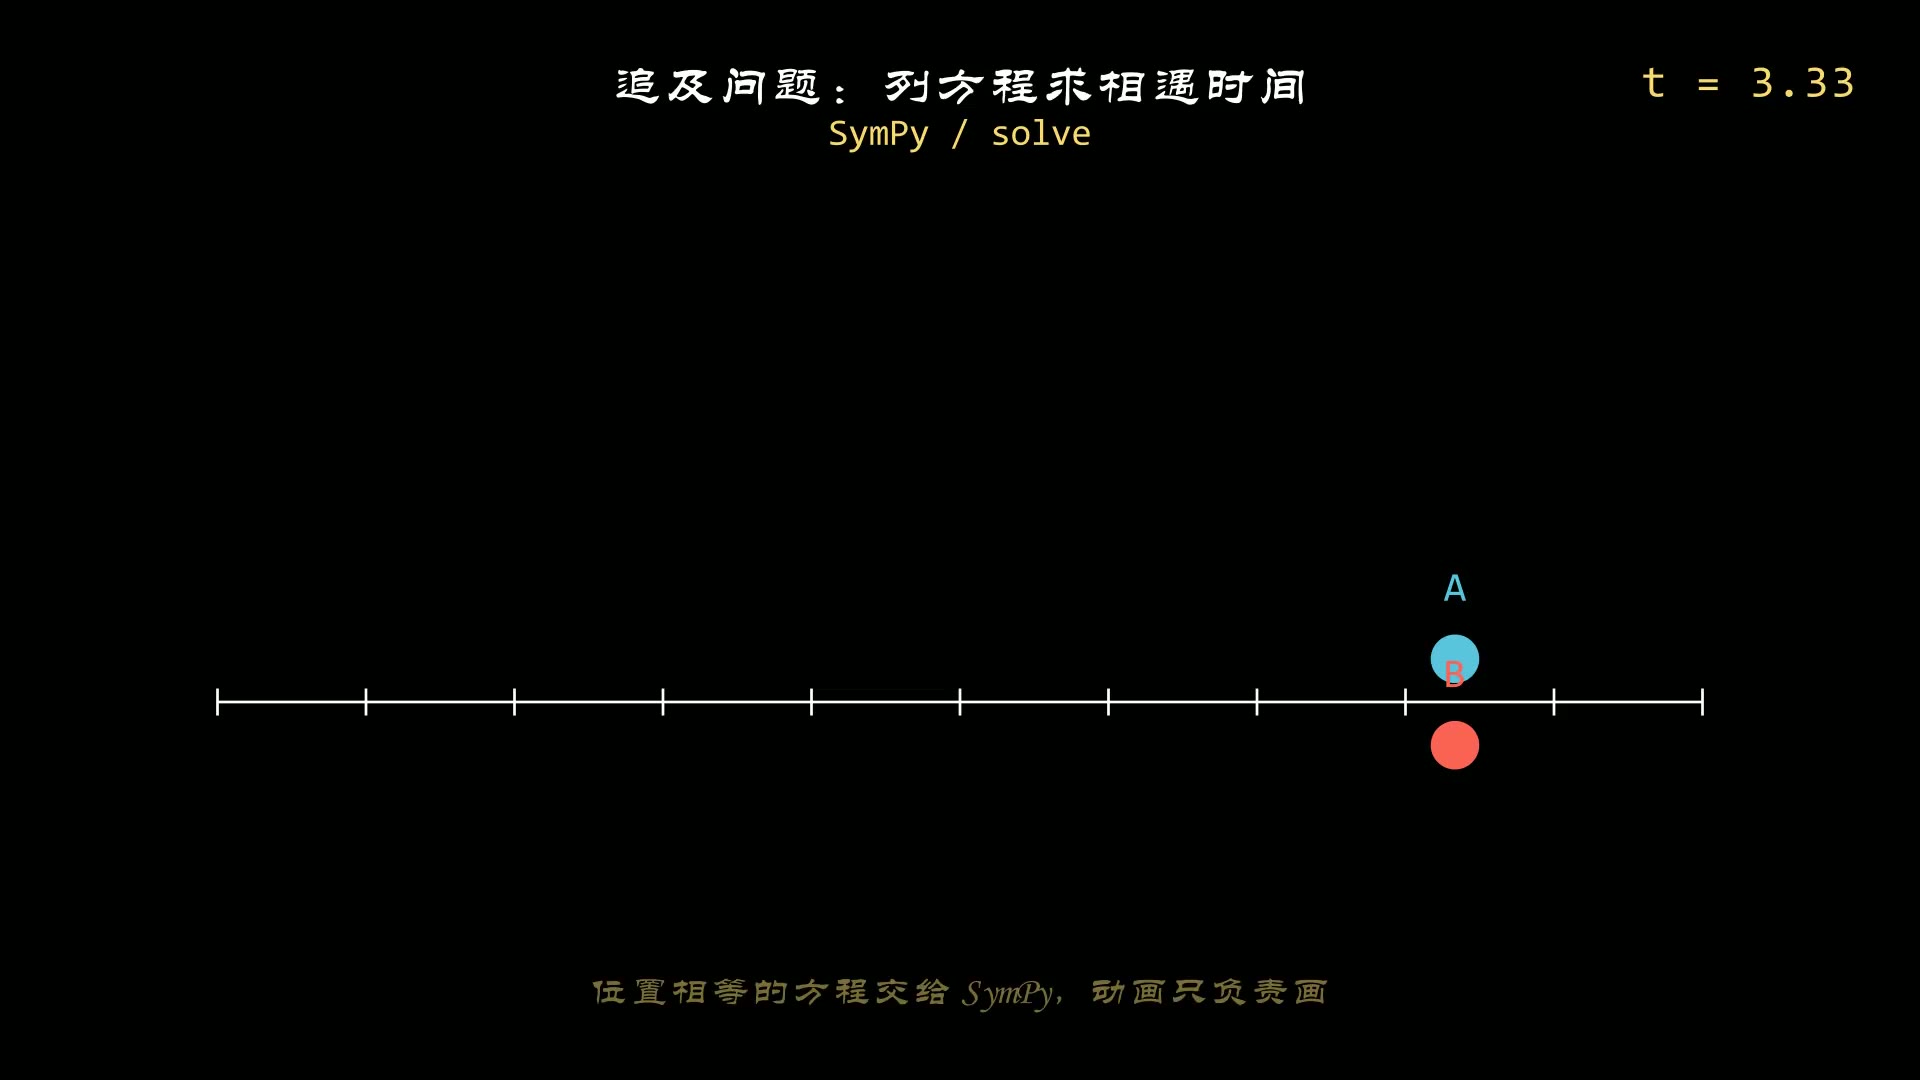
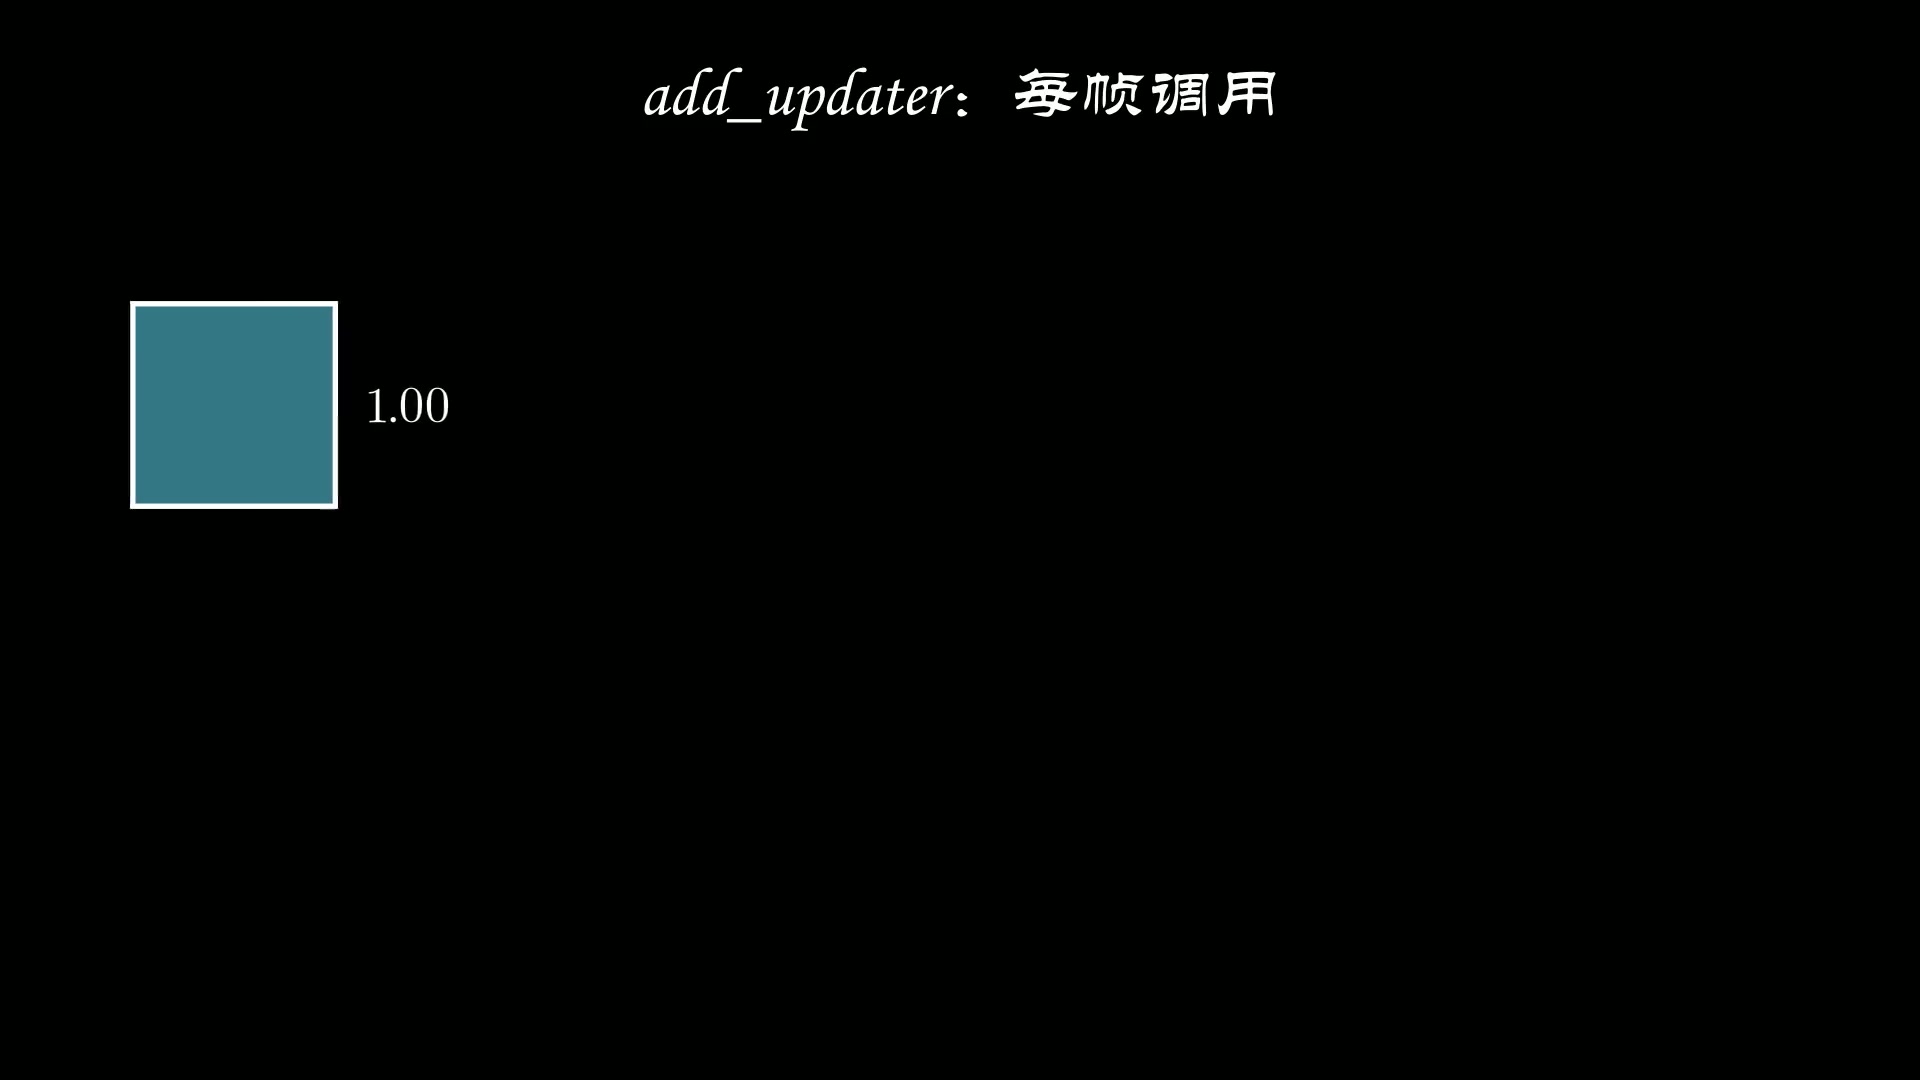
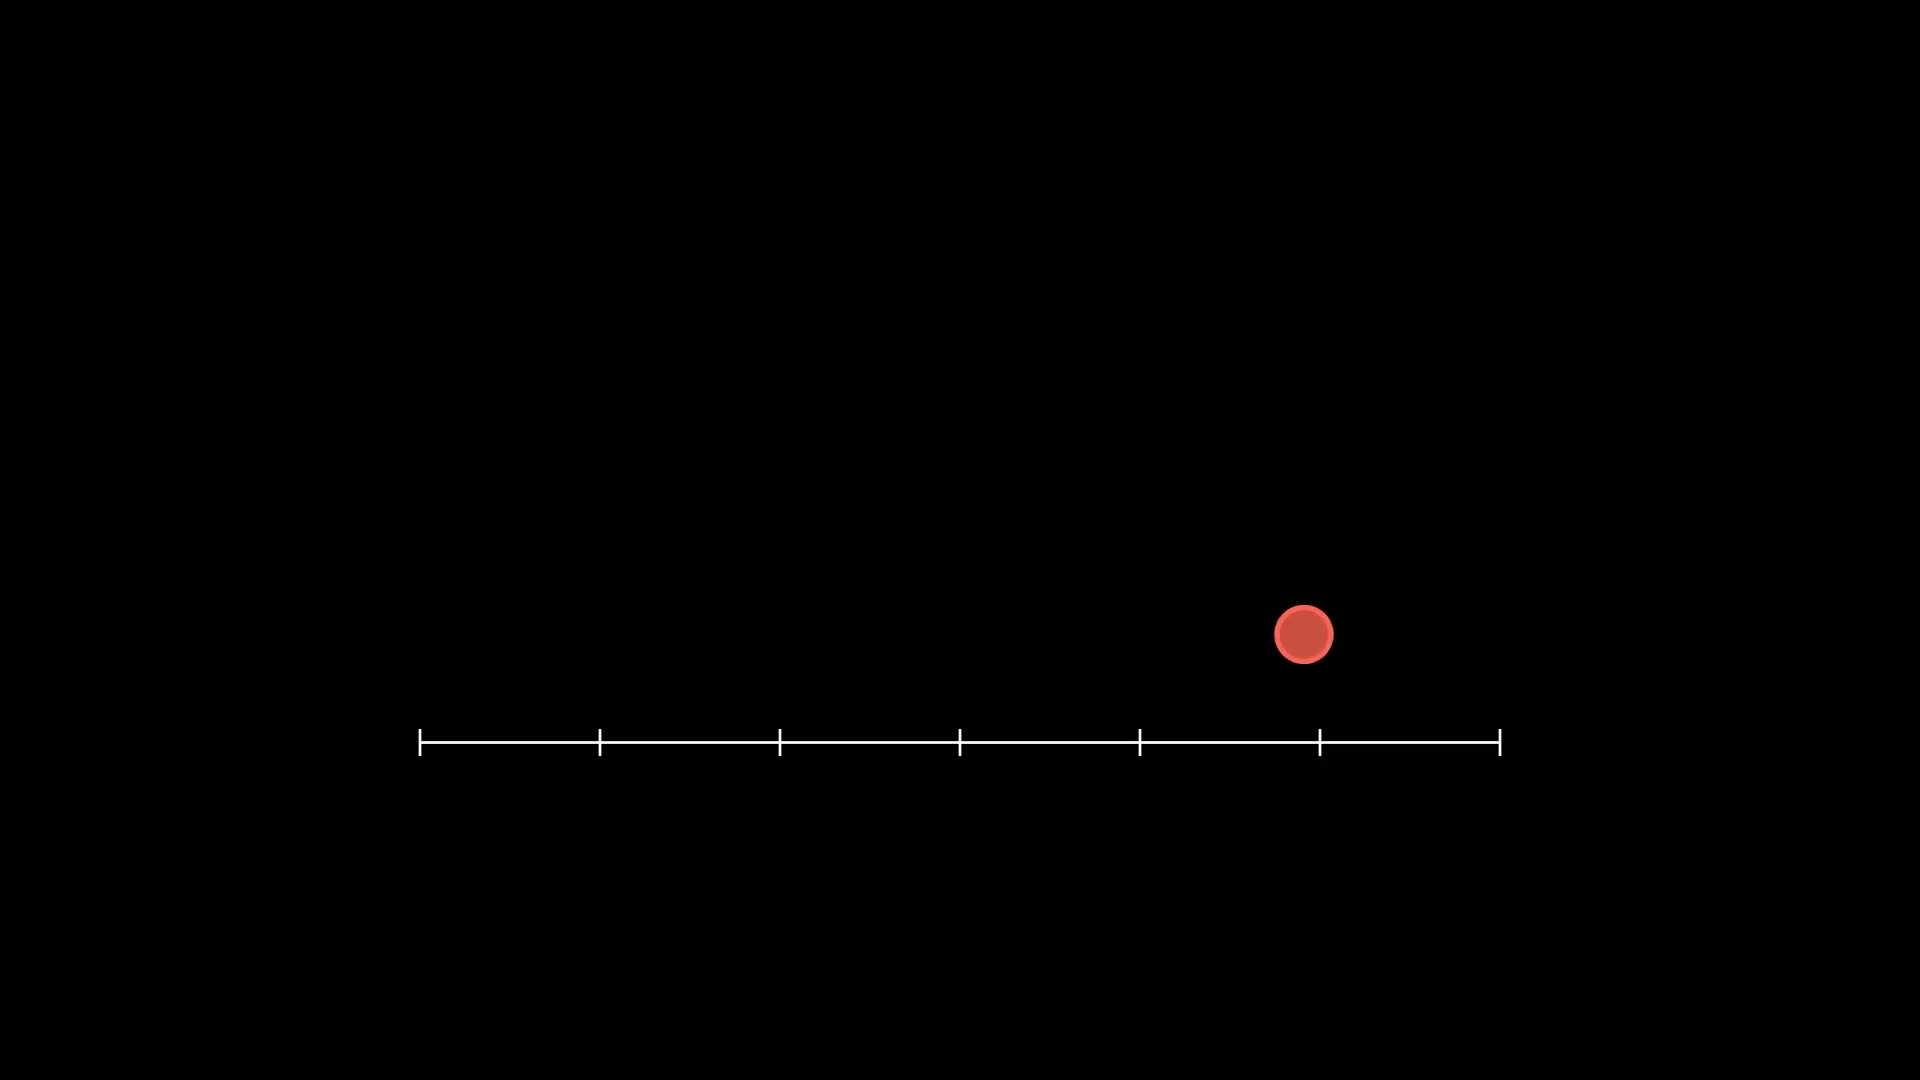
通过 LaggedStart控制组合的多个动画之间的启动时间间隔。下面的示例是一个点先启动,但是要运行1秒才到达终点,另一个点延迟0.5秒启动,但是运行0.5秒就到达终点,所以两个点最终应该同时到达。
1
2
3
4
5
6
7
8
9
10
11
12
13
14
15
16
17
18
19
20
21
22
23
24
25
26
| from manim import *
import numpy as np
def head(cn, en):
t = Text(cn, font="STLiti", font_size=27).to_edge(UP)
s = Text(en, font="Consolas", font_size=20, color=YELLOW).next_to(t, DOWN, buff=0.10)
return VGroup(t, s)
def foot(cn):
return Text(cn, font="STLiti", font_size=20, color=YELLOW).to_edge(DOWN)
class UpdaterLinkDemo(Scene):
def construct(self):
self.add(head("高级特效:用 updater 联动多个对象", "add_updater / ValueTracker"))
t = ValueTracker(-3.0)
axes = Axes(x_range=[-4, 4, 1], y_range=[-2, 4, 1], x_length=8, y_length=4.6,
axis_config={"color": GREY_B}).shift(DOWN * 0.3)
graph = axes.plot(lambda x: 0.25 * x**2, color=BLUE).set_stroke(width=5)
dot = always_redraw(lambda: Dot(axes.c2p(t.get_value(), 0.25 * t.get_value()**2),
color=YELLOW, radius=0.14))
vline = always_redraw(lambda: DashedLine(axes.c2p(t.get_value(), 0),
dot.get_center(), color=GREY_A))
label = always_redraw(lambda: Text("x = %.2f" % t.get_value(),
font="Consolas", font_size=22,
color=YELLOW).next_to(dot, UP, buff=0.18))
self.add(axes, graph, dot, vline, label)
self.play(t.animate.set_value(3.0), run_time=3.6, rate_func=there_and_back)
self.play(FadeIn(foot("只驱动一个 ValueTracker,其余对象自动跟随")), run_time=0.4)
self.wait(2.2)
|
运行效果:
下载 Python 脚本
3.2 顺序启动
通过 Succession控制多个动画顺序执行,它能够保证上一个执行成功后才执行下一个。 下面的示例是4个不同颜色的点,每个点移动成功之后,移动下一个点。
1
2
3
4
5
6
7
8
9
10
11
12
13
14
15
16
17
18
19
20
| from manim import *
import numpy as np
def head(cn, en):
t = Text(cn, font="STLiti", font_size=27).to_edge(UP)
s = Text(en, font="Consolas", font_size=20, color=YELLOW).next_to(t, DOWN, buff=0.10)
return VGroup(t, s)
def foot(cn):
return Text(cn, font="STLiti", font_size=20, color=YELLOW).to_edge(DOWN)
class GroupAnimDemo(Scene):
def construct(self):
self.add(head("高级特效:多个动画的编排", "AnimationGroup / LaggedStart"))
shapes = VGroup(*[Square(side_length=1.0, color=c).set_fill(c, opacity=0.4)
for c in (RED, GREEN, BLUE, YELLOW)])
shapes.arrange(RIGHT, buff=0.7)
self.play(LaggedStart(*[FadeIn(s, shift=UP * 0.6) for s in shapes],
lag_ratio=0.28), run_time=2.6)
self.play(AnimationGroup(*[Rotate(s, angle=PI) for s in shapes],
lag_ratio=0.2), run_time=2.4)
self.play(FadeIn(foot("lag_ratio 决定相邻动画的启动间隔")), run_time=0.4)
self.wait(1.2)
|
运行效果:
下载 Python 脚本
4. 动画联动
动画联动是比动画组合更复杂的一种模式,动画组合时,每个动画其实是固定的,只是启动的时机不一样。而在动画联动中,一个动画如何运行是完全基于另一个动画的,而不是实现预设的。下面的示例是一个角度的联动效果, 初始元素有:
- 两条线
line1和 line_moving组成的角度
- 标识角度的一段弧线
a
- 标识角度的字母
tex
- 显示角度数值的文字
theta_tex。
初始角度 110°,然后可以看到随着 line_moving的移动(先变成 90°,再增加 140°), a,tex和theta_tex的联动效果。
1
2
3
4
5
6
7
8
9
10
11
12
13
14
15
16
17
18
19
20
21
22
23
24
25
26
| from manim import *
import numpy as np
def head(cn, en):
t = Text(cn, font="STLiti", font_size=27).to_edge(UP)
s = Text(en, font="Consolas", font_size=20, color=YELLOW).next_to(t, DOWN, buff=0.10)
return VGroup(t, s)
def foot(cn):
return Text(cn, font="STLiti", font_size=20, color=YELLOW).to_edge(DOWN)
class AngleTrackerDemo(Scene):
def construct(self):
self.add(head("高级特效:角度随 ValueTracker 变化", "Angle / always_redraw"))
theta = ValueTracker(50.0)
center = LEFT * 2 + DOWN * 1.2
base = Line(center, center + RIGHT * 4, color=GREY_B)
moving = always_redraw(lambda: Line(
center, center + 4 * np.array([np.cos(theta.get_value() * DEGREES),
np.sin(theta.get_value() * DEGREES), 0]),
color=YELLOW).set_stroke(width=5))
arc = always_redraw(lambda: Angle(base, moving, radius=1.1, color=BLUE))
val = always_redraw(lambda: Text("%.0f°" % theta.get_value(),
font="Consolas", font_size=26,
color=YELLOW).next_to(arc, RIGHT, buff=0.3))
self.add(base, moving, arc, val)
self.play(theta.animate.set_value(130.0), run_time=3.6, rate_func=there_and_back)
self.play(FadeIn(foot("角度、圆弧与数值标注共用同一个追踪器")), run_time=0.4)
self.wait(2.2)
|
运行效果:
下载 Python 脚本
5. 总结回顾
本篇介绍的高级动画效果,其实是一些更加灵活的制作动画的方法。 利用这些方法,可以更加方便的定制自己的动画效果。本篇介绍的高级动画效果和上一篇的常用动画效果可以理解成软件的VIP功能和免费功能,如果免费功能够用,尽量使用免费功能,免费功能满足不了要求的时候,再考虑VIP功能。

主观感受,仅供参考。本文采用 本文采用 CC BY-NC-SA 4.0 许可 协议,
完整转载请注明来自
数学动画引擎。