上一篇介绍的SingleStringMathTex主要用来显示只有一行的数学公式,MathTex类。
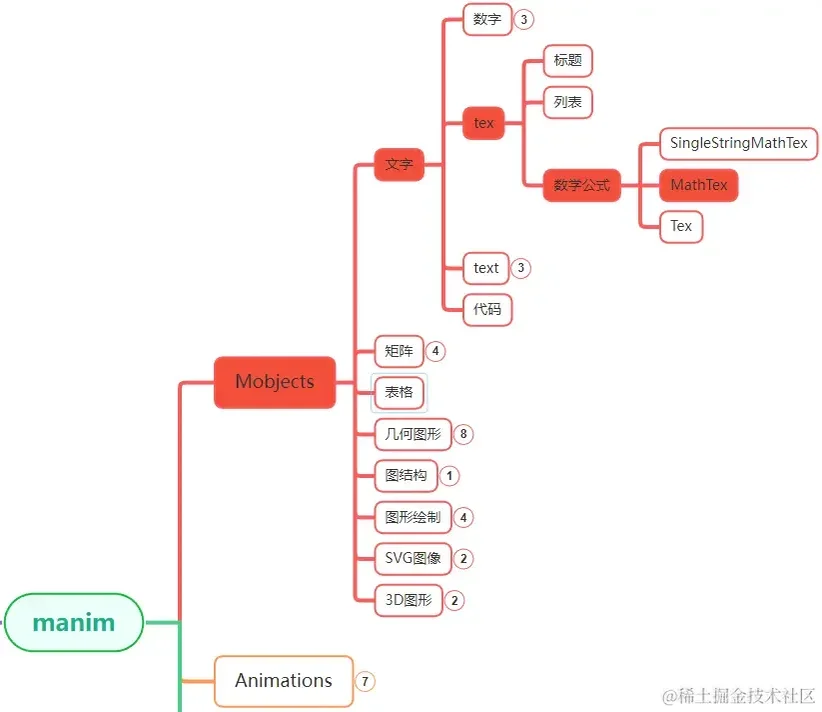
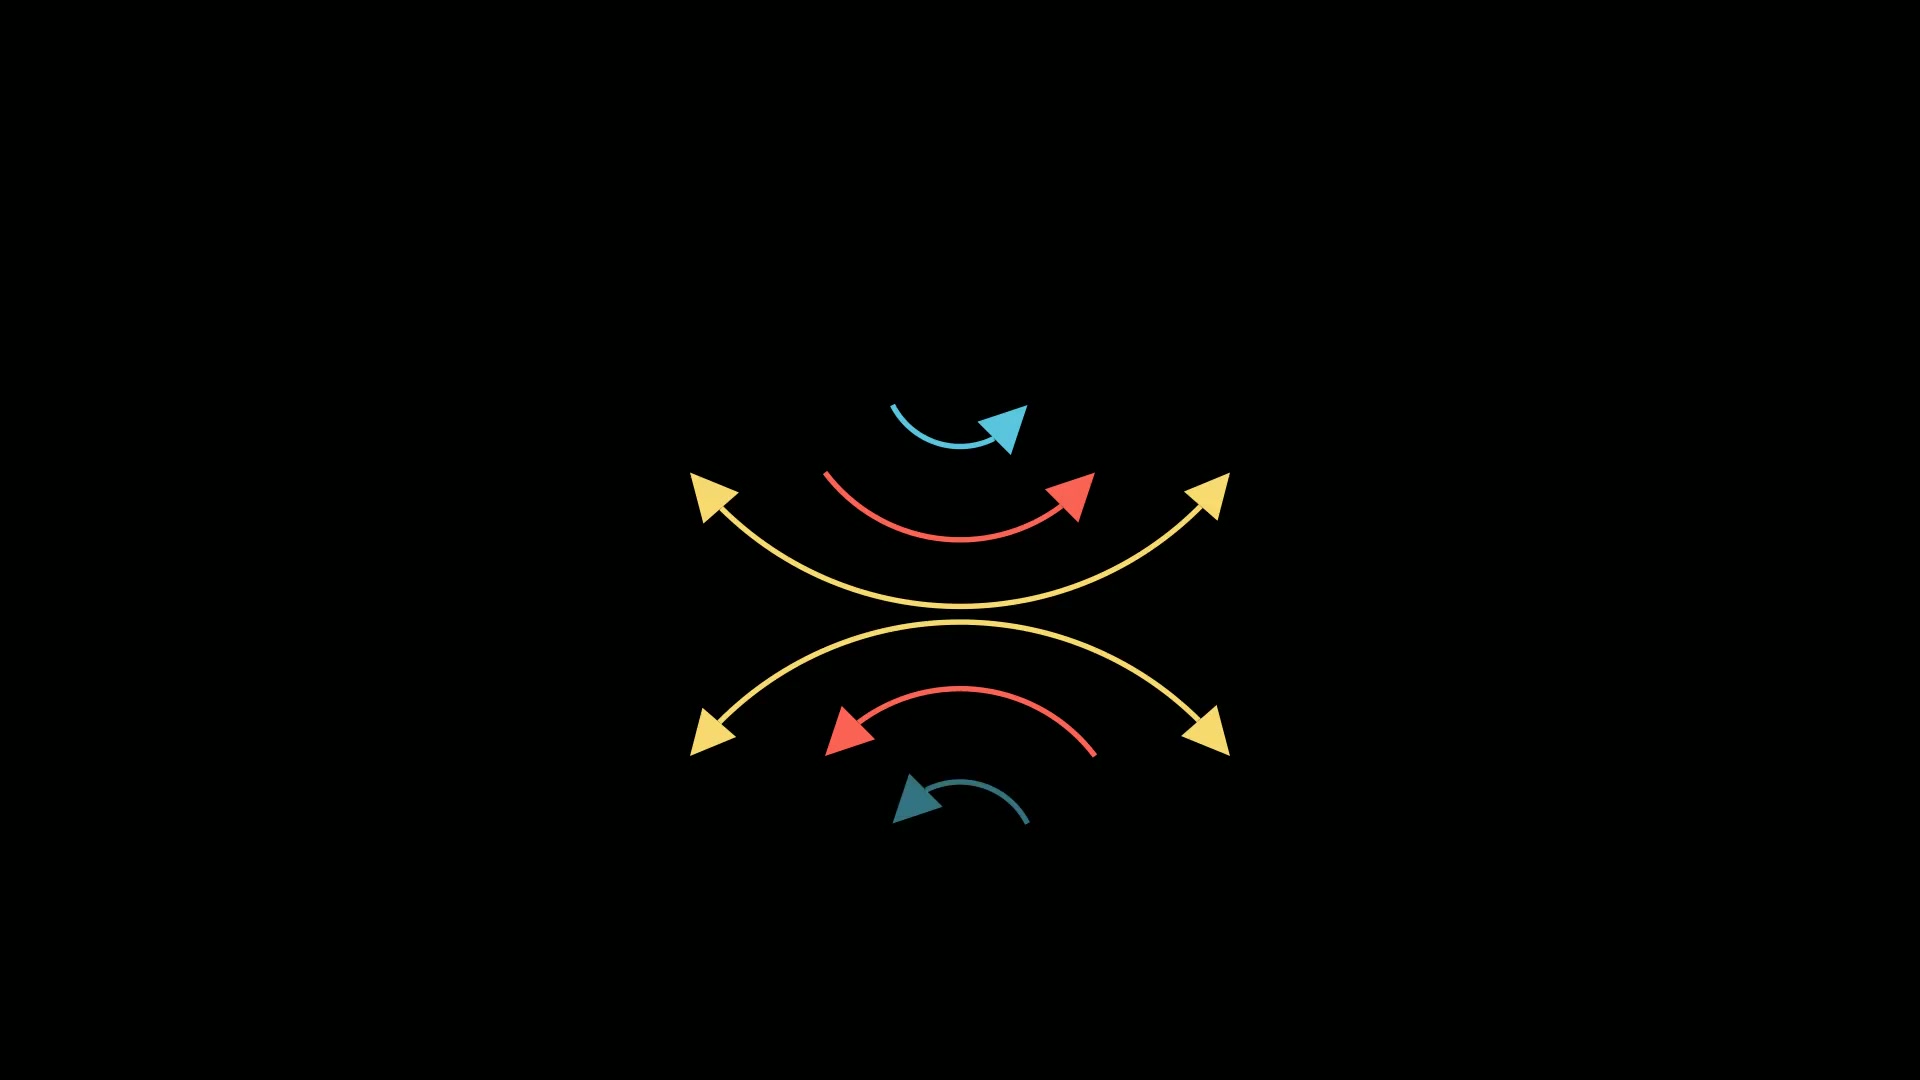
MathTex类继承自SingleStringMathTex,在其基础之上增加了更多的功能。MathTex是制作数学动画时常用的类,反而SingleStringMathTex用的不多。MathTex在manim各个模块中的位置大致如上图中所示。
1. 主要参数 MathTex的主要参数有:
参数名称 类型 说明
tex_strings
list
多个latex格式的公式
arg_separator
string
多个公式之间的间隔
substrings_to_isolate
list
将公式中分离成一个个小部分
tex_to_color_map
dict
公式中不同部分的颜色设置
tex_environment
str
不熟悉latex的话不要设置
2. 主要方法 MathTex继承了SingleStringMathTex之后,扩展了不少新的方法,可以更好的控制和展示数学公式。
名称 说明
get_part_by_tex
获取 latex公式 中的一部分
get_parts_by_tex
获取 latex公式 中的多个部分
index_of_part
公式的某部分在整个公式中的索引
index_of_part_by_tex
某个tex string在整个公式中的索引
set_color_by_tex
根据某个 tex string 设置颜色
set_color_by_tex_to_color_map
用字典的形式设置多个 tex string 的颜色
set_opacity_by_tex
根据某个 tex string 设置透明度
sort_alphabetically
按字母顺序排列 latex公式 中的各个部分
MathTex的大部分方法都要配合substrings_to_isolate参数来一起使用,substrings_to_isolate将完整的数学公式划分成一个个小部分,然后设置不同的样式。
3. 使用示例 下面的使用示例,大部分是结合参数 和方法 一起使用的。
3.1. 公式之间的间隔 MathTex支持输入多个公式,多个公式之间默认是空格分隔,可以通过arg_separator参数设置不同的分隔。
1
2
3
4
5
6
7
8
from manim import *class Demo (Scene ): def construct (self ): tex = MathTex("z" , "=" , r"\sqrt{x^2+y^2}" , arg_separator=r"\quad" ) self .play(FadeIn(tex), run_time=1.0 ) self .wait(4.6 )
下载 Python 脚本
\quad表示设置4个空格。
3.2. 拆分公式 拆分公式非常有用,拆分之后,可以对公式的一部分进行操作.
默认情况下,整个公式是一个整体,用公式中的某个字符去取是取不到的,get_part_by_tex会返回None。
1
2
3
4
5
6
7
8
9
10
from manim import *tex = MathTex(r"z=\sqrt{x^2+y^2}" ) print (f"{len (tex) =} " )print (f"{tex.get_part_by_tex('x' ) = } " )
下载 Python 脚本
所以,先把公式拆成多个字符串参数,每一段都会成为公式的一个独立部分,get_part_by_tex取指定的那一段,用submobjects遍历出全部的部分。
1
2
3
4
5
6
7
8
9
10
from manim import *tex = MathTex("y" , "=a" , "x" , "^2+b" , "x" , "+c" ) print (f"{len (tex) =} " )print (f"{[p.tex_string for p in tex.submobjects] = } " )
下载 Python 脚本
从上面的示例中看出,对于公式y=ax^2+bx+c,把 6 段字符串拆开传入之后,len(tex)=6,分成了:
y=ax^2+bx+c
也就是说,传给MathTex的每一段字符串,就是公式的一个分割部分 ,不再需要用substrings_to_isolate去指定分割点。
tex.get_part_by_tex("y")得到的是y所在的那一段,因为拆分时y就是独立的一段,y的那个图形。按整段精确匹配 的:想取=a那段得写tex.get_part_by_tex("=a"),写tex.get_part_by_tex("a")会返回None。
上面分成的 6 个部分中,有两个部分的字符就是x,[p for p in tex.submobjects if p.tex_string == "x"]就能把这两段一起取出来。
通过index_of_part可以拿到某一段在公式里的索引。
1
2
3
4
5
6
7
from manim import *tex = MathTex("y" , "=a" , "x" , "^2+b" , "x" , "+c" ) part = [p for p in tex.submobjects if p.tex_string == "^2+b" ][0 ] print (tex.index_of_part(part))
下载 Python 脚本
在分成的 6 个部分中,b所在的那一段^2+b是第 4 个 ,index是从0开始数的,所以输出结果为3。
之所以要拆分公式,就是为了对不同的部分进行不同的操作,下面的示例样式拆分之后带来的应用。
3.3. 公式着色 使用拆分前,虽然也可以通过color属性给公式着色,但是只能给整个公式设置一个颜色:
1
2
3
from manim import *tex = MathTex(r"z=\sqrt{x^2+y^2}" , color=RED)
下载 Python 脚本
拆分之后,可以通过set_color_by_tex给不同的部分设置不同的颜色:
1
2
3
4
5
6
from manim import *tex = MathTex("z" , "=" , r"\sqrt{" , "x" , "^2 + " , "y" , "^2}" ) tex.set_color_by_tex("x" , RED) tex.set_color_by_tex("y" , GREEN) tex.set_color_by_tex("z" , BLUE)
下载 Python 脚本
同时设置多个颜色,也可以用set_color_by_tex_to_color_map方法:
1
2
3
4
5
6
7
8
9
10
11
12
13
14
15
16
17
18
19
20
21
22
23
24
from manim import *FONT = "STLiti" class Demo (Scene ): def construct (self ): head = Text("公式拆分与着色" , font=FONT, font_size=36 , color=YELLOW).to_edge(UP, buff=0.5 ) bar = Line(LEFT * 6.6 , RIGHT * 6.6 , color=BLUE).next_to(head, DOWN, buff=0.12 ) self .play(FadeIn(head), Create(bar), run_time=0.6 ) f1 = MathTex(r"z = \sqrt{x^2 + y^2}" , color=RED) f2 = MathTex("z" , "=" , r"\sqrt{" , "x" , "^2 + " , "y" , "^2}" ) f2.set_color_by_tex("x" , BLUE) f2.set_color_by_tex("y" , RED) f2.set_color_by_tex("z" , GREEN) f3 = MathTex("z" , "=" , r"\sqrt{" , "x" , "^2 + " , "y" , "^2}" ) f3.set_color_by_tex_to_color_map({"z" : GREEN, "x" : BLUE, "y" : RED}) rows = VGroup() for lab, f in zip (("拆分前:" , "拆分后:" , "拆分后:" ), (f1, f2, f3)): rows.add(VGroup(Text(lab, font=FONT, font_size=32 ), f).arrange(RIGHT, buff=0.9 )) rows.arrange(DOWN, buff=0.75 ).shift(DOWN * 0.4 ) for row in rows: self .play(FadeIn(row), run_time=0.7 ) self .wait(2.9 )
下载 Python 脚本
上面三种方式着色后的效果如下:
下载 Python 脚本
3.4. 透明度设置 除了颜色,拆分之后,也可以给不同的部分设置透明度。
1
2
3
4
5
6
7
8
9
10
11
12
from manim import *class Demo (Scene ): def construct (self ): tex = MathTex("z" , "=" , r"\sqrt{" , "x" , "^2 + " , "y" , "^2}" ) tex.set_opacity_by_tex("x" , 0.4 ) tex.set_opacity_by_tex("y" , 0.4 ) tex.set_opacity_by_tex("z" , 0.6 ) tex.set_color_by_tex_to_color_map({"x" : BLUE, "y" : RED, "z" : GREEN}) self .play(FadeIn(tex), run_time=1.0 ) self .wait(4.6 )
给x,y,zx,y,zx,y,z方别设置的不同的透明度和颜色,和未设置透明度时的对比如下:
下载 Python 脚本
3.5. 排序 最后这个是排序功能,是把公式的各个部分按字符(tex_string)重新排序,再用arrange重新排版。
1
2
3
4
5
6
7
8
9
10
11
from manim import *tex = MathTex("c" , ">" , "a" , ">" , "b" ) for p in tex.submobjects: print (p.tex_string)
下载 Python 脚本
排序后:
1
2
3
4
5
6
7
8
9
10
11
12
13
14
15
16
17
18
19
20
from manim import *FONT = "STLiti" class Demo (Scene ): def construct (self ): head = Text("公式排序前后" , font=FONT, font_size=36 , color=YELLOW).to_edge(UP, buff=0.5 ) bar = Line(LEFT * 6.6 , RIGHT * 6.6 , color=BLUE).next_to(head, DOWN, buff=0.12 ) self .play(FadeIn(head), Create(bar), run_time=0.6 ) t1 = MathTex("c" , ">" , "a" , ">" , "b" ) t2 = MathTex("c" , ">" , "a" , ">" , "b" ) t2.sort(submob_func=lambda m: m.tex_string).arrange(RIGHT, buff=0.18 ) r1 = VGroup(Text("排序前:" , font=FONT, font_size=32 ), t1).arrange(RIGHT, buff=0.9 ) r2 = VGroup(Text("排序后:" , font=FONT, font_size=32 ), t2).arrange(RIGHT, buff=0.9 ) VGroup(r1, r2).arrange(DOWN, buff=1.0 ).shift(DOWN * 0.3 ) self .play(FadeIn(r1), run_time=0.9 ) self .play(LaggedStart(*[FadeIn(p) for p in t2], lag_ratio=0.25 ), FadeIn(r2[0 ]), run_time=1.5 ) self .wait(2.6 )
下载 Python 脚本
按字符顺序重新排列了各个部分,再用arrange把它们重新排到屏幕上。
这样排列有什么用呢?通过动画来显示公式时,渲染的顺序不一样。c, >, a, >, b;>, >, a, b, c。
下载 Python 脚本
4. 附件
0
打赏作者 订阅 分享
主观感受,仅供参考。本文采用 本文采用 CC BY-NC-SA 4.0 许可 协议,
完整转载请注明来自
数学动画引擎 。