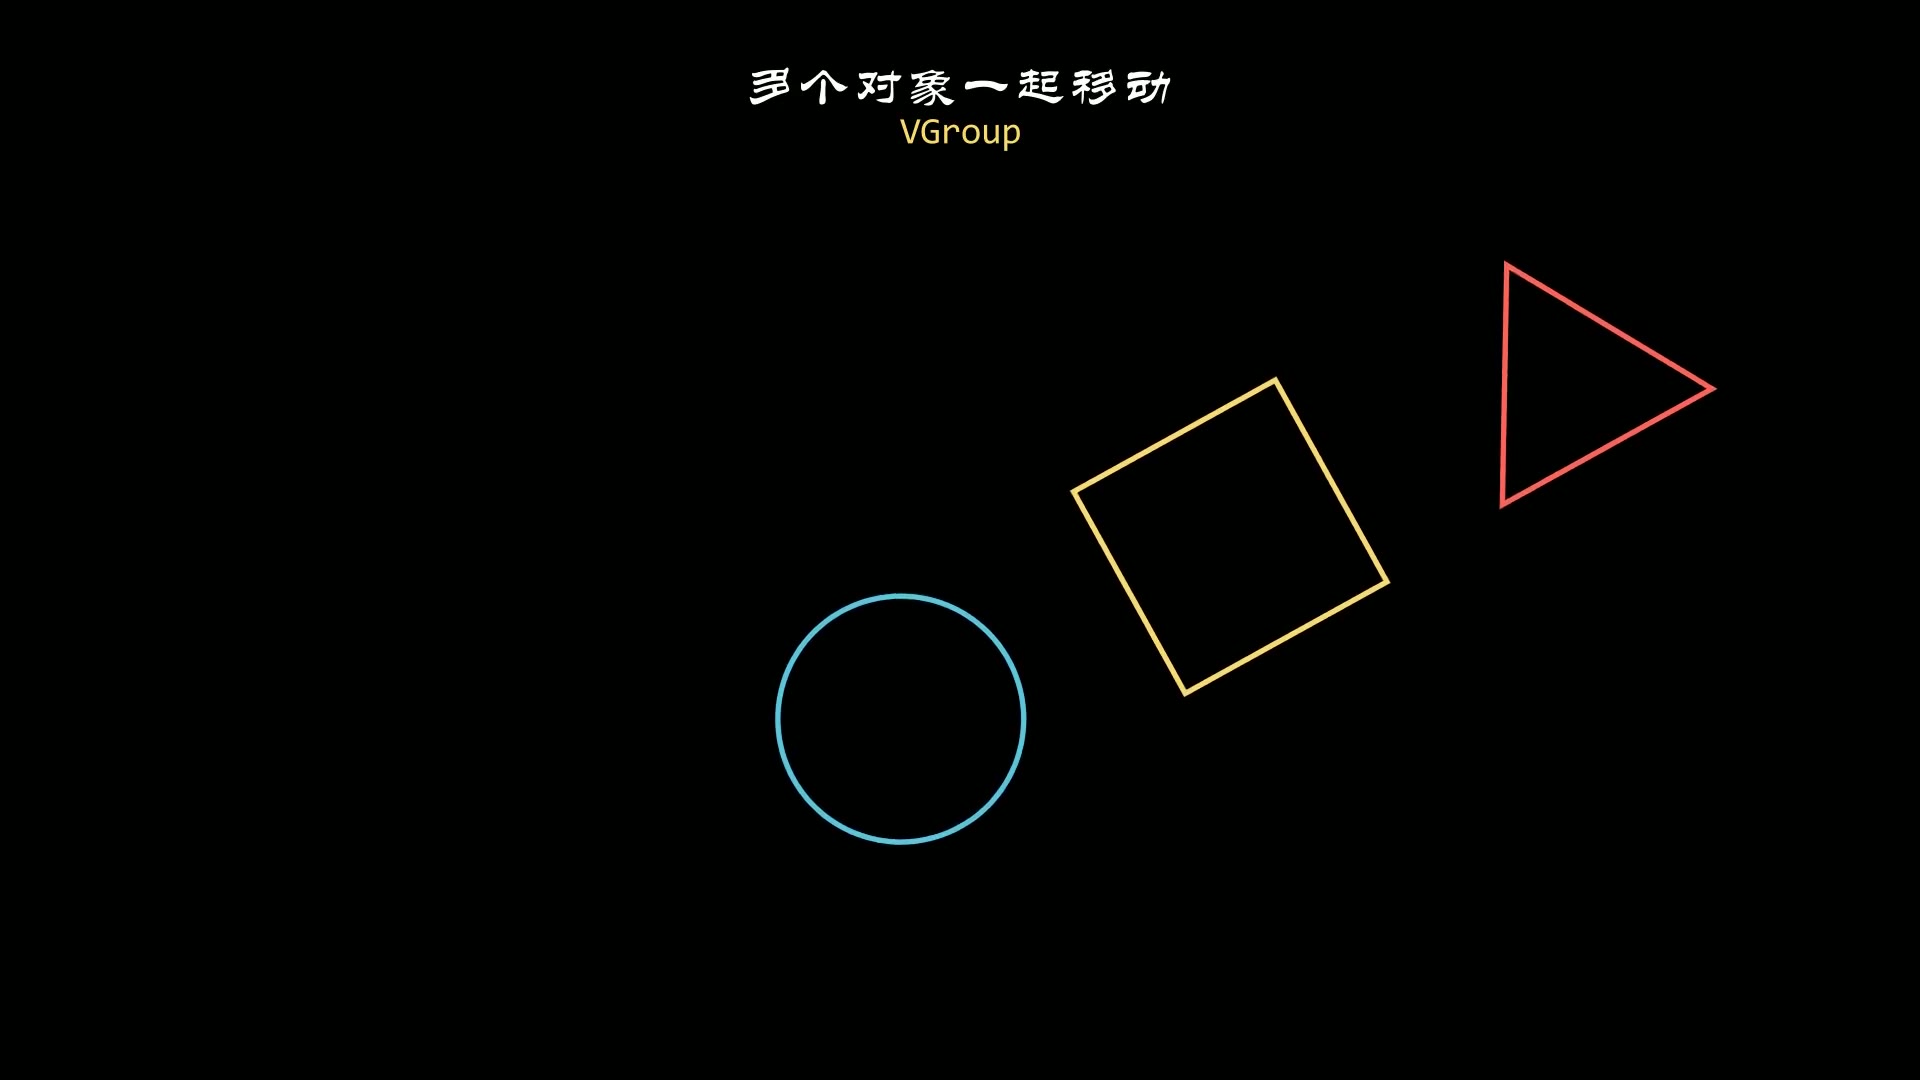
在我们制作数学动画时,经常会遇到多个动作同时发生的情况。

比如:坐标轴出现的同时,标签也跟着浮现;或者一个图形变色的同时,它也在移动。

今天,我们就来聊聊 ManimCE 中同时执行多个动画的那些事儿。

实现多动画的三种方法

方法一:使用 add() 方法(最简单直接)

这是最基础的方法,适合初学者理解。它的原理是把多个动画添加到场景中,让它们同时开始播放。

1
2
3
4
5
6
7
8
9
10
11
12
13
14
15
16
17
18
19
20
21
22
23
24
25
26
27
28
29
30
31
32
33
from manim import *
import numpy as np
import sympy as sp
def head(cn, en):
t = Text(cn, font="STLiti", font_size=27).to_edge(UP)
s = Text(en, font="Consolas", font_size=20, color=YELLOW).next_to(t, DOWN, buff=0.10)
return VGroup(t, s)
def foot(cn):
return Text(cn, font="STLiti", font_size=20, color=YELLOW).to_edge(DOWN)
def bg_image(h=60, w=100, mode=0):
a = np.zeros((h, w, 4), dtype=np.uint8)
a[:, :, 3] = 255
if mode == 0:
a[:, :, 0] = np.linspace(10, 90, w, dtype=np.uint8)[None, :]
a[:, :, 2] = np.linspace(60, 160, w, dtype=np.uint8)[None, :]
elif mode == 1:
a[:, :, 1] = np.linspace(20, 110, h, dtype=np.uint8)[:, None]
a[:, :, 2] = np.linspace(40, 130, h, dtype=np.uint8)[:, None]
else:
a[:, :, 0] = 120
a[:, :, 1] = 70
a[:, :, 2] = np.linspace(30, 140, w, dtype=np.uint8)[None, :]
return ImageMobject(a)
class ParallelAdd(Scene):
def construct(self):
self.add(head("同时播放:一次 play 传入多个动画", "self.play(a, b)"))
c = Circle(radius=0.7, color=BLUE).set_fill(BLUE, opacity=0.4).shift(LEFT * 3)
s = Square(side_length=1.4, color=RED).set_fill(RED, opacity=0.4).shift(RIGHT * 3)
self.add(c, s)
self.play(c.animate.shift(UP * 2), s.animate.shift(DOWN * 2), run_time=3.0)
self.play(c.animate.shift(DOWN * 2), s.animate.shift(UP * 2), run_time=2.2)
self.play(FadeIn(foot("写在同一个 play 里的动画共享时间轴")), run_time=0.4)
self.wait(1.0)

下载 Python 脚本

运行效果:蓝色圆向上移动的同时,红色正方形向下移动。

方法二:使用 AnimationGroup(适合组织相关动画)

当你有多个动画需要作为一个整体来控制时,AnimationGroup 是个很好的选择。

1
2
3
4
5
6
7
8
9
10
11
12
13
14
15
16
17
18
19
20
21
22
23
24
25
26
27
28
29
30
31
32
33
34
35
from manim import *
import numpy as np
import sympy as sp
def head(cn, en):
t = Text(cn, font="STLiti", font_size=27).to_edge(UP)
s = Text(en, font="Consolas", font_size=20, color=YELLOW).next_to(t, DOWN, buff=0.10)
return VGroup(t, s)
def foot(cn):
return Text(cn, font="STLiti", font_size=20, color=YELLOW).to_edge(DOWN)
def bg_image(h=60, w=100, mode=0):
a = np.zeros((h, w, 4), dtype=np.uint8)
a[:, :, 3] = 255
if mode == 0:
a[:, :, 0] = np.linspace(10, 90, w, dtype=np.uint8)[None, :]
a[:, :, 2] = np.linspace(60, 160, w, dtype=np.uint8)[None, :]
elif mode == 1:
a[:, :, 1] = np.linspace(20, 110, h, dtype=np.uint8)[:, None]
a[:, :, 2] = np.linspace(40, 130, h, dtype=np.uint8)[:, None]
else:
a[:, :, 0] = 120
a[:, :, 1] = 70
a[:, :, 2] = np.linspace(30, 140, w, dtype=np.uint8)[None, :]
return ImageMobject(a)
class ParallelGroup(Scene):
def construct(self):
self.add(head("同时播放:AnimationGroup", "lag_ratio = 0"))
shapes = VGroup(*[Dot(radius=0.18, color=c) for c in (BLUE, GREEN, YELLOW, RED)])
shapes.arrange(RIGHT, buff=1.5).shift(DOWN * 1.5)
self.add(shapes)
self.play(AnimationGroup(*[d.animate.shift(UP * 3) for d in shapes],
lag_ratio=0), run_time=3.0)
self.play(AnimationGroup(*[d.animate.shift(DOWN * 3) for d in shapes],
lag_ratio=0), run_time=2.2)
self.play(FadeIn(foot("lag_ratio 为 0 时与并列写进 play 等价")), run_time=0.4)
self.wait(1.0)

下载 Python 脚本

方法三:使用 LaggedStart 和 Succession(进阶控制)

如果想要更精细的控制,比如让动画依次开始但部分重叠,可以使用这些高级类:

1
2
3
4
5
6
7
8
9
10
11
12
13
14
15
16
17
18
19
20
21
22
23
24
25
26
27
28
29
30
31
32
33
34
35
from manim import *
import numpy as np
import sympy as sp
def head(cn, en):
t = Text(cn, font="STLiti", font_size=27).to_edge(UP)
s = Text(en, font="Consolas", font_size=20, color=YELLOW).next_to(t, DOWN, buff=0.10)
return VGroup(t, s)
def foot(cn):
return Text(cn, font="STLiti", font_size=20, color=YELLOW).to_edge(DOWN)
def bg_image(h=60, w=100, mode=0):
a = np.zeros((h, w, 4), dtype=np.uint8)
a[:, :, 3] = 255
if mode == 0:
a[:, :, 0] = np.linspace(10, 90, w, dtype=np.uint8)[None, :]
a[:, :, 2] = np.linspace(60, 160, w, dtype=np.uint8)[None, :]
elif mode == 1:
a[:, :, 1] = np.linspace(20, 110, h, dtype=np.uint8)[:, None]
a[:, :, 2] = np.linspace(40, 130, h, dtype=np.uint8)[:, None]
else:
a[:, :, 0] = 120
a[:, :, 1] = 70
a[:, :, 2] = np.linspace(30, 140, w, dtype=np.uint8)[None, :]
return ImageMobject(a)
class ParallelLagged(Scene):
def construct(self):
self.add(head("依次启动:LaggedStart", "lag_ratio = 0.3"))
shapes = VGroup(*[Square(side_length=0.9, color=c).set_fill(c, opacity=0.4)
for c in (BLUE, GREEN, YELLOW, RED)])
shapes.arrange(RIGHT, buff=0.9)
self.play(LaggedStart(*[FadeIn(s, shift=UP * 0.8) for s in shapes],
lag_ratio=0.3), run_time=3.2)
self.play(LaggedStart(*[s.animate.shift(DOWN * 1.8) for s in shapes],
lag_ratio=0.3), run_time=2.4)
self.play(FadeIn(foot("lag_ratio 控制相邻动画错开的启动时间")), run_time=0.4)
self.wait(0.8)

下载 Python 脚本

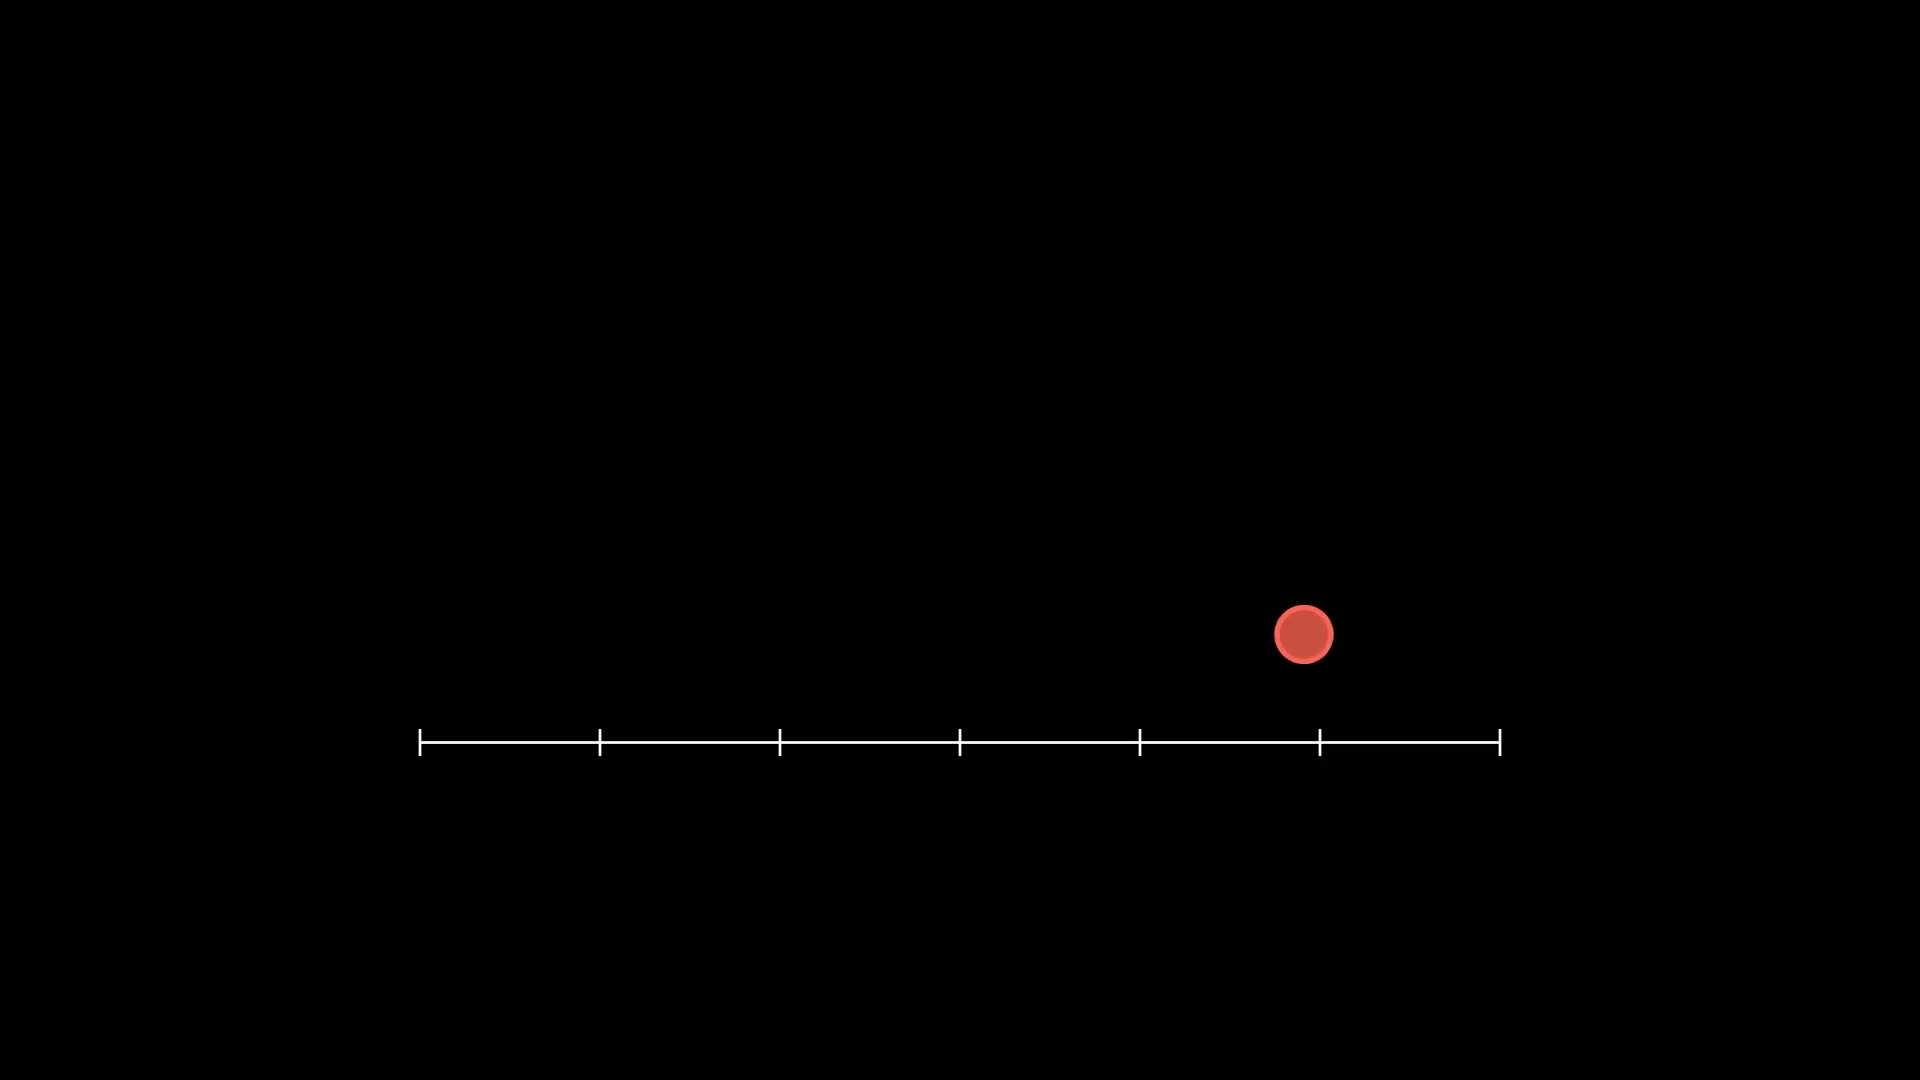
同时执行不同速率的动画

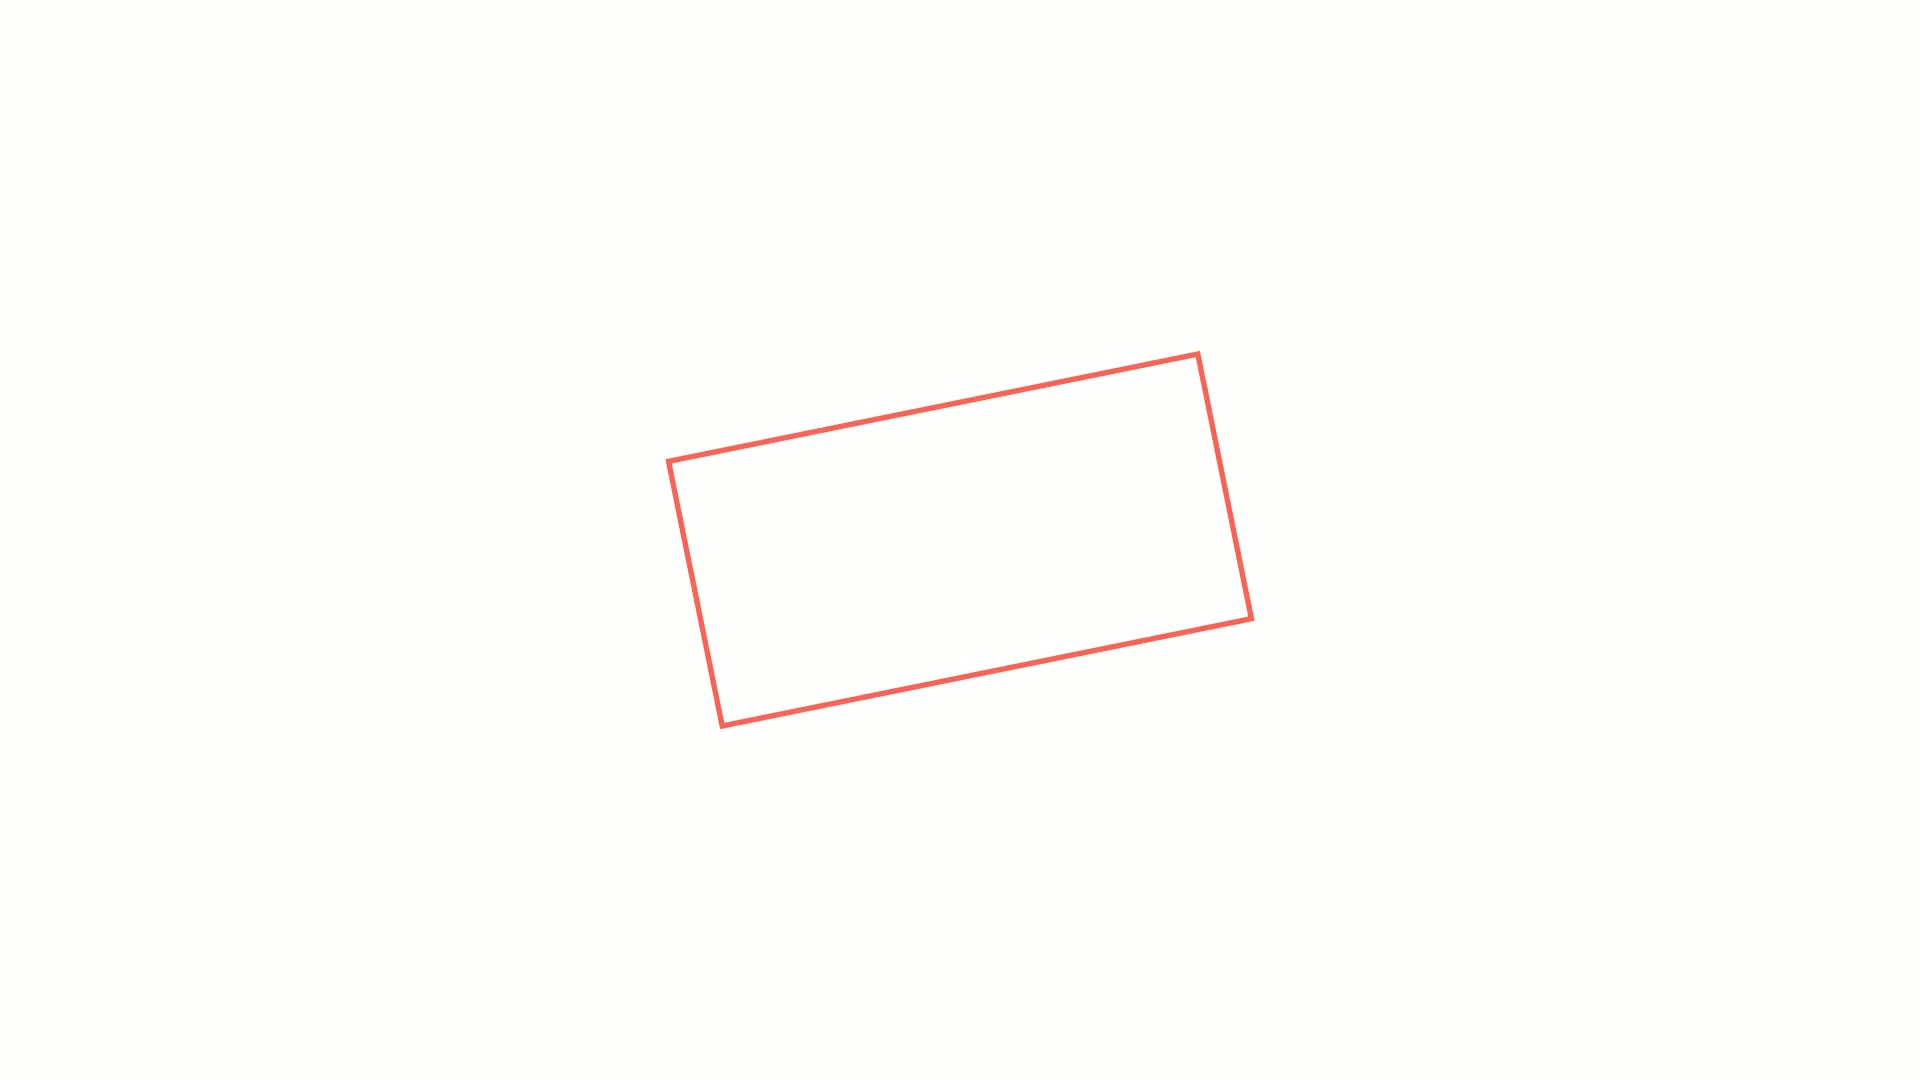
在实际制作动画时,我们经常需要让不同的动画以不同的速度进行。

比如,一个图形快速移动,另一个缓慢旋转。

这时我们可以通过ApplyMethod方法,精确控制每个动画的运动曲线:

1
2
3
4
5
6
7
8
9
10
11
12
13
14
15
16
17
18
19
20
21
22
23
24
25
26
27
28
29
30
31
32
33
34
from manim import *
import numpy as np
import sympy as sp
def head(cn, en):
t = Text(cn, font="STLiti", font_size=27).to_edge(UP)
s = Text(en, font="Consolas", font_size=20, color=YELLOW).next_to(t, DOWN, buff=0.10)
return VGroup(t, s)
def foot(cn):
return Text(cn, font="STLiti", font_size=20, color=YELLOW).to_edge(DOWN)
def bg_image(h=60, w=100, mode=0):
a = np.zeros((h, w, 4), dtype=np.uint8)
a[:, :, 3] = 255
if mode == 0:
a[:, :, 0] = np.linspace(10, 90, w, dtype=np.uint8)[None, :]
a[:, :, 2] = np.linspace(60, 160, w, dtype=np.uint8)[None, :]
elif mode == 1:
a[:, :, 1] = np.linspace(20, 110, h, dtype=np.uint8)[:, None]
a[:, :, 2] = np.linspace(40, 130, h, dtype=np.uint8)[:, None]
else:
a[:, :, 0] = 120
a[:, :, 1] = 70
a[:, :, 2] = np.linspace(30, 140, w, dtype=np.uint8)[None, :]
return ImageMobject(a)
class ParallelSuccession(Scene):
def construct(self):
self.add(head("顺序播放:Succession", "AnimationGroup / Succession"))
c = Circle(radius=0.9, color=BLUE).set_fill(BLUE, opacity=0.4)
s = Square(side_length=1.7, color=YELLOW).set_fill(YELLOW, opacity=0.4)
self.play(FadeIn(c), run_time=0.8)
self.play(Transform(c, s), run_time=1.6)
self.play(c.animate.shift(RIGHT * 3), run_time=1.4)
self.play(c.animate.shift(LEFT * 3), run_time=1.4)
self.play(FadeIn(foot("Succession 把多个动画串成一条时间线")), run_time=0.4)
self.wait(1.0)

下载 Python 脚本

常见问题

Q:为什么我的动画没有同时执行?
A:检查是否在 play() 方法中正确使用了逗号分隔多个动画,而不是分号。

Q:如何让动画精确地在同一时刻结束?
A:设置相同的 run_time 参数即可。

Q:不同速率的动画如何同步?
A:使用 rate_funcs 参数为每个动画指定不同的速率函数。

总结

掌握同时执行多个动画的技巧,能让你的数学动画更加生动和专业。

从简单的 add() 方法到复杂的速率函数组合,ManimCE提供了丰富的工具来满足各种需求。

多动手练习这些例子,相信你很快就能制作出专业级别的数学动画!