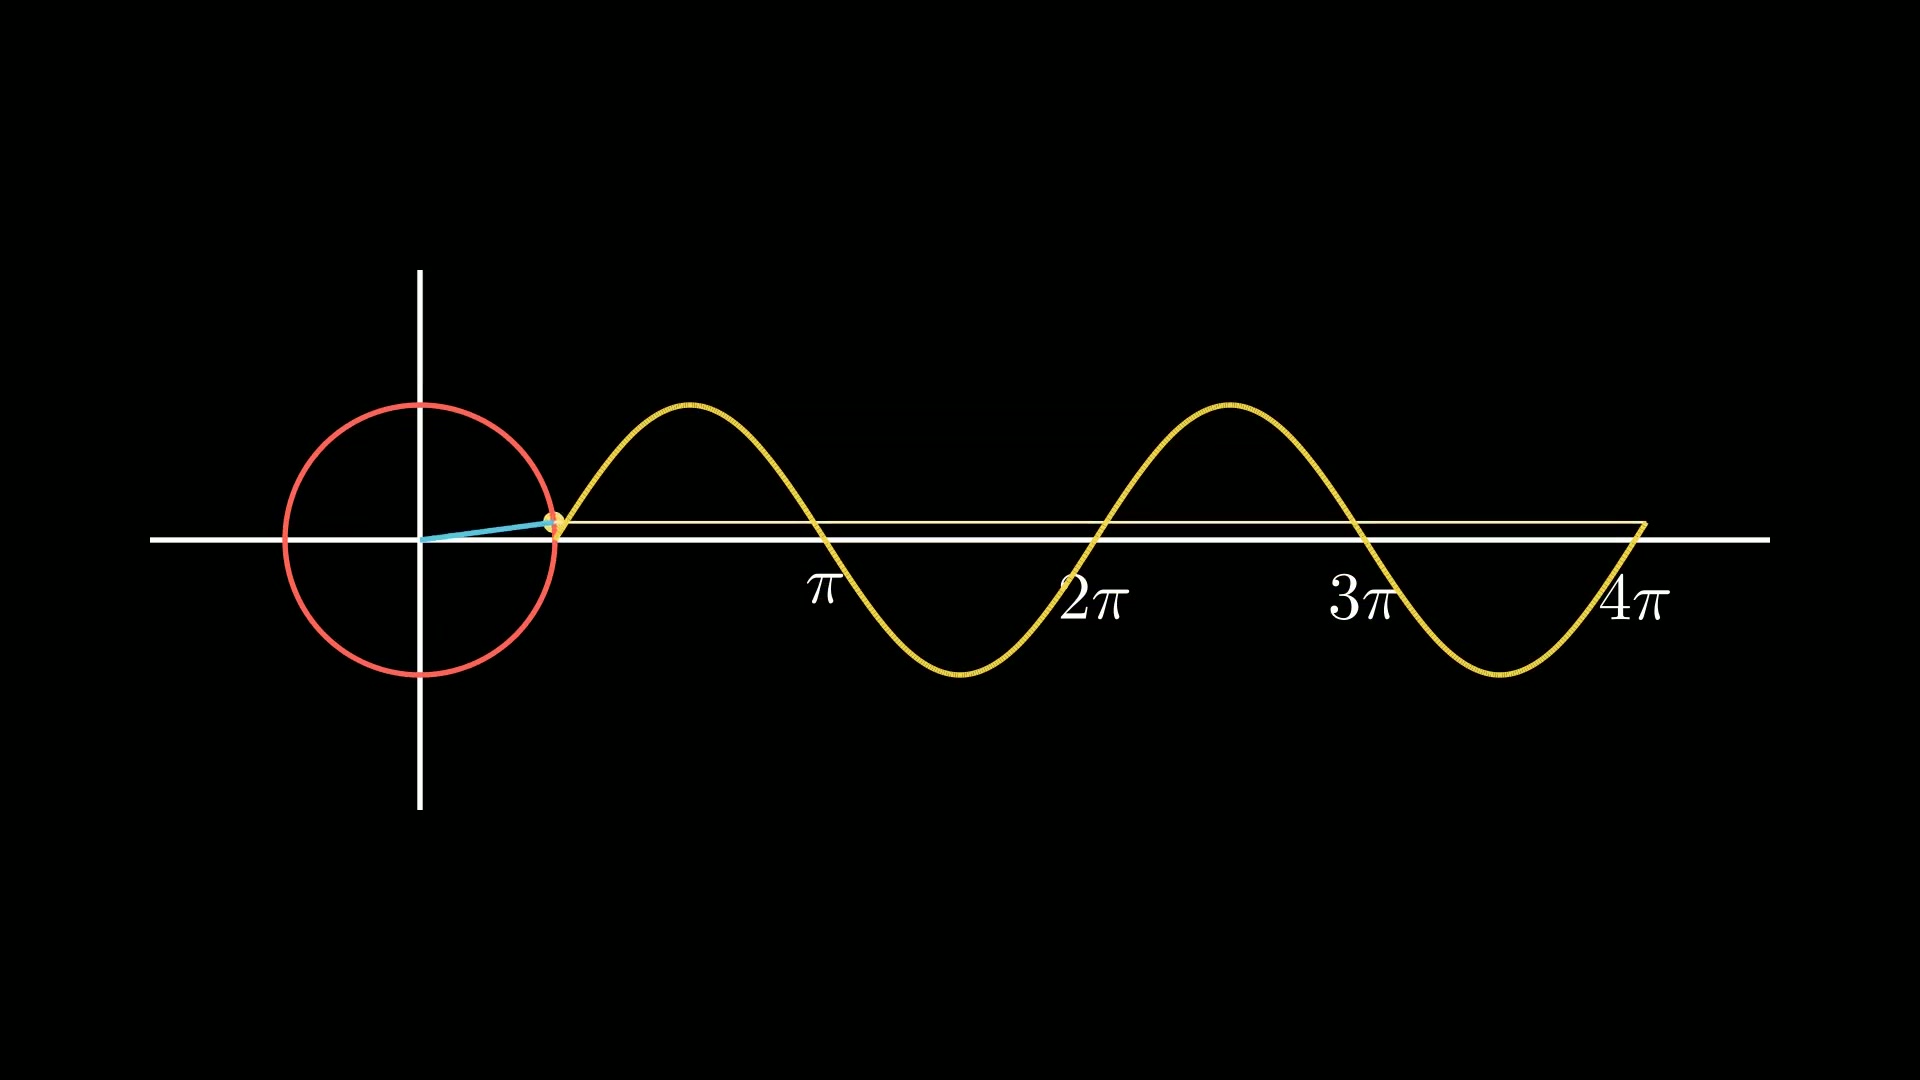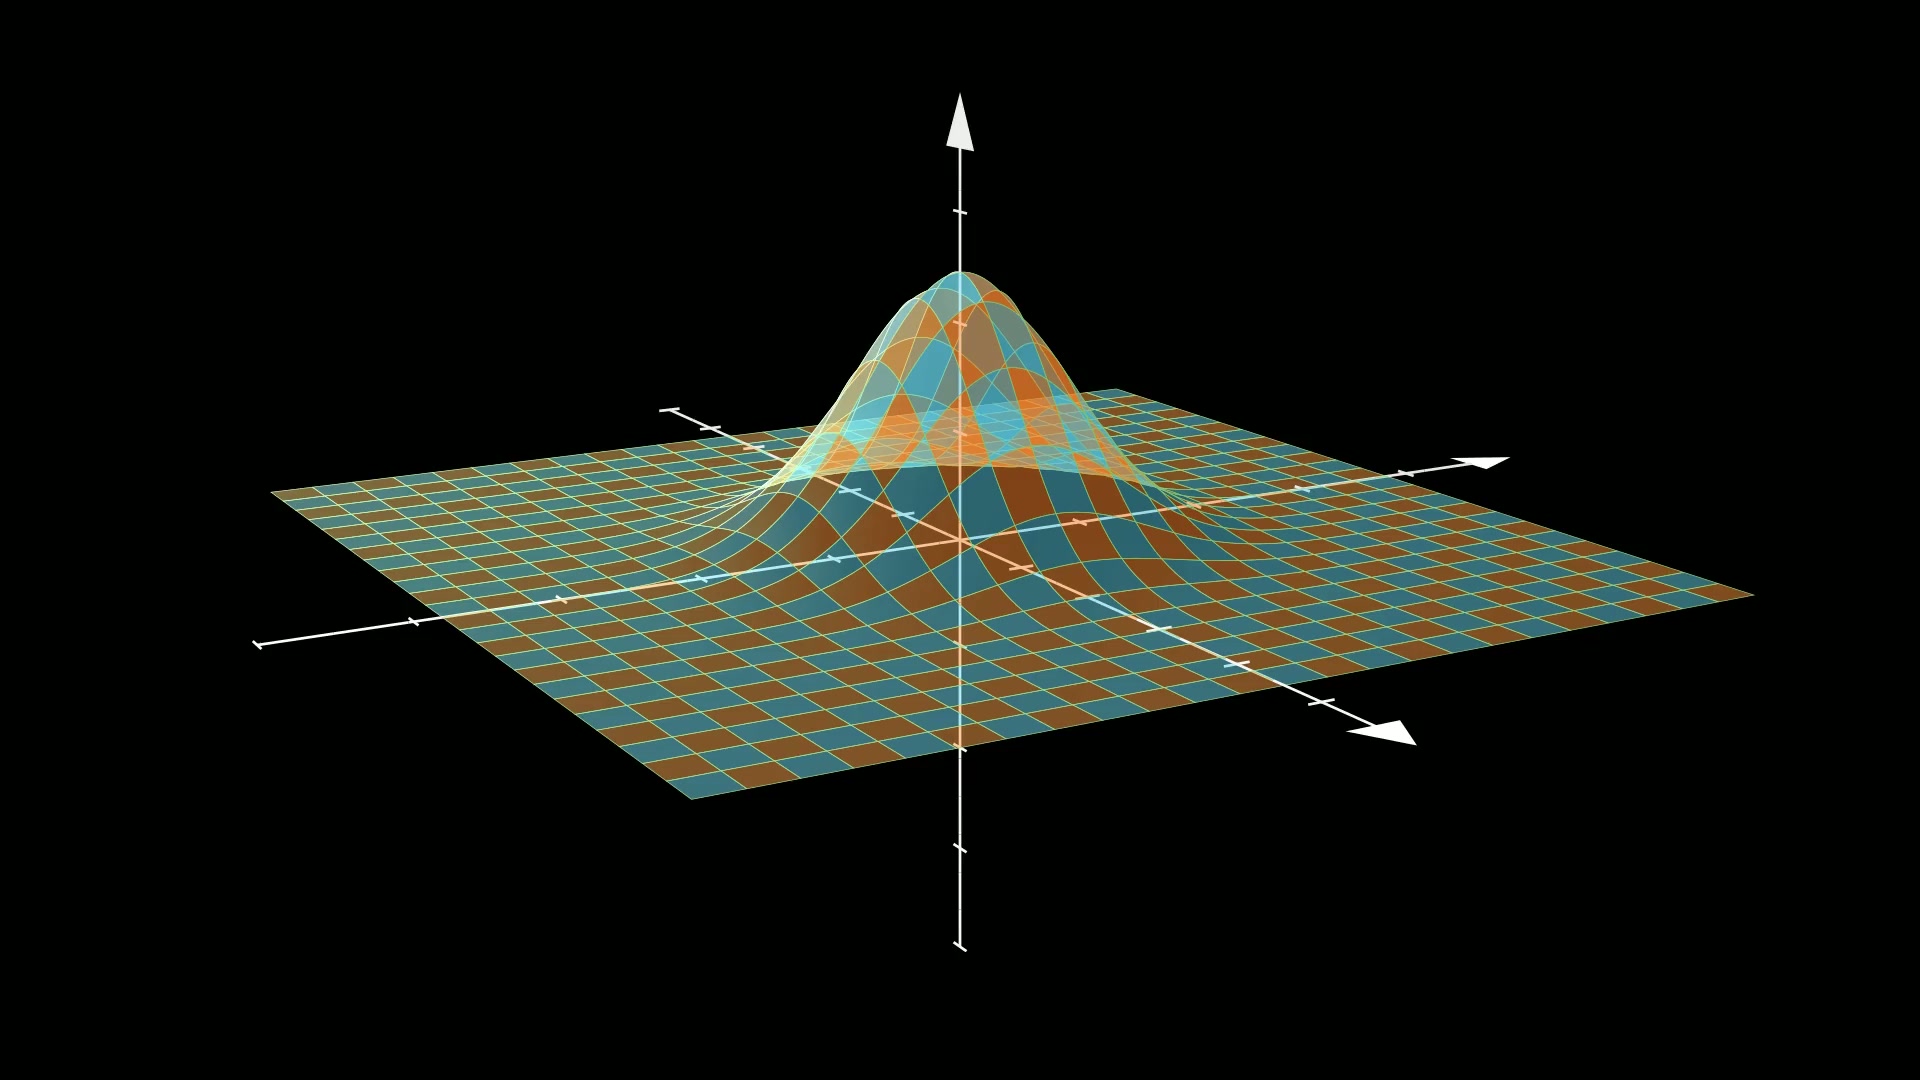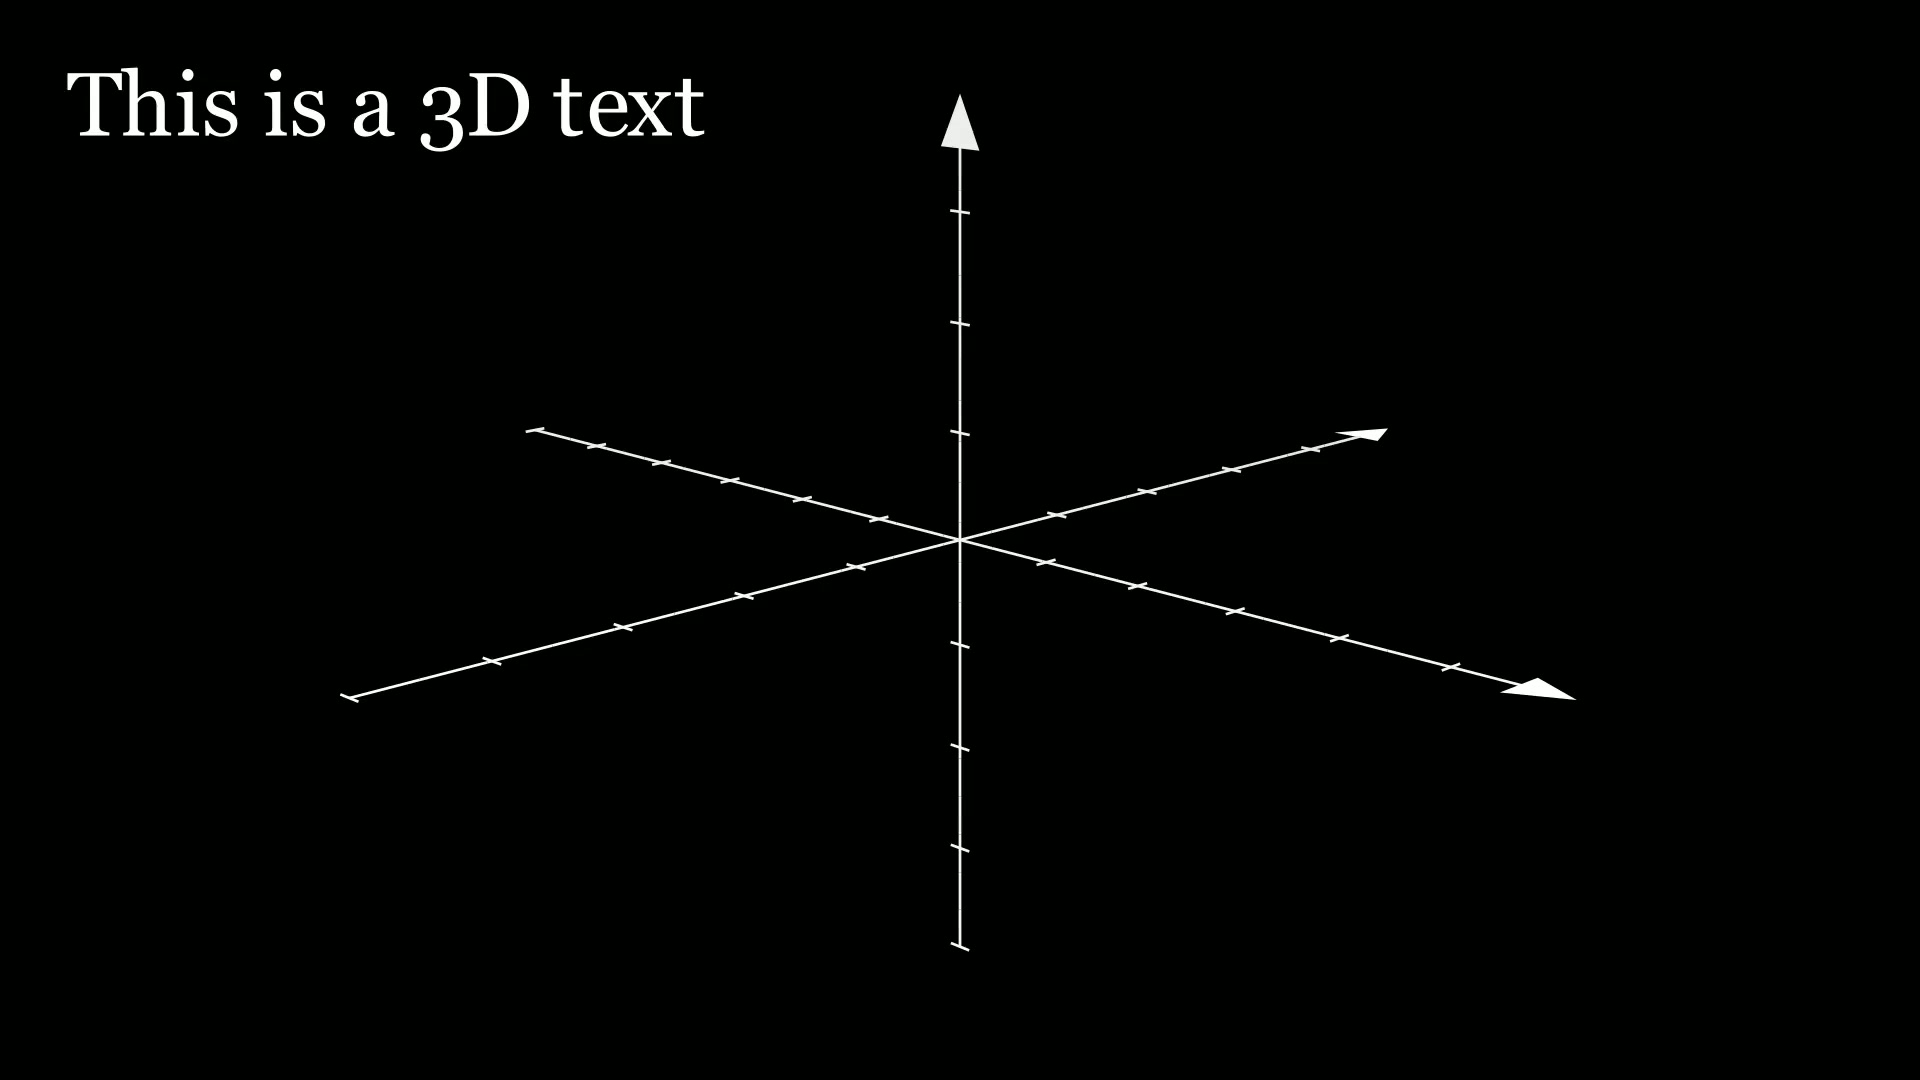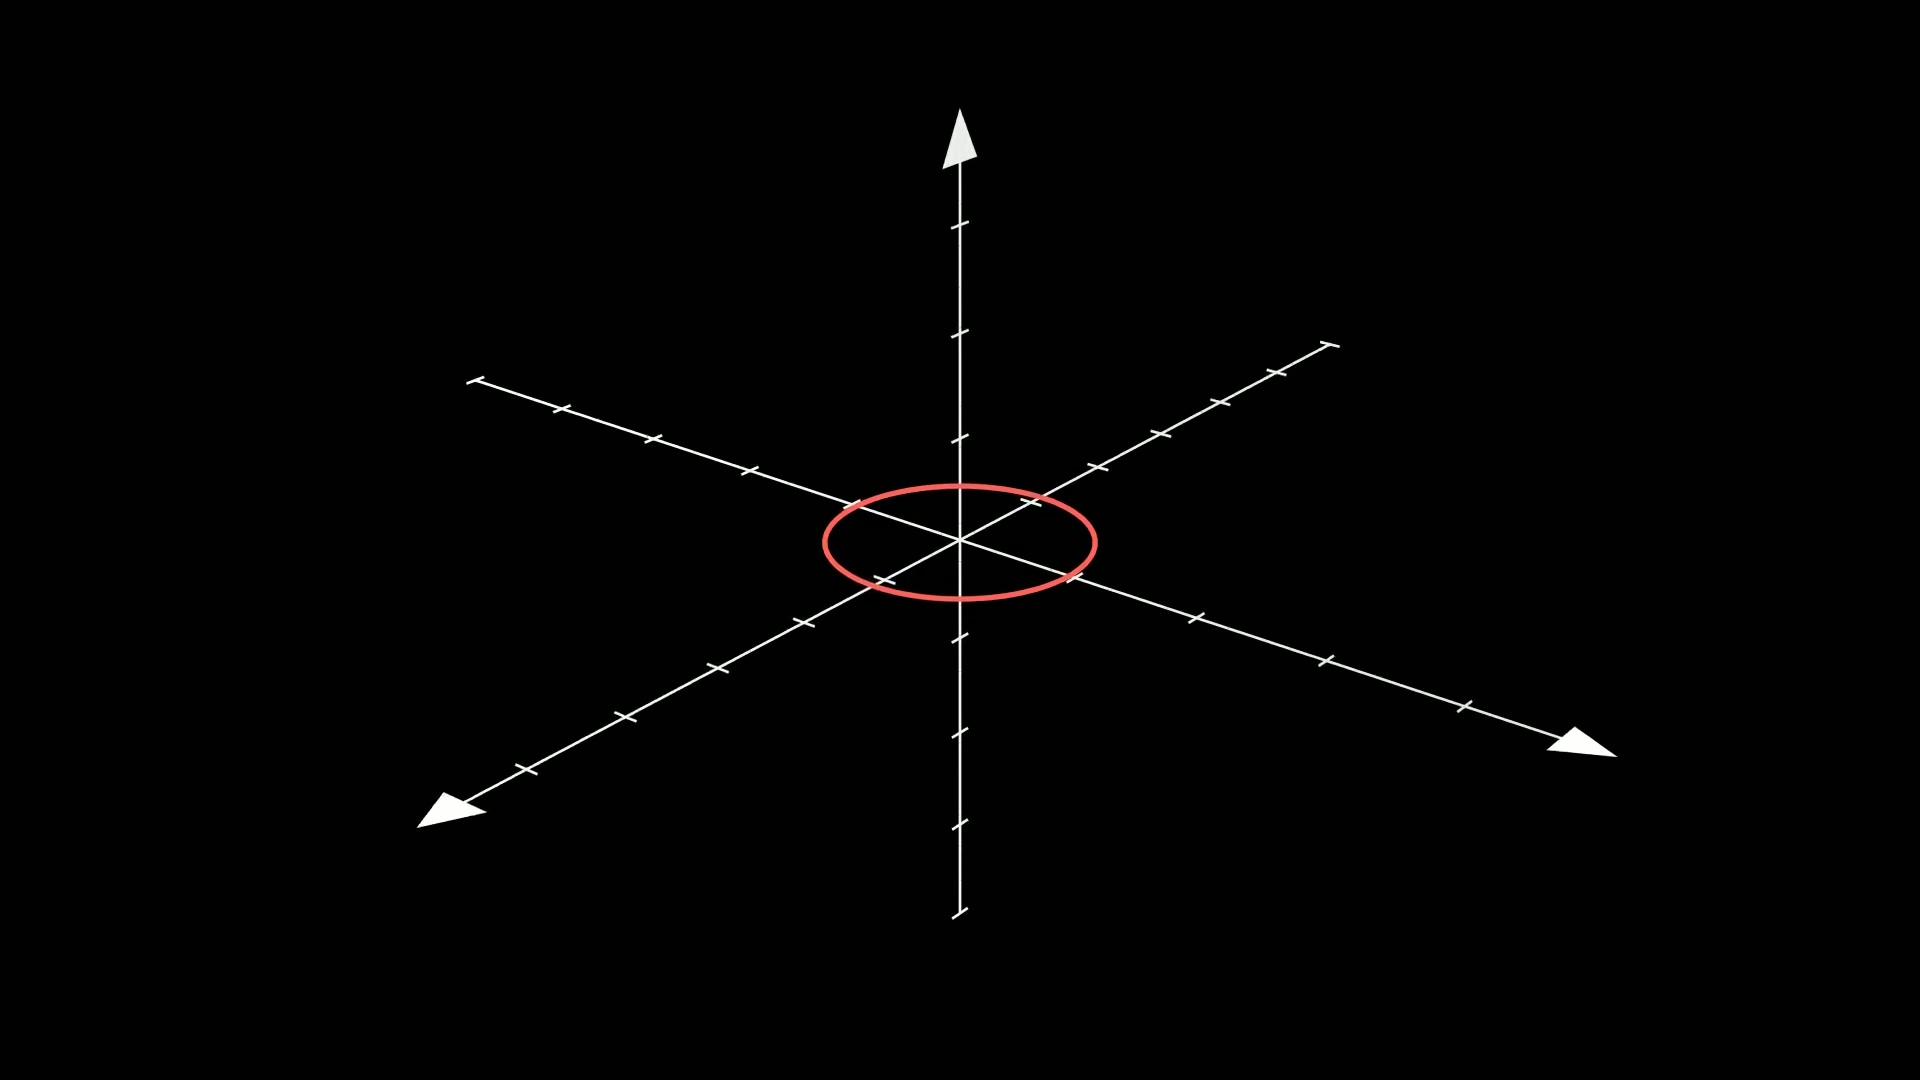
相机(Camera)在二维的场景下使用不多,一般在3D场景中提及的比较多。 相机相当于我们看动画的视角,简单来理解的话,相当于我们的眼睛(实际情况会复杂一些,相机还有其他一些辅助功能)。默认的相机焦点在屏幕的中心位置,相机默认是以俯视的视角查看所有的元素。
之前的介绍的常用动画效果和高级动画效果,都没有对相机进行调整过,所以,是通过移动和变换各个元素来实现动画效果。
本篇介绍的相机,则是另一种制作动画的方式,它不改变元素在屏幕或者说在坐标系中的位置, 通过改变相机的位置和角度来实现动画效果。
举个现实世界中的简单例子,如果有个杯子,我们可以通过转动杯子来从各个角度观察杯子; 而如果是一栋楼的话,我们无法移动它,只能围着楼走一圈来观察它,这个过程就相当于移动相机。
下面通过一些实例来看看移动相机带来的不一样的动画效果。
1. 相机移动
相机移动常用的两种方式:
- 移动焦点:改变相机的焦点,焦点在那个元素,那个元素就会在屏幕中心
- 改变视野:改变相机与元素的距离,离得越远,物体越小。
1.1 移动焦点
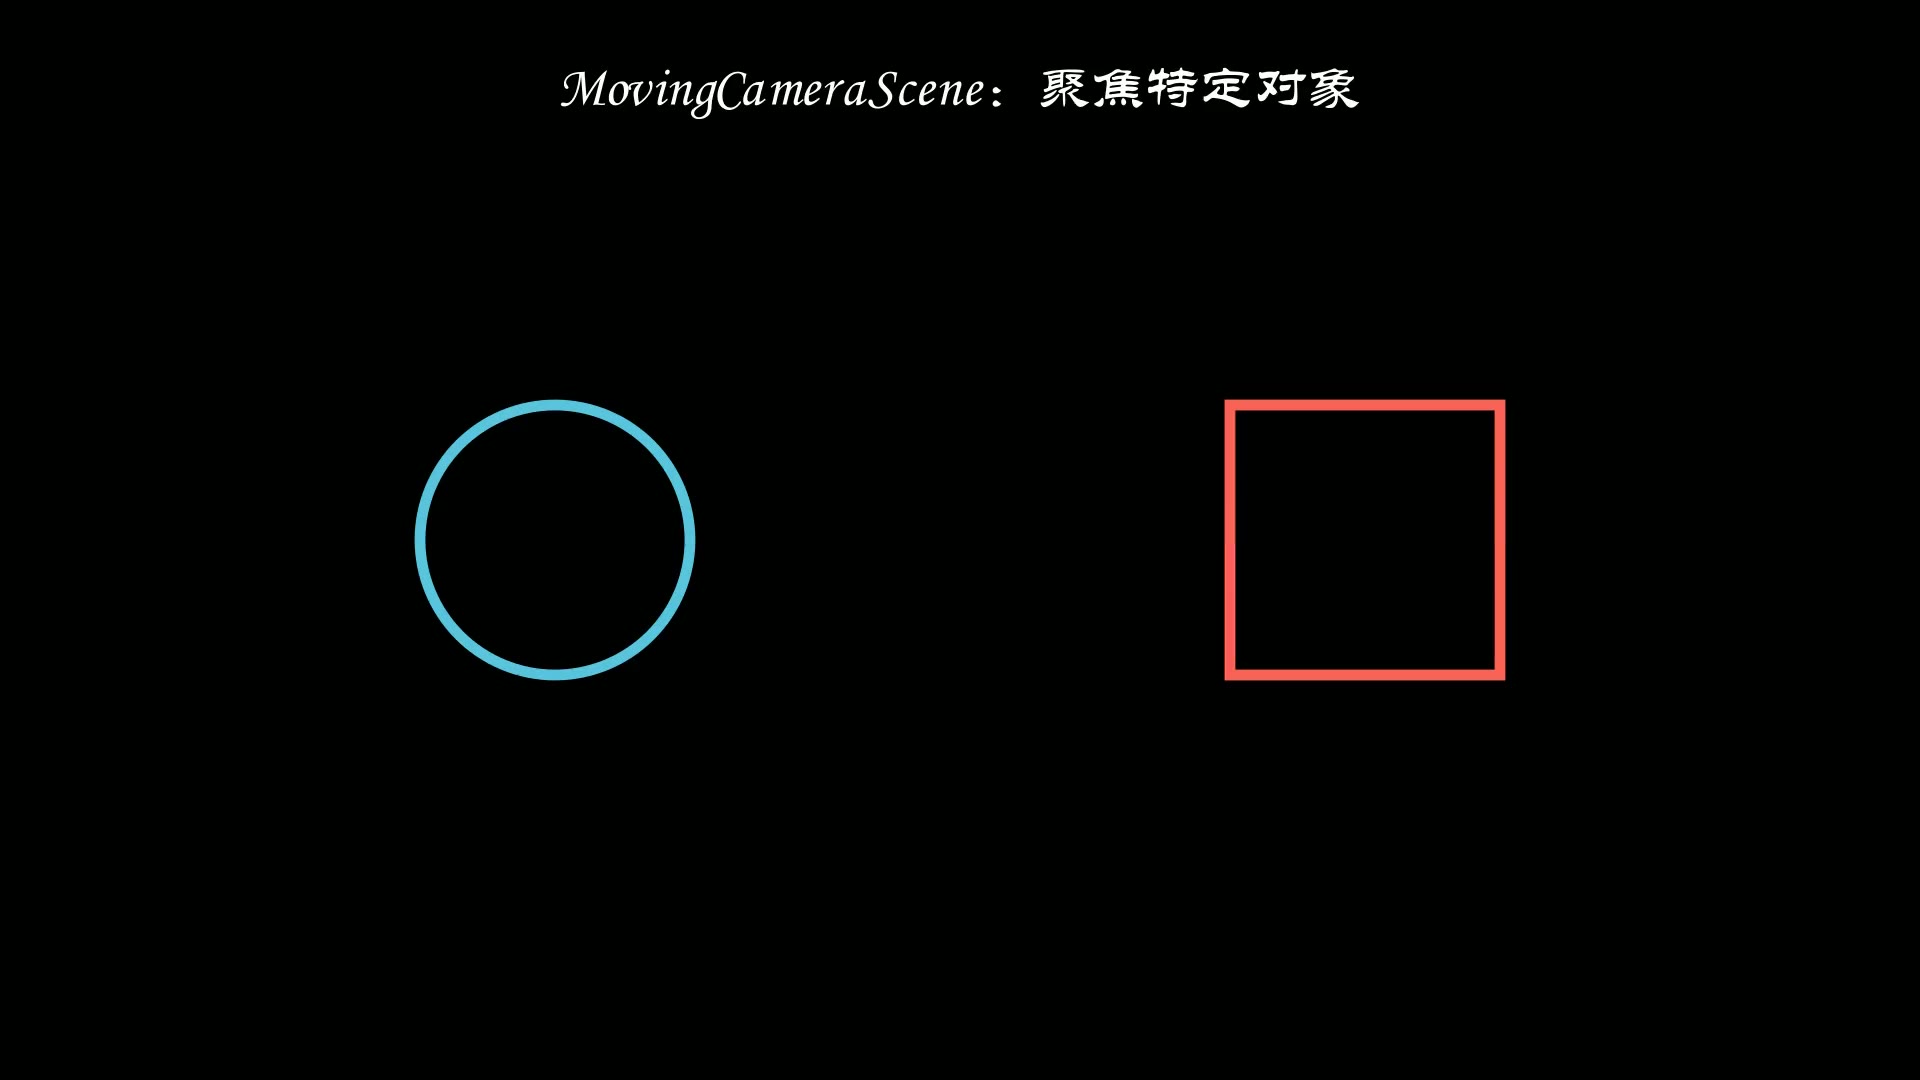
manim中移动焦点要继承 MovingCameraScene类, 然后通过 self.camera.frame.animate.move_to函数来移动焦点。
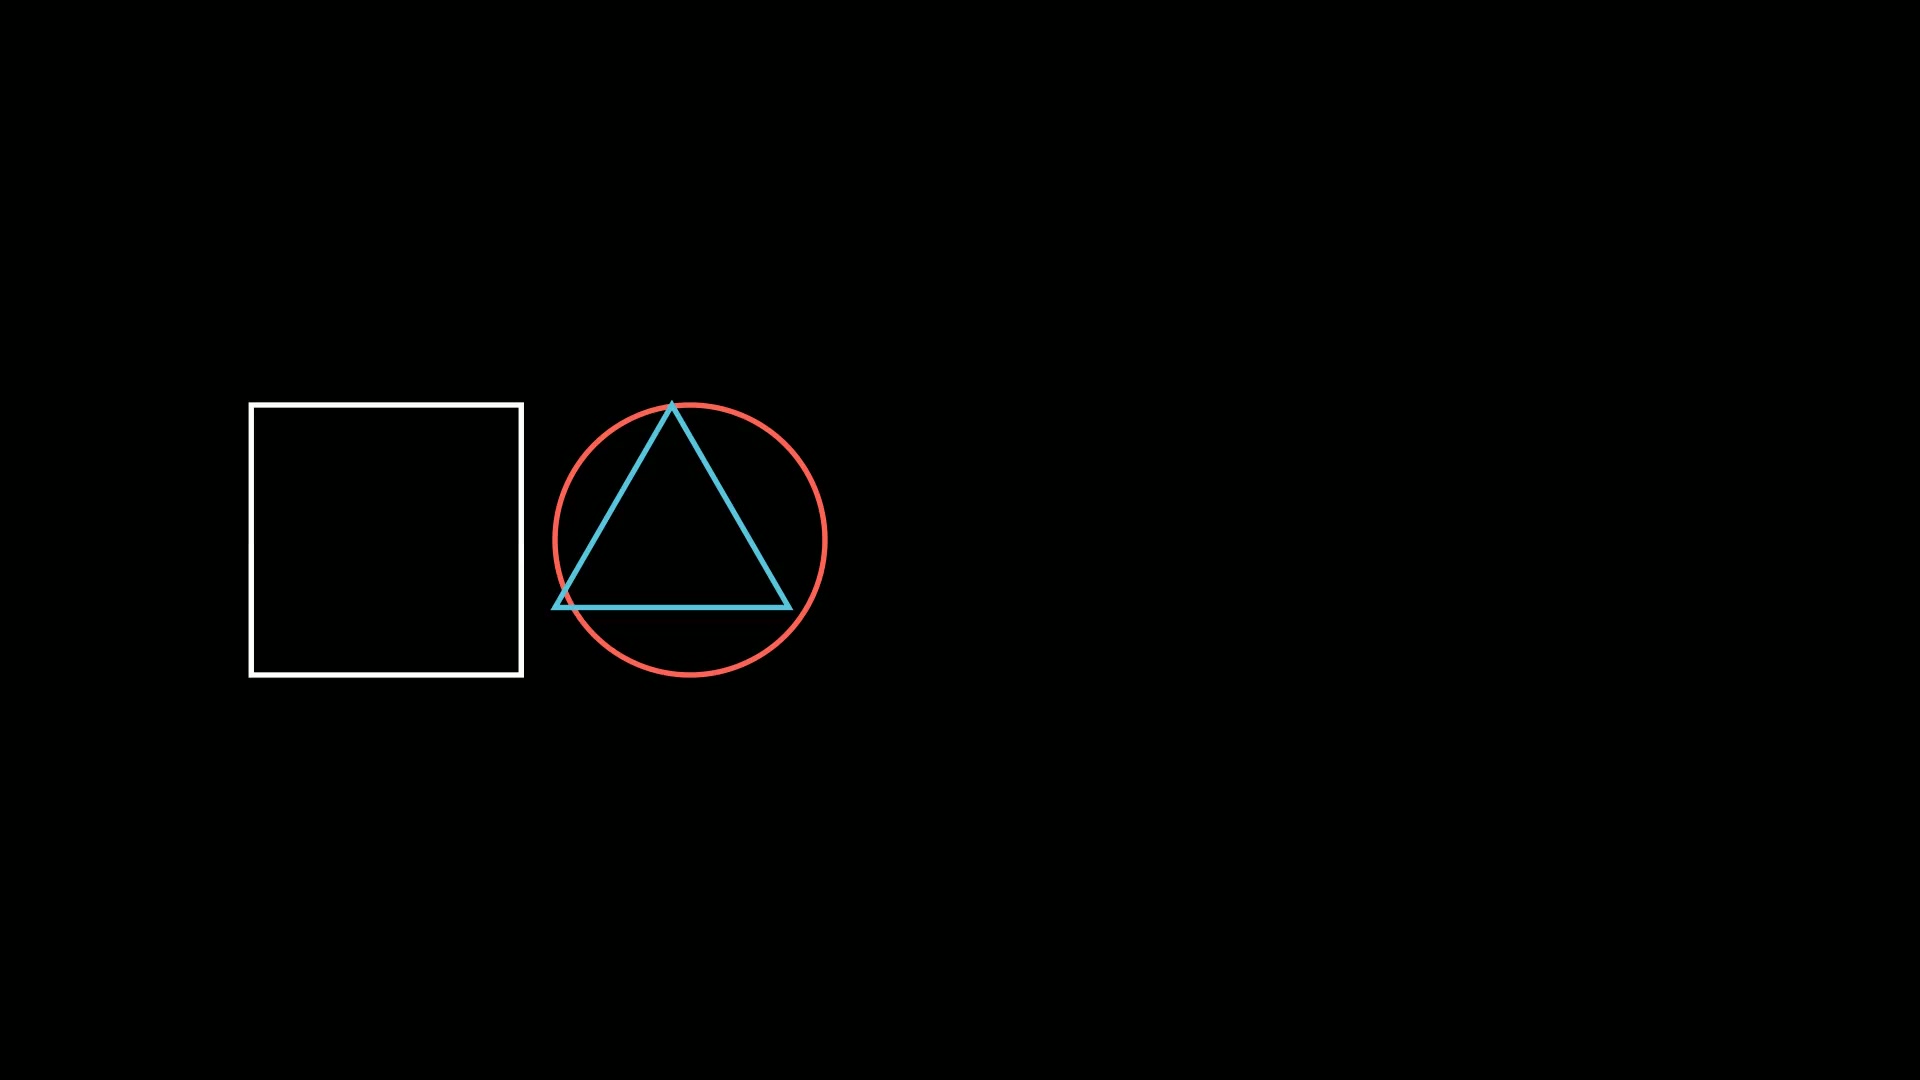
下面的示例构造了一个正方形,一个三角形,然后通过改变焦点来形成元素移动的动画。实际上元素并没有移动,它们的坐标始终没变,变化的是相机的焦点。
1
2
3
4
5
6
7
8
9
10
11
12
13
14
15
16
17
18
| from manim import *
import numpy as np
def head(cn, en):
t = Text(cn, font="STLiti", font_size=27).to_edge(UP)
s = Text(en, font="Consolas", font_size=20, color=YELLOW).next_to(t, DOWN, buff=0.10)
return VGroup(t, s)
def foot(cn):
return Text(cn, font="STLiti", font_size=20, color=YELLOW).to_edge(DOWN)
class CameraFocusDemo(MovingCameraScene):
def construct(self):
self.add(head("相机:移动焦点", "MovingCameraScene / camera.frame"))
a = Circle(radius=1.0, color=RED).set_fill(RED, opacity=0.4).shift(LEFT * 4)
b = Square(side_length=1.8, color=BLUE).set_fill(BLUE, opacity=0.4).shift(RIGHT * 4)
self.add(a, b)
self.play(self.camera.frame.animate.move_to(a), run_time=2.2)
self.play(self.camera.frame.animate.move_to(b), run_time=2.2)
self.play(FadeIn(foot("只移动相机,画面里对象的坐标并没有变")), run_time=0.4)
self.wait(1.2)
|
运行效果:
下载 Python 脚本
1.2 改变视野
改变视野通过 self.camera.frame.animate.set方法,通过这个方法设置视野的宽度,可以形成缩放元素的效果。
下面的示例,通过改变视野的宽度,让元素出现放大和缩小的现象,实际上元素并没有变化。 变化的是相机到元素的距离。
1
2
3
4
5
6
7
8
9
10
11
12
13
14
15
16
17
18
19
20
| from manim import *
import numpy as np
def head(cn, en):
t = Text(cn, font="STLiti", font_size=27).to_edge(UP)
s = Text(en, font="Consolas", font_size=20, color=YELLOW).next_to(t, DOWN, buff=0.10)
return VGroup(t, s)
def foot(cn):
return Text(cn, font="STLiti", font_size=20, color=YELLOW).to_edge(DOWN)
class CameraZoomDemo(MovingCameraScene):
def construct(self):
self.add(head("相机:缩放取景框", "camera.frame.set_width"))
sq = Square(side_length=2.0, color=GREEN).set_fill(GREEN, opacity=0.35)
ring = Circle(radius=2.4, color=GREY_B).set_stroke(width=2)
self.add(ring, sq)
self.camera.frame.save_state()
self.play(self.camera.frame.animate.set_width(4.0), run_time=2.2)
self.play(self.camera.frame.animate.set_width(12.0), run_time=2.2)
self.play(Restore(self.camera.frame), run_time=1.2)
self.play(FadeIn(foot("改变 frame 宽度即实现推近与拉远")), run_time=0.4)
self.wait(0.8)
|
运行效果:
下载 Python 脚本
2. 鹰眼效果
鹰眼的效果是通过两个相机来实现的,两个相机的焦点一样,但是视野不一样。 鹰眼效果一般用在提供全局视图的场合,特别是当元素特别多的时候。
下面示例中,设置了两个相机,缩放的参数为3,zoom_factor=3。
1
2
3
4
5
6
7
8
9
10
11
12
13
14
15
16
17
18
19
20
21
22
23
24
25
| from manim import *
import numpy as np
def head(cn, en):
t = Text(cn, font="STLiti", font_size=27).to_edge(UP)
s = Text(en, font="Consolas", font_size=20, color=YELLOW).next_to(t, DOWN, buff=0.10)
return VGroup(t, s)
def foot(cn):
return Text(cn, font="STLiti", font_size=20, color=YELLOW).to_edge(DOWN)
class ZoomedDemo(ZoomedScene):
def __init__(self):
super().__init__(zoom_factor=0.35, zoomed_display_height=2.2,
zoomed_display_width=4)
def construct(self):
self.add(head("相机:局部放大显示", "ZoomedScene / activate_zooming"))
dots = VGroup(*[Dot(radius=0.10, color=BLUE) for _ in range(12)])
dots.arrange_in_grid(rows=3, cols=4, buff=0.8).shift(LEFT * 1.6)
self.add(dots)
frame = self.zoomed_camera.frame
frame.move_to(dots[0]).set_color(YELLOW)
self.play(Create(frame), run_time=1.0)
self.activate_zooming()
self.play(self.get_zoomed_display_pop_out_animation(), run_time=1.4)
self.play(frame.animate.move_to(dots[7]), run_time=2.0)
self.add(foot("放大框移到哪里,右上窗口就显示哪里的细节"))
self.wait(1.4)
|
运行效果:
下载 Python 脚本
3. 追踪物体
追踪物体就是将相机的焦点定位在移动的物体上,就像我们坐在火车上的感觉一样,那时,我们觉得火车没动,而是车外的风景不断向后移动。
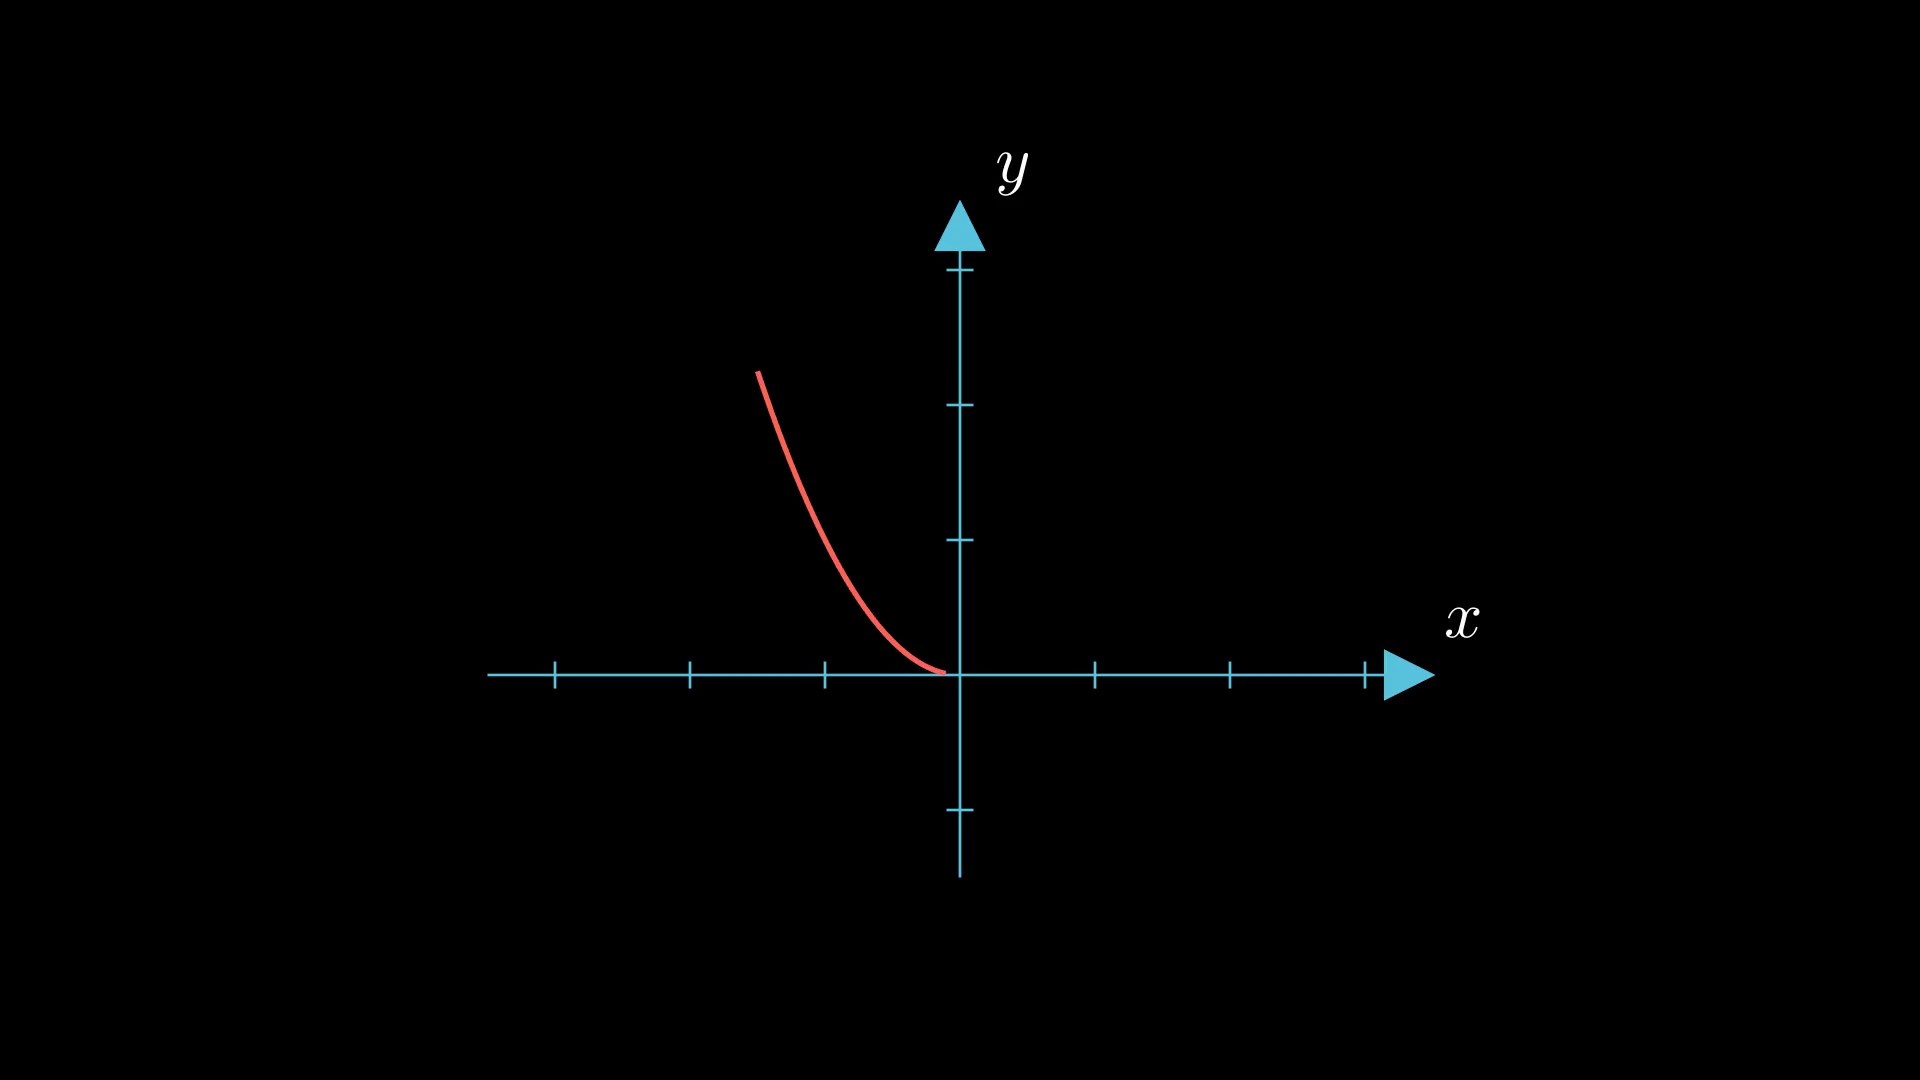
下面的示例是一个点沿着正弦曲线运动,我们将相机焦点定位在这个点上,感觉就像是曲线在移动。
1
2
3
4
5
6
7
8
9
10
11
12
13
14
15
16
17
18
19
20
| from manim import *
import numpy as np
def head(cn, en):
t = Text(cn, font="STLiti", font_size=27).to_edge(UP)
s = Text(en, font="Consolas", font_size=20, color=YELLOW).next_to(t, DOWN, buff=0.10)
return VGroup(t, s)
def foot(cn):
return Text(cn, font="STLiti", font_size=20, color=YELLOW).to_edge(DOWN)
class CameraRestoreDemo(MovingCameraScene):
def construct(self):
self.add(head("相机:保存与恢复取景状态", "save_state / Restore"))
group = VGroup(*[Dot(radius=0.18, color=c) for c in (RED, GREEN, BLUE, YELLOW)])
group.arrange(RIGHT, buff=1.6)
self.add(group)
self.camera.frame.save_state()
self.play(self.camera.frame.animate.scale(0.55).move_to(group[1]), run_time=2.2)
self.play(self.camera.frame.animate.move_to(group[3]), run_time=1.8)
self.play(Restore(self.camera.frame), run_time=1.6)
self.play(FadeIn(foot("restore 让相机一步回到最初的取景状态")), run_time=0.4)
self.wait(0.8)
|
运行效果:
下载 Python 脚本
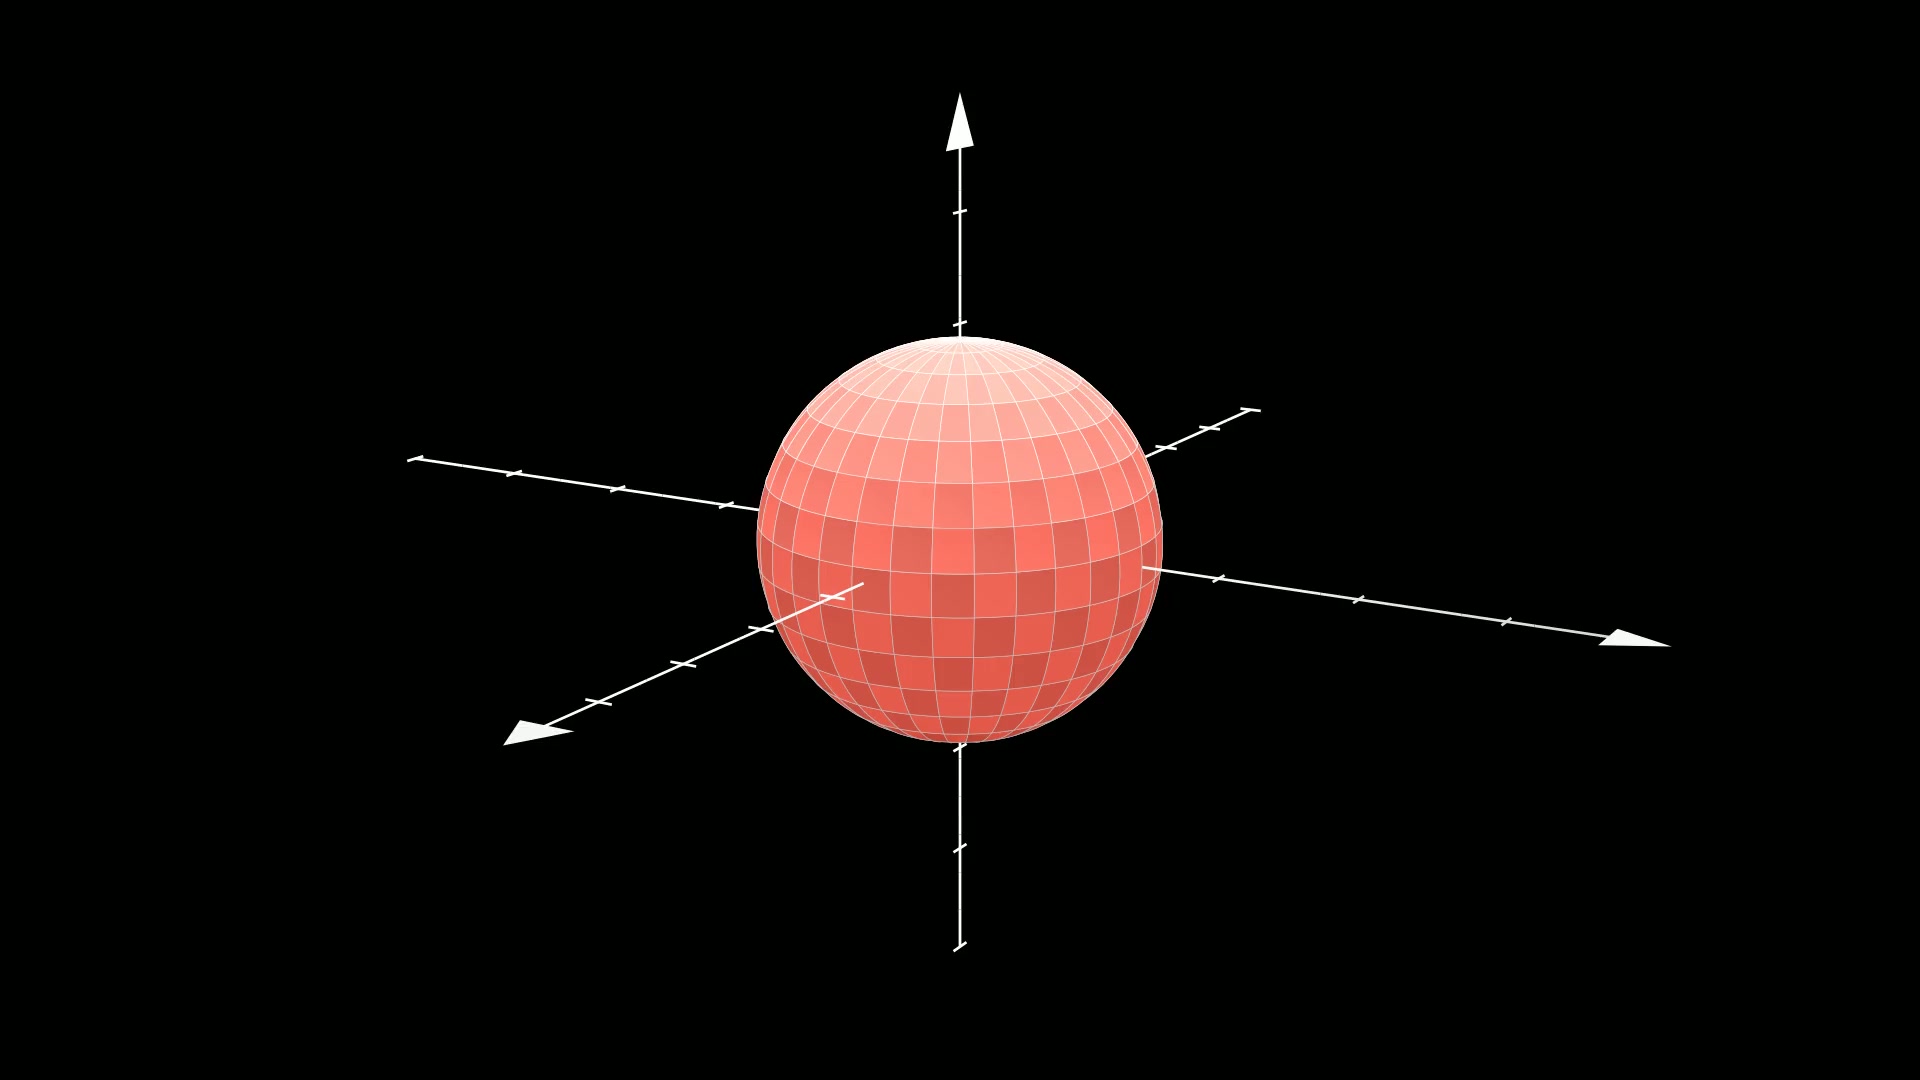
4. 3D 场景
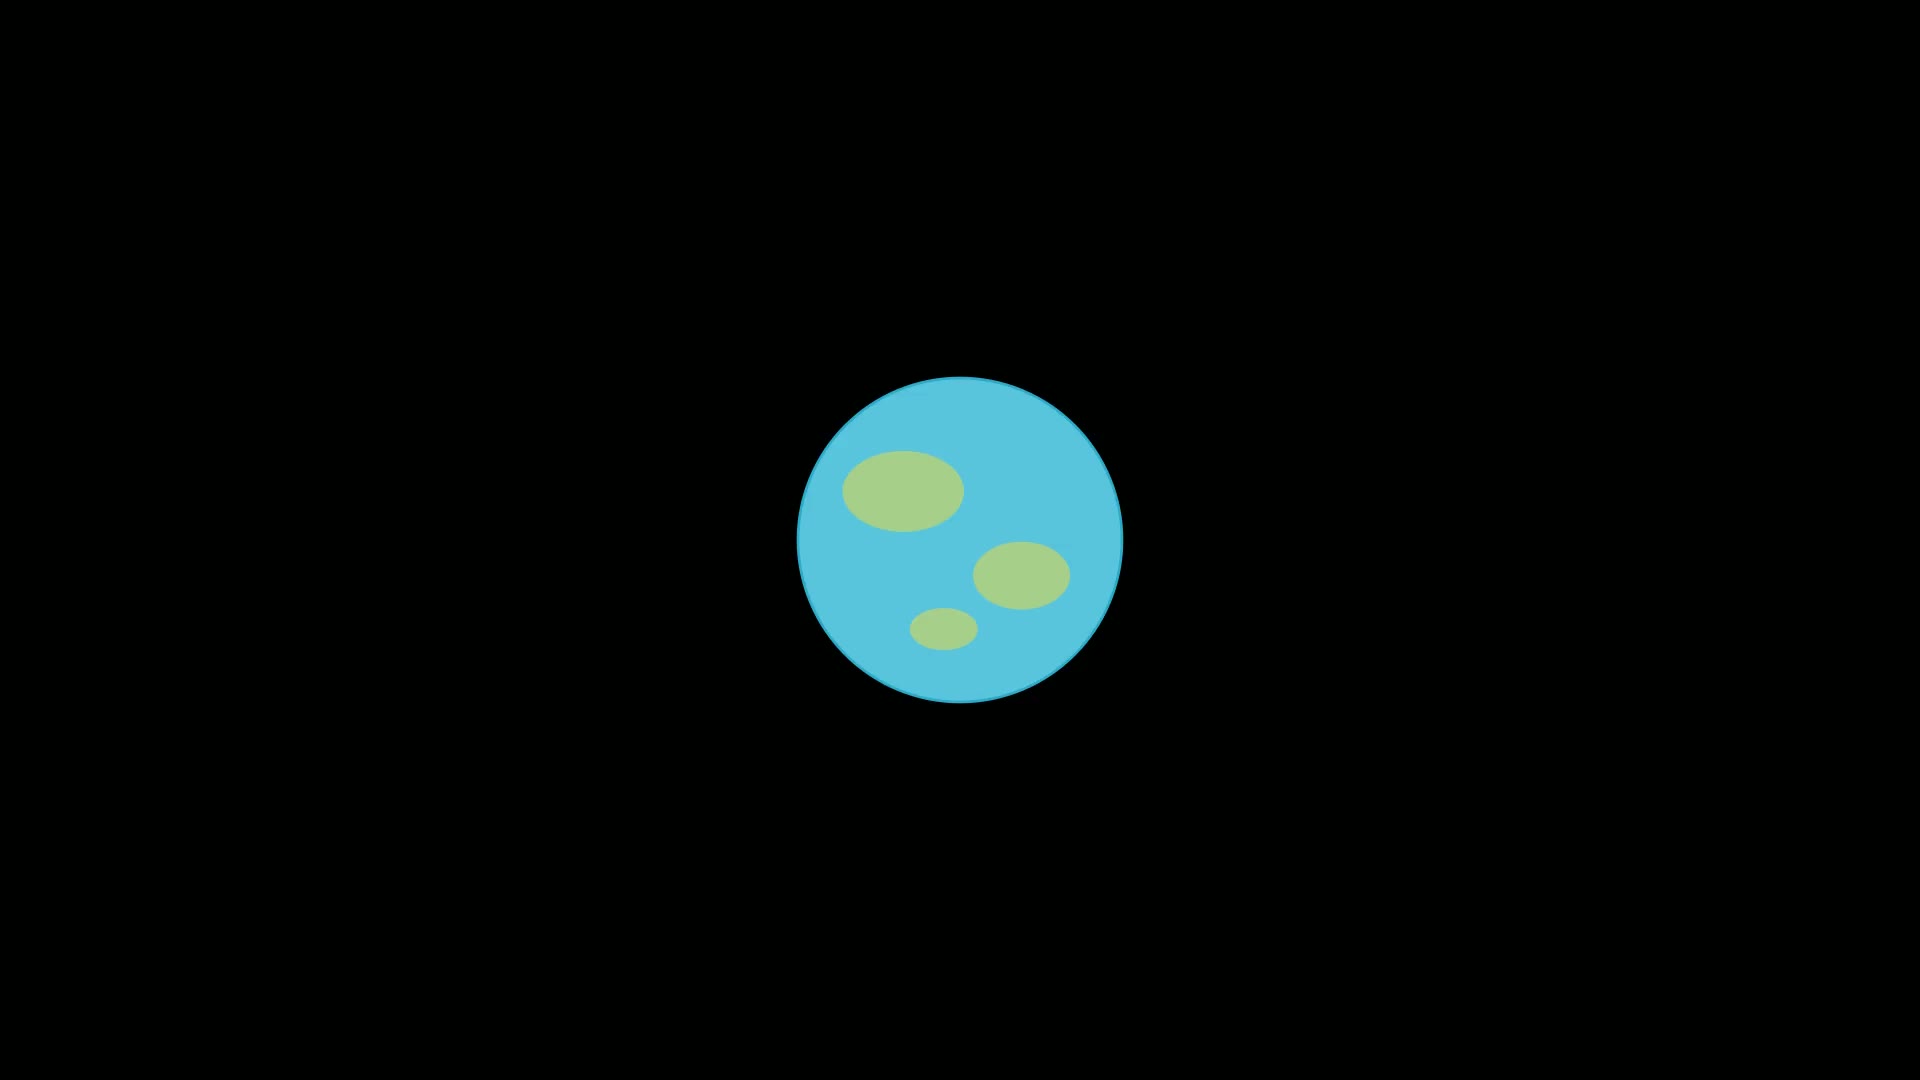
相机其实主要就是应用在3D场景中的,所以 manim的3D场景类 ThreeDScene中提供了一个非常方便的移动相机的方法 move_camera。
下面的示例中,我们用 move_camera方法来改变视角和调整视野。 示例中的球其实一直没动,也就是球上各点的坐标没有改变过。
1
2
3
4
5
6
7
8
9
10
11
12
13
14
15
16
17
18
19
20
21
22
| from manim import *
import numpy as np
def head(cn, en):
t = Text(cn, font="STLiti", font_size=27).to_edge(UP)
s = Text(en, font="Consolas", font_size=20, color=YELLOW).next_to(t, DOWN, buff=0.10)
return VGroup(t, s)
def foot(cn):
return Text(cn, font="STLiti", font_size=20, color=YELLOW).to_edge(DOWN)
class ThreeDCameraDemo(ThreeDScene):
def construct(self):
self.set_camera_orientation(phi=70 * DEGREES, theta=-45 * DEGREES)
self.add_fixed_in_frame_mobjects(head("三维相机:绕场景旋转", "begin_ambient_camera_rotation"))
axes = ThreeDAxes(x_length=6, y_length=6, z_length=4,
axis_config={"color": GREY_B})
ball = Sphere(radius=1.1, resolution=(16, 16)).set_fill(BLUE, opacity=0.55)
ring = Circle(radius=2.3, color=YELLOW).set_stroke(width=3)
self.add(axes, ball, ring)
self.begin_ambient_camera_rotation(rate=0.22)
self.wait(3.4)
self.stop_ambient_camera_rotation()
self.add_fixed_in_frame_mobjects(foot("三维场景靠相机角度变化展示空间关系"))
self.wait(2.6)
|
运行效果:
下载 Python 脚本
5. 总结回顾
本篇介绍从另一种角度来实现动画的方式,也就是不改变物体本身,而是改变观察物体的方式。
manim中能够操作相机的类主要有:
- MovingCameraScene:改变相机的焦点和视野
- ZoomedScene:增加多个相机,多个相机可以从不同的视角同时观察物体
- ThreeDScene:3D场景下的相机操作
主观感受,仅供参考。本文采用 本文采用 CC BY-NC-SA 4.0 许可 协议,
完整转载请注明来自
数学动画引擎。