Manim 提供了一系列专为三维空间设计的对象,让创建三维数学动画变得更加轻松。
本篇开始介绍其中最简单的点和线相关对象,也就是Dot3D(三维的点),Line3D(三维的线)和Arrow3D(三维的箭头)。
Dot3D用于表示三维空间中的点,是构建其他复杂三维图形的基础,它适用于标记关键点、位置、向量起点等。Line3D用于在三维空间中绘制线段,可以表示向量、路径、轨迹等。它适用于展示物体的运动轨迹、力的方向等。Arrow3D在Line3D的基础上添加了箭头,用于明确表示方向性的线段。它适用于表示矢量、力的方向、速度等。
1. 主要参数
Dot3D的主要参数:
| 参数名称 |
类型 |
说明 |
| point |
np.ndarray |
点的位置,包含 x,y,z 3个值 |
| radius |
float |
点的半径 |
| color |
Color |
点的颜色 |
| resolution |
tuple[int, int] |
点的分辨率 |
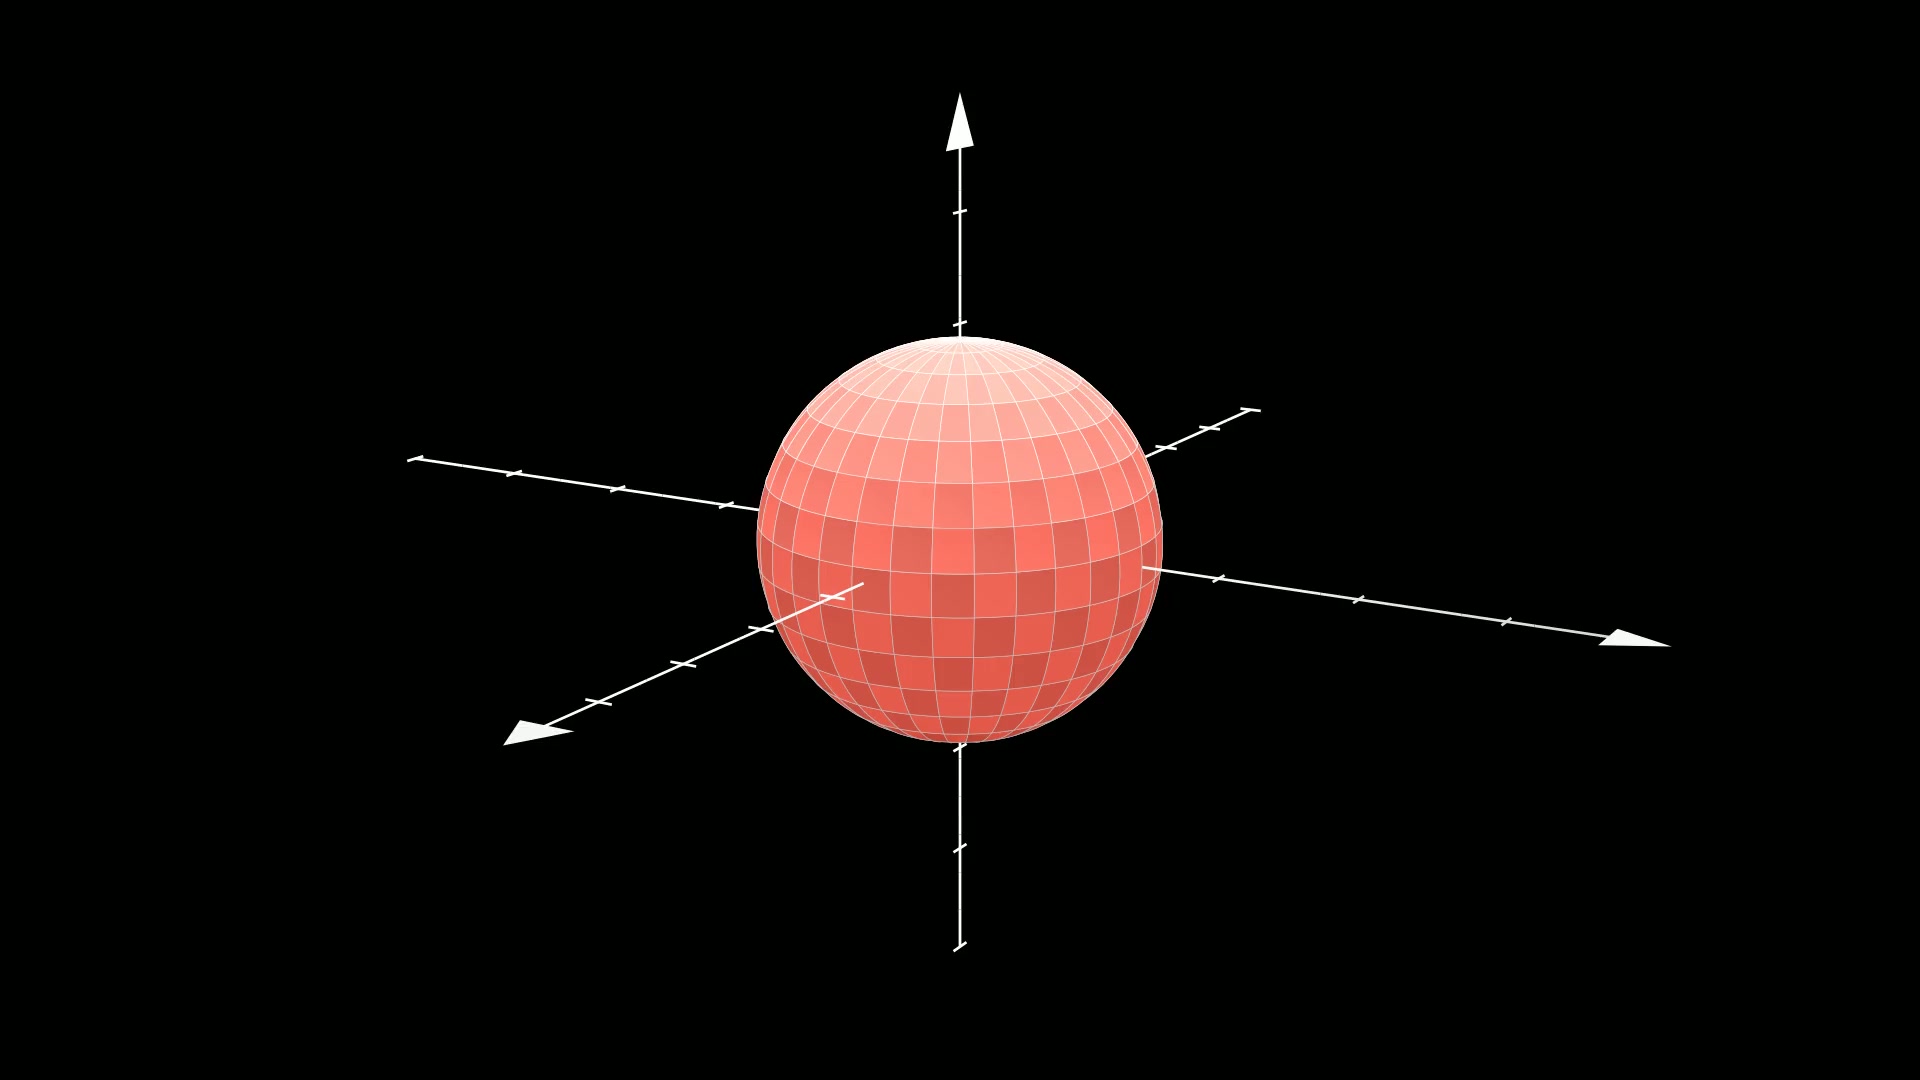
Dot3D本质上是个球形,所以有radius参数,控制点的大小;
resolution参数设置的是点这个球形的分辨率,值越大,点看上去越圆滑,一般不需要设置这个参数,默认值就可以了。
Line3D的主要参数:
| 参数名称 |
类型 |
说明 |
| start |
np.ndarray |
线段的起点坐标,包含 x,y,z 3个值 |
| end |
np.ndarray |
线段的终点坐标,包含 x,y,z 3个值 |
| thickness |
float |
线段的粗细 |
| color |
Color |
线段的颜色 |
Arrow3D的主要参数:
| 参数名称 |
类型 |
说明 |
| start |
np.ndarray |
箭头的起点坐标,包含 x,y,z 3个值 |
| end |
np.ndarray |
箭头的终点坐标,包含 x,y,z 3个值 |
| thickness |
float |
箭头主体的粗细 |
| height |
float |
箭头尖部的高度 |
| base_radius |
float |
箭头尖部的底部半径 |
| color |
Color |
箭头的颜色 |
2. 主要方法
Dot3D和Arrow3D没有什么特殊的方法,就是一些Manim对象常规的缩放,平移等方法。
但是,Line3D有几个自己特有的方法。
| 名称 |
说明 |
| parallel_to |
创建一条与给定线段平行的线段 |
| perpendicular_to |
创建一条与给定线段垂直的线段 |
| pointify |
获取表示对象中心的点 |
3. 使用示例
最后,还是通过示例来演示上面几个对象的重要参数和方法。
3.1. Dot3D的位置和颜色
在这个示例中,我们将创建两个Dot3D对象。三维坐标要先通过ThreeDAxes.c2p(x, y, z)换算成场景坐标才能定位点,所以代码里先建立坐标轴;直接把三维数值当成屏幕位置,或者连坐标轴都没定义就复制片段,都会得到错误画面或NameError。
第一个点具有默认的半径和颜色;而第二个点,我们将自定义其半径和颜色。
通过调整这些参数,我们可以清晰地看到两个点在三维空间中的位置和颜色差异。
1
2
3
4
5
6
7
8
9
10
11
12
13
14
15
16
17
18
19
20
21
22
23
24
25
26
27
28
29
| from manim import *
class Dot3DPositions(ThreeDScene):
"""3.1 Dot3D 本质是小球,radius 决定大小、resolution 决定球面精细度。
用 axes.c2p(x, y, z) 把三维坐标换成场景坐标才不会把点放错位置;
老示例里的 axes 根本没定义,直接复制会 NameError。
"""
def construct(self):
self.set_camera_orientation(phi=65 * DEGREES, theta=-50 * DEGREES)
title = Text("Dot3D 的位置、大小与颜色", font="STLiti", font_size=32).to_edge(UP)
self.add_fixed_in_frame_mobjects(title)
axes = ThreeDAxes(x_range=[-4, 4, 1], y_range=[-4, 4, 1],
z_range=[-4, 4, 1], x_length=7, y_length=7, z_length=5)
dot1 = Dot3D(point=axes.c2p(1, 2, 3))
dot2 = Dot3D(point=axes.c2p(2, 3, -1), radius=0.22, color=RED)
legend = VGroup(
Text("白点:默认 radius=0.08、白色", font="STLiti", font_size=21, color=WHITE),
Text("红点:radius=0.22、color=RED", font="STLiti", font_size=21, color=RED),
).arrange(DOWN, aligned_edge=LEFT, buff=0.16).to_corner(UL).shift(DOWN * 1.2)
self.add_fixed_in_frame_mobjects(legend)
self.play(FadeIn(title), run_time=0.6)
self.play(FadeIn(axes), run_time=1.4)
self.play(LaggedStart(FadeIn(dot1), FadeIn(dot2),
lag_ratio=0.5, run_time=1.4))
self.play(FadeIn(legend), run_time=0.8)
note = Text("点位用 axes.c2p(1,2,3) 换算,三维坐标不是屏幕坐标",
font="STLiti", font_size=20, color=YELLOW).to_edge(DOWN)
self.add_fixed_in_frame_mobjects(note)
self.play(FadeIn(note), run_time=0.6)
self.wait(2.6)
|
下载 Python 脚本
3.2. Line3D的长度和方向
此示例将展示如何使用Line3D对象在三维空间中绘制一条线段。
首先根据起点和终点设置一个线段,同时,调整线段的粗细和颜色来使其更加醒目。
然后,通过类方法parallel_to和perpendicular_to分别创建此线段的平行线(黄色)和垂线(红色)。注意这两个方法**返回一条新的Line3D**,并不会自动把线加到场景里,必须接住返回值再显式self.play(FadeIn(...))上屏,否则调用被丢弃,画面上只剩原来那条蓝线。此外point参数决定派生线经过的位置;选得不合适时垂线可能正对镜头、投影缩成一个点,看上去就像没画出来。
1
2
3
4
5
6
7
8
9
10
11
12
13
14
15
16
17
18
19
20
21
22
23
24
25
26
27
28
29
30
31
| from manim import *
class Line3DDirections(ThreeDScene):
"""3.2 parallel_to / perpendicular_to 是类方法,返回一条「新的」Line3D,
必须接住返回值并自己上屏;老示例调用了却把结果丢掉,画面里只剩一条蓝线。
point 指定派生线经过的位置,用它把三条线错开。
"""
def construct(self):
self.set_camera_orientation(phi=65 * DEGREES, theta=-50 * DEGREES)
title = Text("Line3D 与平行线 / 垂线", font="STLiti", font_size=32).to_edge(UP)
self.add_fixed_in_frame_mobjects(title)
line = Line3D(start=[-1, -2, -1], end=[1, 2, 2],
thickness=0.04, color=BLUE)
parallel = Line3D.parallel_to(line, point=UP * 2, length=4,
color=YELLOW, thickness=0.04)
perpendicular = Line3D.perpendicular_to(line, point=RIGHT * 2, length=4,
color=RED, thickness=0.04)
legend = VGroup(
Text("蓝:原始线段", font="STLiti", font_size=21, color=BLUE),
Text("黄:parallel_to 平行线", font="STLiti", font_size=21, color=YELLOW),
Text("红:perpendicular_to 垂线", font="STLiti", font_size=21, color=RED),
).arrange(DOWN, aligned_edge=LEFT, buff=0.16).to_corner(UL).shift(DOWN * 1.2)
self.add_fixed_in_frame_mobjects(legend)
self.play(FadeIn(title), run_time=0.6)
self.play(LaggedStart(*[FadeIn(x) for x in (line, parallel, perpendicular)],
lag_ratio=0.35, run_time=2.0))
self.play(FadeIn(legend), run_time=0.8)
note = Text("两个方法都返回新 Line3D,必须用 self.add / self.play 上屏",
font="STLiti", font_size=20, color=YELLOW).to_edge(DOWN)
self.add_fixed_in_frame_mobjects(note)
self.play(FadeIn(note), run_time=0.6)
self.wait(2.6)
|
下载 Python 脚本
3.3. Arrow3D的方向和样式
在这个示例中,我们使用Arrow3D对象来表示一个带箭头的线段,以强调方向性。
首先设置箭头的起点和终点,为了突出箭头,
再调整其粗细(thickness参数)、箭头尖部的高度(height参数)和底部半径(base_radius参数)。
1
2
3
4
5
6
7
8
9
10
11
12
13
14
15
16
17
18
19
20
21
22
23
24
25
26
27
28
29
| from manim import *
class Arrow3DStyle(ThreeDScene):
"""3.3 Arrow3D 在 Line3D 基础上加了锥形的箭头尖。
thickness 是杆身粗细,height 是尖部高度,base_radius 是尖部底面半径。
"""
def construct(self):
self.set_camera_orientation(phi=65 * DEGREES, theta=-50 * DEGREES)
title = Text("Arrow3D 的方向与样式", font="STLiti", font_size=32).to_edge(UP)
self.add_fixed_in_frame_mobjects(title)
axes = ThreeDAxes(x_range=[-3, 3, 1], y_range=[-3, 3, 1],
z_range=[-3, 3, 1], x_length=6, y_length=6, z_length=5)
arrow = Arrow3D(start=[-1, -1, -2], end=[1, 2, 2],
thickness=0.05, height=0.3, base_radius=0.12,
color=GREEN)
legend = VGroup(
Text("thickness=0.05 杆身粗细", font="STLiti", font_size=21, color=GREEN),
Text("height=0.3 箭头尖高度", font="STLiti", font_size=21, color=GREEN),
Text("base_radius=0.12 尖部底半径", font="STLiti", font_size=21, color=GREEN),
).arrange(DOWN, aligned_edge=LEFT, buff=0.16).to_corner(UL).shift(DOWN * 1.2)
self.add_fixed_in_frame_mobjects(legend)
self.play(FadeIn(title), run_time=0.6)
self.play(FadeIn(axes), run_time=1.2)
self.play(FadeIn(arrow), run_time=1.4)
self.play(FadeIn(legend), run_time=0.8)
note = Text("start / end 都是三维坐标,箭头方向由两者决定",
font="STLiti", font_size=20, color=YELLOW).to_edge(DOWN)
self.add_fixed_in_frame_mobjects(note)
self.play(FadeIn(note), run_time=0.6)
self.wait(2.6)
|
下载 Python 脚本
3.4. 综合使用Dot3D, Line3D和Arrow3D
在这个综合示例中,我们结合使用Dot3D、Line3D和Arrow3D来创建一个更复杂的三维场景。
首先,在场景中放置一个Dot3D对象作为起点。
然后,我们将使用Line3D对象从该点绘制一条线段到另一个位置,表示路径或轨迹。
最后,沿路径终点的方向添加一个Arrow3D对象表示前进方向。这三个对象彼此独立,构造之后每一个都要单独上屏;只FadeIn其中一个,起点或方向就会在画面里丢失。
通过调整这些对象的参数(如位置、颜色、粗细等),可以创建一个既清晰又富有表现力的三维图形,用于演示、教学或科学研究等多种目的。
1
2
3
4
5
6
7
8
9
10
11
12
13
14
15
16
17
18
19
20
21
22
23
24
25
26
27
28
29
30
| from manim import *
class ThreeDCombo(ThreeDScene):
"""3.4 综合:起点 Dot3D、路径 Line3D、终点方向 Arrow3D 一起上屏。
老示例只 FadeIn 了 line,点丢了、正文说的 Arrow3D 根本没创建。
"""
def construct(self):
self.set_camera_orientation(phi=65 * DEGREES, theta=-50 * DEGREES)
title = Text("Dot3D + Line3D + Arrow3D 综合场景", font="STLiti", font_size=30).to_edge(UP)
self.add_fixed_in_frame_mobjects(title)
start, end = [-1, -1, -1], [2, 2, 2]
dot = Dot3D(point=start, color=BLUE, radius=0.14)
line = Line3D(start=start, end=end, thickness=0.05, color=YELLOW)
arrow = Arrow3D(start=[1.2, 1.2, 1.2], end=[2.9, 2.9, 2.9],
thickness=0.05, height=0.28, base_radius=0.11, color=RED)
legend = VGroup(
Text("蓝点:路径起点", font="STLiti", font_size=21, color=BLUE),
Text("黄线:路径轨迹", font="STLiti", font_size=21, color=YELLOW),
Text("红箭头:终点方向", font="STLiti", font_size=21, color=RED),
).arrange(DOWN, aligned_edge=LEFT, buff=0.16).to_corner(UL).shift(DOWN * 1.2)
self.add_fixed_in_frame_mobjects(legend)
self.play(FadeIn(title), run_time=0.6)
self.play(FadeIn(dot), run_time=0.8)
self.play(FadeIn(line), run_time=1.4)
self.play(FadeIn(arrow), run_time=1.2)
self.play(FadeIn(legend), run_time=0.8)
note = Text("三个对象都要 self.add / self.play,缺一个就少一部分画面",
font="STLiti", font_size=20, color=YELLOW).to_edge(DOWN)
self.add_fixed_in_frame_mobjects(note)
self.play(FadeIn(note), run_time=0.6)
self.wait(2.4)
|
下载 Python 脚本
4. 附件

主观感受,仅供参考。本文采用 本文采用 CC BY-NC-SA 4.0 许可 协议,
完整转载请注明来自
数学动画引擎。