我们在使用Manim制作数学动画的时候,多数会用到点的移动问题,今天我们就来介绍如何制作一个动点,关于点的介绍,大家可以参考博客中的其他文章,这篇文章重点介绍如何移动一个点,来看下面的介绍。
本文主线:从最简单的 .animate.move_to(),到 MoveAlongPath、TracedPath、坐标系里的 c2p,最后用 ValueTracker + always_redraw 实现「点随数值实时联动」。所有示例都遵守三条:构造出的对象必须 self.add / self.play 才会上屏;always_redraw 对象用 self.add (不要用 FadeIn);中文一律 Text(font="STLiti"),否则会显示成豆腐块。
1. 使用 move_to() 移动点
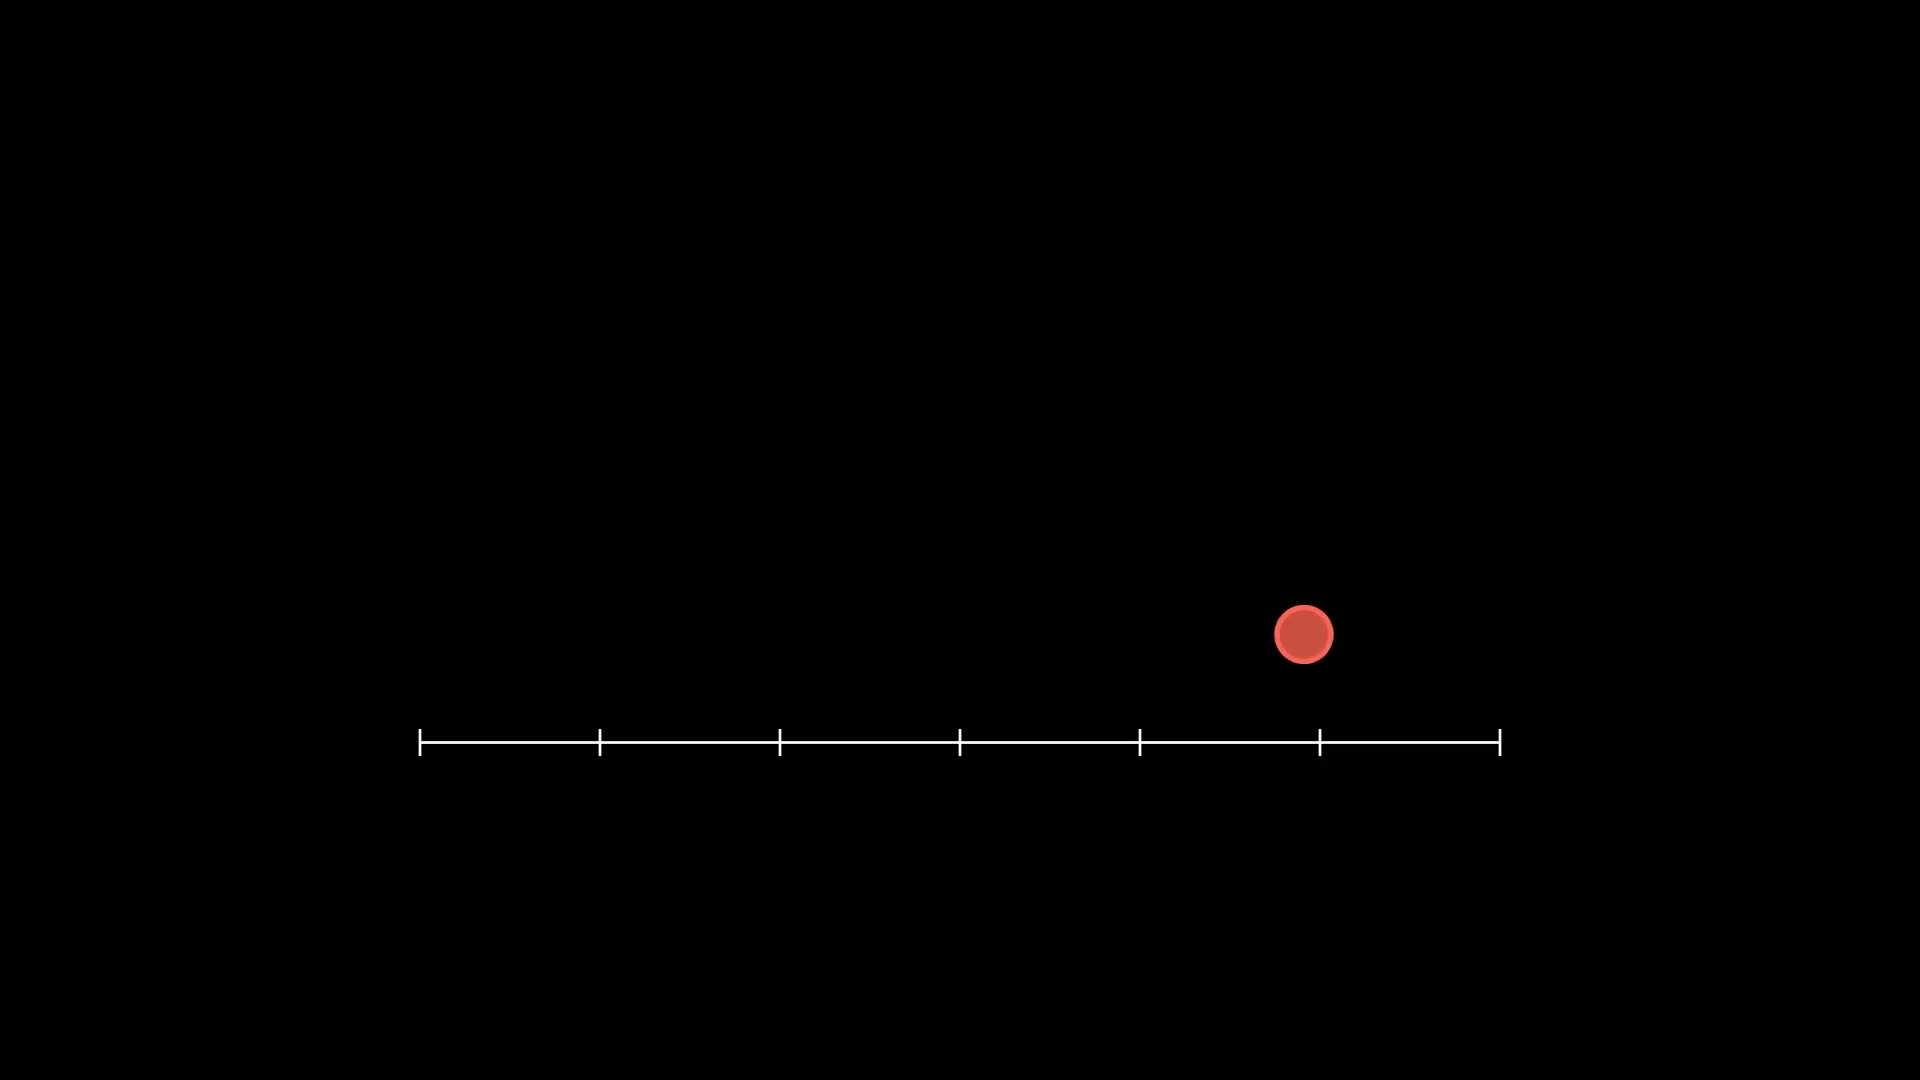
我们使用.move_to(),可以让 Dot 移动到另一点,配合动画使用:
1
2
3
4
5
6
7
8
9
10
11
12
13
14
15
16
17
18
19
20
| from manim import *
class DotMoveTo(Scene):
"""1. 最简单的动点:dot.animate.move_to(目标) 生成一段补间动画。
.animate 会把方法调用转成动画,等价于把 mobject 从当前状态插值到新状态。
"""
def construct(self):
title = Text("1. dot.animate.move_to() 移动点", font="STLiti", font_size=32).to_edge(UP)
start, end = LEFT * 3, RIGHT * 3
guide = DashedLine(start, end, color=GREY, stroke_width=2)
marks = VGroup(Dot(start, color=BLUE, radius=0.08),
Dot(end, color=GREEN, radius=0.08))
dot = Dot(start, color=YELLOW, radius=0.25)
self.play(FadeIn(title), run_time=0.6)
self.play(Create(guide), FadeIn(marks), run_time=0.8)
self.add(dot)
self.play(dot.animate.move_to(end), run_time=2.2)
note = Text(".animate 把方法调用变成补间动画,起止状态自动插值",
font="STLiti", font_size=22, color=YELLOW).to_edge(DOWN)
self.play(FadeIn(note), run_time=0.6)
self.wait(2.8)
|
下载 Python 脚本
2. 使用 MoveAlongPath 沿路径移动
用 MoveAlongPath(dot, path) 可以让点沿任意 VMobject 路径运动,下面这条直线路径从 (0, 0) 走到 (2, 1):
1
2
3
4
5
6
7
8
9
10
11
12
13
14
15
16
17
18
19
20
21
22
23
24
25
| from manim import *
class DotAlongPath(Scene):
"""2. MoveAlongPath 让点沿任意 VMobject 路径运动。
点必须先上屏(self.add),路径用 FadeIn/Create 显示;
run_time 决定走完整个路径所需的时间。
"""
def construct(self):
title = Text("2. MoveAlongPath 沿路径移动", font="STLiti", font_size=32).to_edge(UP)
path = Line(ORIGIN, RIGHT * 2 + UP * 1, color=BLUE, stroke_width=4)
path.shift(LEFT * 1.5 + DOWN * 0.4)
dot = Dot(path.get_start(), color=GREEN, radius=0.22)
caps = VGroup(
Text("起点 (0, 0)", font="STLiti", font_size=20, color=GREY),
Text("终点 (2, 1)", font="STLiti", font_size=20, color=GREY),
)
caps[0].next_to(path.get_start(), DOWN, buff=0.35)
caps[1].next_to(path.get_end(), UP, buff=0.35)
self.play(FadeIn(title), run_time=0.6)
self.play(Create(path), FadeIn(caps), run_time=1.0)
self.add(dot)
self.play(MoveAlongPath(dot, path), run_time=3.0)
note = Text("路径可以是任意 VMobject:Line、Arc、自定义曲线都行",
font="STLiti", font_size=22, color=YELLOW).to_edge(DOWN)
self.play(FadeIn(note), run_time=0.6)
self.wait(2.6)
|
下载 Python 脚本
3. 用 TracedPath 绘制轨迹
我们还可以绘制轨迹点(追踪)配合 TracedPath 可以绘制 Dot 运动轨迹:
1
2
3
4
5
6
7
8
9
10
11
12
13
14
15
16
17
18
| from manim import *
class DotTracedPath(Scene):
"""3. TracedPath 记录点每帧的位置并连成轨迹。
必须 self.add(trace) 才会画出轨迹;传入的是「取点函数」dot.get_center,
不要写成 dot.get_center()(那样只传一次坐标,轨迹不会更新)。
"""
def construct(self):
title = Text("3. TracedPath 绘制运动轨迹", font="STLiti", font_size=32).to_edge(UP)
dot = Dot(RIGHT * 2.5, color=WHITE, radius=0.22)
trace = TracedPath(dot.get_center, stroke_color=RED, stroke_width=3)
center = Dot(ORIGIN, color=BLUE, radius=0.07)
self.play(FadeIn(title), run_time=0.6)
self.add(center, trace, dot)
self.play(Rotating(dot, about_point=ORIGIN, angle=2 * PI), run_time=4.0)
note = Text("传入函数名 dot.get_center,TracedPath 每帧取一次位置",
font="STLiti", font_size=22, color=YELLOW).to_edge(DOWN)
self.play(FadeIn(note), run_time=0.6)
self.wait(2.4)
|
下载 Python 脚本
4. 配合坐标系使用(c2p)
多数情况下,我们还是在坐标系中使用动点。这一节先演示把点从一个坐标平移到另一个坐标(沿函数图像运动放到第 5 节):
1
2
3
4
5
6
7
8
9
10
11
12
13
14
15
16
17
18
19
20
21
22
| from manim import *
class DotWithAxes(Scene):
"""4. 在坐标系里移动点:c2p(x, y) 把数学坐标换成屏幕坐标。
0.21 里 coords_to_point 是 c2p 的别名,两者等价;
点落在函数上要先算出对应的 y,再换成屏幕位置。
"""
def construct(self):
title = Text("4. 坐标系中的动点 c2p", font="STLiti", font_size=32).to_edge(UP)
axes = Axes(x_range=[0, 4, 1], y_range=[0, 6, 1],
x_length=9, y_length=5.2, tips=False)
labels = axes.get_axis_labels(Text("x", font_size=24), Text("y", font_size=24))
p1, p2 = axes.c2p(1, 1), axes.c2p(2, 4)
dot = Dot(p1, color=YELLOW, radius=0.16)
guide = DashedLine(p1, p2, color=GREY, stroke_width=2)
self.play(FadeIn(title), run_time=0.6)
self.play(FadeIn(axes), FadeIn(labels), run_time=1.0)
self.play(Create(guide), FadeIn(dot), run_time=0.8)
self.play(dot.animate.move_to(p2), run_time=2.0)
note = Text("coords_to_point(1, 1) == c2p(1, 1),数学坐标 → 屏幕坐标",
font="STLiti", font_size=21, color=YELLOW).to_edge(DOWN)
self.play(FadeIn(note), run_time=0.6)
self.wait(2.6)
|
下载 Python 脚本
这里用 axes.coords_to_point()(0.21 里等价于简写 axes.c2p())把数学坐标换成屏幕坐标,反方向是 p2c();点要落在函数图像上,必须先算出对应的 y 值。
5. ValueTracker + always_redraw 实时跟踪
你可以让 Dot 作为坐标系中的点,配合 always_redraw 来实现实时跟踪某个函数的图像:
ValueTracker 是被动画化的数值:tracker.animate.set_value(2) 把值从 -2 平滑推到 2;always_redraw(lambda: ...) 每帧重新执行 lambda 并读取 tracker.get_value(),所以点与标签始终跟着当前值走。这是 Manim 里「参数驱动图形」的通用套路。
1
2
3
4
5
6
7
8
9
10
11
12
13
14
15
16
17
18
19
20
21
22
23
24
25
26
27
28
| from manim import *
class DotOnGraph(Scene):
"""5. ValueTracker + always_redraw 实现「点沿函数图像运动」。
ValueTracker 是可动画的数值容器;always_redraw 每次重画时都读当前值,
所以点、数值标签会随 tracker 实时更新。always_redraw 对象用 self.add 上屏,
不要用 FadeIn(淡入会与重绘冲突)。
"""
def construct(self):
title = Text("5. ValueTracker + always_redraw", font="STLiti", font_size=32).to_edge(UP)
axes = Axes(x_range=[-3, 3, 1], y_range=[0, 9, 1],
x_length=8, y_length=5, tips=False)
graph = axes.plot(lambda x: x ** 2, x_range=[-2.8, 2.8], color=BLUE)
tracker = ValueTracker(-2)
self.add(tracker)
dot = always_redraw(lambda: Dot(
axes.c2p(tracker.get_value(), tracker.get_value() ** 2),
color=YELLOW, radius=0.13))
label = always_redraw(lambda: Text(
"x = %.1f" % tracker.get_value(), font="STLiti",
font_size=24, color=WHITE).next_to(dot, UP, buff=0.25))
self.play(FadeIn(title), run_time=0.6)
self.play(FadeIn(axes), Create(graph), run_time=1.2)
self.add(dot, label)
self.play(tracker.animate.set_value(2), run_time=3.0)
note = Text("y = x²:点始终落在曲线上,数值标签同步跟随",
font="STLiti", font_size=22, color=YELLOW).to_edge(DOWN)
self.play(FadeIn(note), run_time=0.6)
self.wait(2.4)
|
下载 Python 脚本
在这里介绍一下扩展知识
lambda函数是一种特殊类型的函数,也被叫做匿名函数。匿名意味着它不需要像常规函数那样使用 def 进行命名。lambda函数本质上是简洁的临时函数,它适用于只需要简单逻辑的场景,并且通常会在代码里被直接使用,不会像普通函数那样被长期保存和复用。
lambda函数主要用于简化代码结构,它的主要特点是:
- 即用即弃:不需要预先定义
- 简洁性:单行表达式实现功能
- 函数式编程:作为参数传递高阶函数
常用的表达式
代码中的
就是临时创建一个简单的二次函数。我们会有专门的文章来介绍这个函数的创建过程。今天的教程就到这里,最后点沿着函数图像运动的问题,会有专门的文章来分析介绍。
附:运行方式
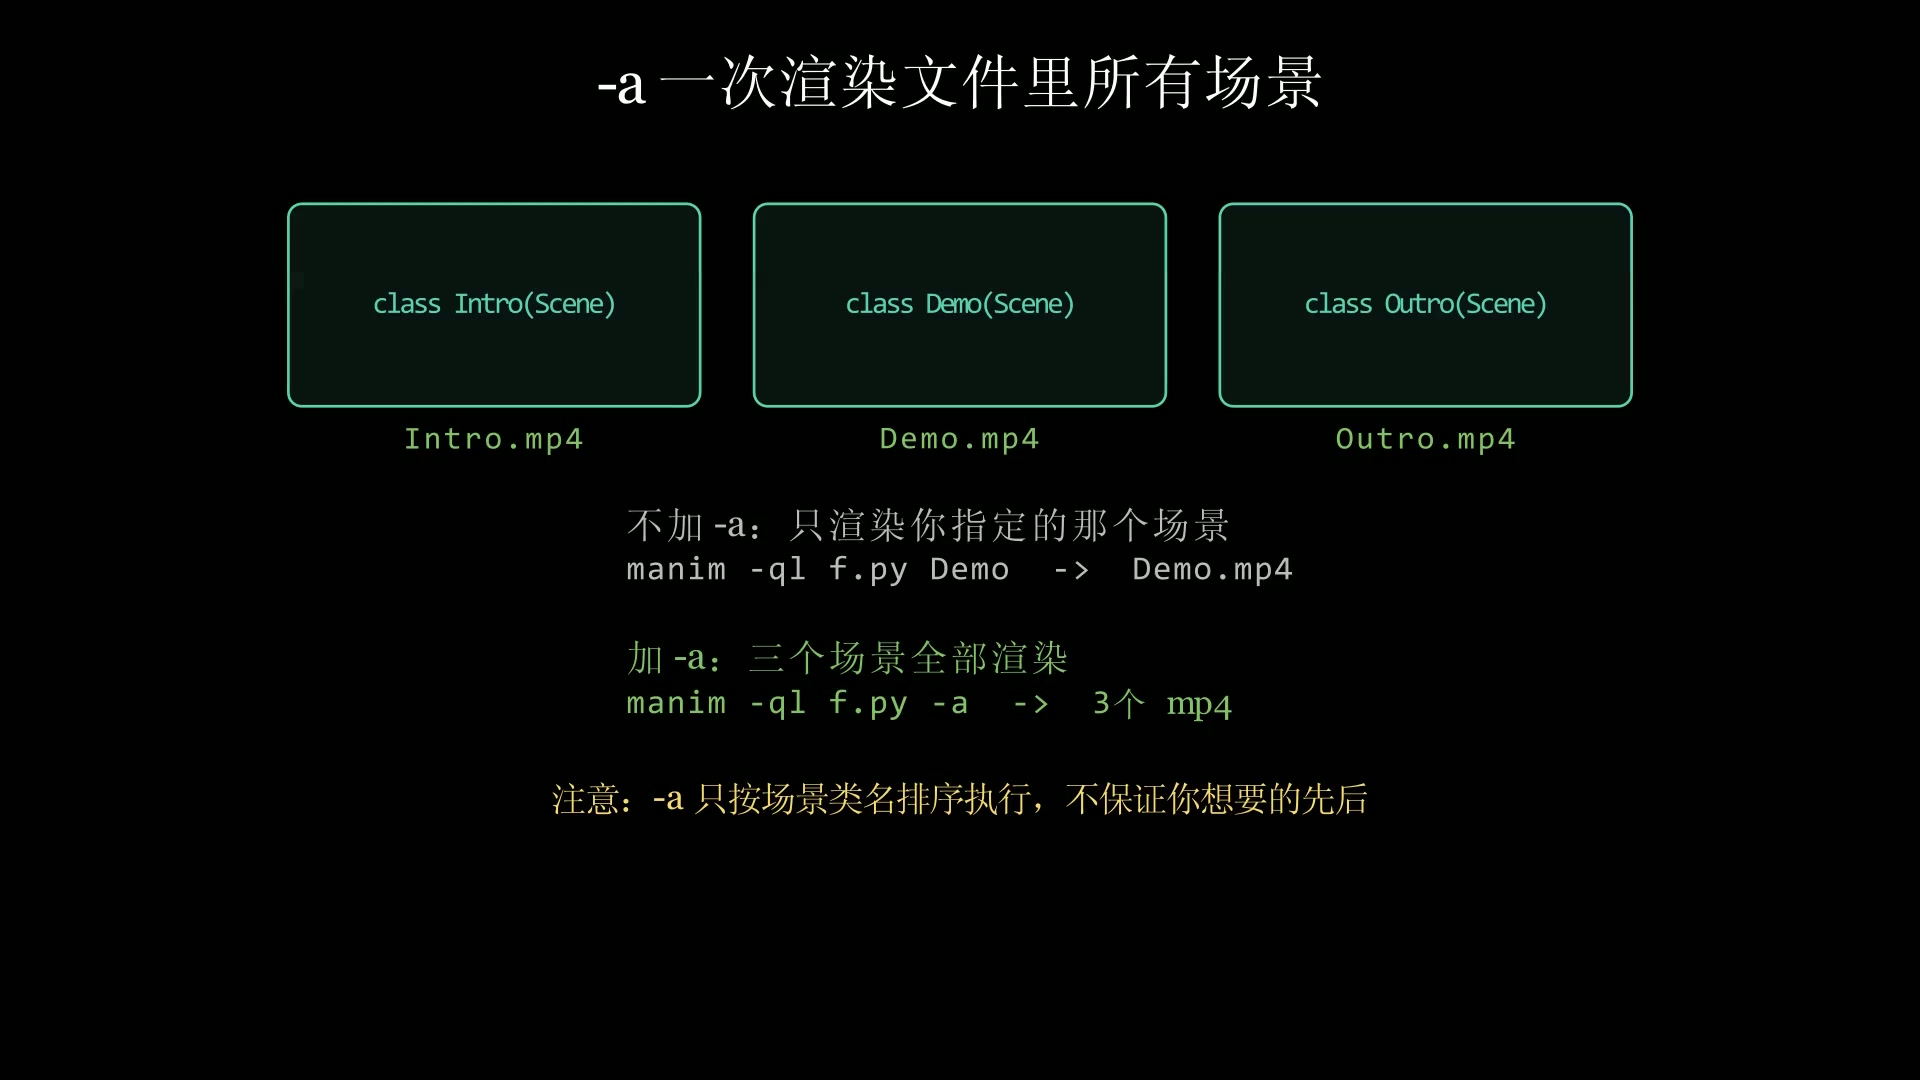
本文 5 个脚本可直接运行(Manim CE 0.21.0),例如 manim -qh --disable_caching -a 20241026143503000.py;五个脚本分别对应第 1~5 节的视频,下载链接就在各节视频上方。

主观感受,仅供参考。本文采用 本文采用 CC BY-NC-SA 4.0 许可 协议,
完整转载请注明来自
数学动画引擎。