在 Manim 中,Arc 类用于绘制圆弧,是几何图形绘制中常用的对象之一。以下是详细的用法说明:
1.基础圆弧
我们来看下面的代码示例
1
2
3
4
5
6
7
8
| from manim import *
class BasicArc(Scene):
def construct(self):
arc = Arc()
self.play(Create(arc))
self.wait()
|
然后是演示的效果
参数说明
1
2
3
4
5
6
| # 参数说明:
# radius: 圆弧的半径
# start_angle: 圆弧开始的弧度
# angle: 圆弧的高度(2*半径)
# num_components: 组成弧的片段,这个值越大,弧越圆滑
# arc_cente: 圆弧对应的圆心位置
|
2.画一个半圆
来看实例代码
1
2
3
4
5
6
7
8
9
10
11
12
13
14
| from manim import *
class ArcParameters(Scene):
def construct(self):
arc = Arc(
radius=2,
angle=PI,
start_angle=0,
color=BLUE,
stroke_width=6,
)
self.play(Create(arc))
self.wait()
|
实际效果如下
3.不同角度的圆弧
1
2
3
4
5
6
7
8
9
10
11
12
13
14
15
16
17
18
19
20
21
22
23
24
25
26
27
28
29
30
31
32
33
| from manim import *
class DifferentArcs(Scene):
def construct(self):
arc1 = Arc(angle=PI/2).shift(LEFT*3)
arc2 = Arc(angle=PI).shift(LEFT)
arc3 = Arc(angle=3*PI/2).shift(RIGHT)
arc4 = Arc(angle=2*PI).shift(RIGHT*3)
labels = VGroup(
Text("90°").next_to(arc1, DOWN),
Text("180°").next_to(arc2, DOWN),
Text("270°").next_to(arc3, DOWN),
Text("360°").next_to(arc4, DOWN)
)
self.play(Create(arc1))
self.wait()
self.play(Create(arc2))
self.wait()
self.play(Create(arc3))
self.wait()
self.play(Create(arc4))
self.wait()
self.play(Create(labels))
self.wait()
|
实际效果是
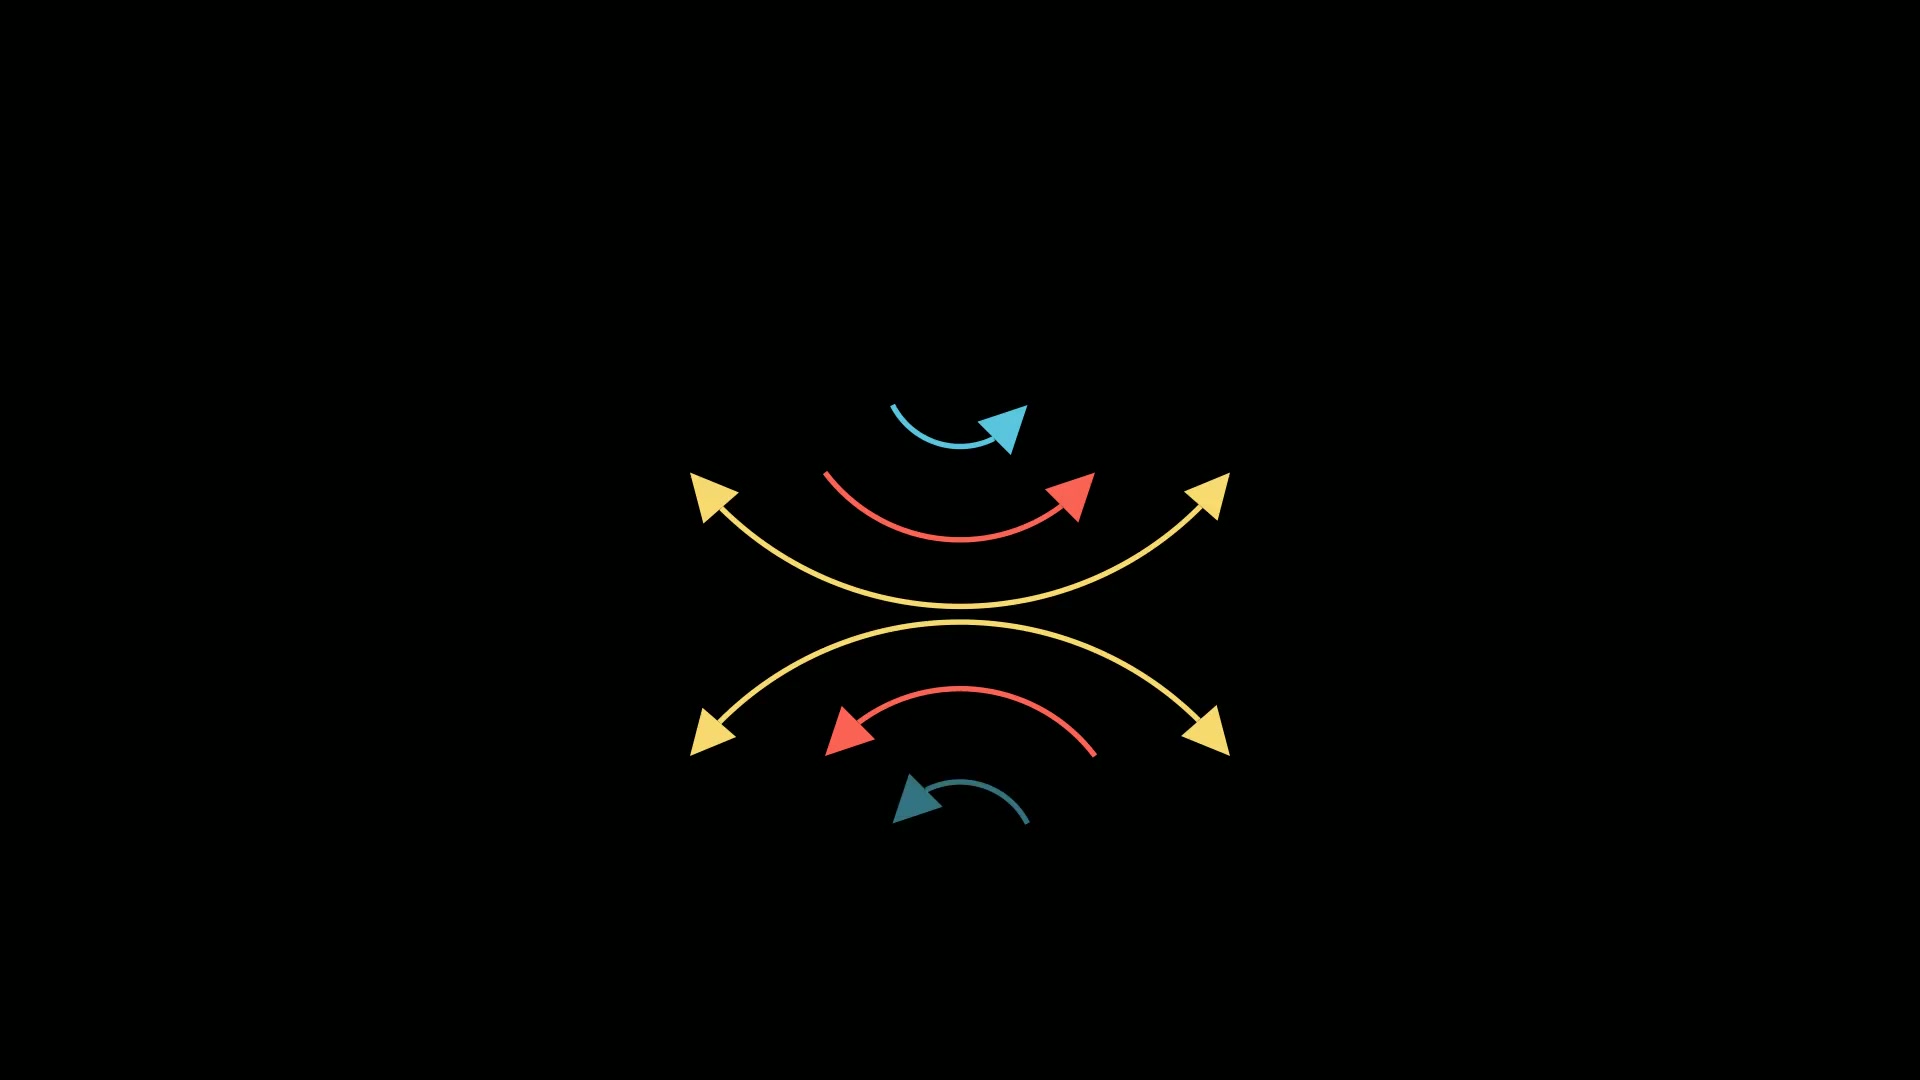
4.带箭头的圆弧
代码如下
1
2
3
4
5
6
7
8
9
10
11
12
13
14
15
16
17
18
19
20
21
22
23
24
25
26
27
| from manim import *
class ArcWithArrow(Scene):
def construct(self):
arc = Arc(
radius=2,
angle=2*PI/3,
start_angle=PI/6,
color=YELLOW,
stroke_width=8
)
arc_with_arrow = Arrow(
arc.point_from_proportion(0),
arc.point_from_proportion(1),
color=RED
).put_start_and_end_on(
arc.point_from_proportion(0.45),
arc.point_from_proportion(0.55)
)
self.play(Create(arc))
self.wait()
self.play(Create(arc_with_arrow))
self.wait()
|
5.圆弧动画
1
2
3
4
5
6
7
8
9
10
11
12
13
14
15
16
17
18
19
| from manim import *
class ArcAnimations(Scene):
def construct(self):
arc = Arc(radius=1.5, angle=TAU*0.75)
self.play(Create(arc))
self.wait(0.5)
self.play(Rotate(arc, angle=PI, run_time=2))
self.wait(0.5)
arc2 = Arc(radius=1.5, angle=PI/2, color=RED)
self.play(Transform(arc, arc2))
self.wait()
|
演示的效果如下
6.带标签的圆弧
1
2
3
4
5
6
7
8
9
10
11
12
13
14
15
16
17
18
19
20
21
22
23
24
25
26
27
28
29
30
| from manim import *
class ArcWithPoints(Scene):
def construct(self):
arc = Arc(
radius=2,
angle=120*DEGREES,
start_angle=30*DEGREES,
color=BLUE
)
start_point = arc.get_start()
end_point = arc.get_end()
center = arc.get_arc_center()
dot_start = Dot(start_point, color=RED)
dot_end = Dot(end_point, color=GREEN)
dot_center = Dot(center, color=YELLOW)
label_start = Text("起点", font_size=24).next_to(start_point, UP)
label_end = Text("终点", font_size=24).next_to(end_point, DOWN)
label_center = Text("圆心", font_size=24).next_to(center, LEFT)
self.play(Create(arc), Create(dot_start), Create(dot_end), Create(dot_center))
self.wait()
self.play(Create(label_start), Create(label_end), Create(label_center))
self.wait()
|
实际的演示效果
7. 注意事项
- 角度单位:Manim中使用弧度制,可以使用
PI、DEGREES 常量转换
- 性能考虑:对于复杂动画,避免创建过多圆弧对象
- 与Circle的区别:
Arc 是开放曲线Circle 是封闭曲线Arc 可以使用 get_start() 和 get_end() 方法
这些是 Arc 的基本用法,你可以根据需要组合使用这些功能来创建复杂的几何图形和动画。

主观感受,仅供参考。本文采用 本文采用 CC BY-NC-SA 4.0 许可 协议,
完整转载请注明来自
数学动画引擎。