本篇介绍Manim中的两个旋转类的动画,名称差不多,分别是Rotate和Rotating。
Rotate类主要用于对图形对象进行指定角度、围绕特定点的精确旋转,适用于几何图形演示、物理模拟和机械运动展示等场景;
Rotating类则侧重于创建让对象围绕指定轴或点持续旋转的动画,用于动态图标、天体运动模拟和装饰性动态元素等场景。
1. 动画概述
1.1. Rotate
Rotate是一个用于对Mobject进行旋转的动画类。
它通过指定旋转角度、旋转轴等参数来实现精确的旋转效果,例如,它可以围绕特定点(如对象的中心或者自定义的点)进行旋转。
此外,还可以设置旋转的起始角度和终止角度,并且可以指定旋转的速率,通过控制动画运行的时间来调整旋转的快慢。
它的主要参数有:
| 参数名称 | 类型 | 说明 |
|---|---|---|
| mobject | Mobject | 要旋转的Mobject对象 |
| angle | float | 旋转角度,以弧度为单位指定 |
| axis | np.ndarray | 旋转轴,用向量表示 |
| about_point | [float] | 旋转中心 |
| about_edge | [float] | 指定边界框点的方向作为旋转中心 |
about_point和about_edge只有一个有效,当about_point为None时,about_edge才生效。
1.2. Rotating
Rotating更侧重于创建一个持续旋转的动画效果。
它会使Mobject一直围绕指定的轴或点进行旋转,通常用于创建动态的、循环的旋转场景。
它可以设置旋转的方向(顺时针或逆时针),并且可以方便地控制旋转的速度。
它的主要参数有:
| 参数名称 | 类型 | 说明 |
|---|---|---|
| mobject | Mobject | 要旋转的Mobject对象 |
| radians | np.ndarray | 旋转的弧度值 |
| axis | np.ndarray | 旋转轴 |
| about_point | [float] | 旋转中心 |
| about_edge | [float] | 指定边界框点的方向作为旋转中心 |
| rate_func | func | 速率函数,用于控制动画在时间上的进展速度 |
1.3. 两种旋转的区别与联系
Rotate 和 Rotating 有明显的区别和联系。
在区别方面,Rotate 重点在于精确控制旋转,它有明确的起始和终止角度设定,可以精准地让 Mobject 从一个角度旋转到另一个角度,适合一次性的、角度明确的旋转操作。
例如,将一个三角形从初始位置旋转 30 度来展示特定的几何关系。
而 Rotating 是让 Mobject 持续旋转,没有终止角度的限制,只要动画持续,就会一直围绕指定轴或点循环旋转,更适合用于需要持续动态旋转的场景,如一个不停旋转的风车。
它们的联系之处在于都用于实现旋转动画,都依赖于图形对象(Mobject)和旋转轴、旋转中心这些基本要素。
而在一些复杂的动画场景中,还可以配合使用,比如先用 Rotate 将物体旋转到一个特定位置,再用 Rotating 让其在该位置持续旋转。
2. 使用示例
下面通过示例来演示Rotate 和 Rotating动画的使用。
2.1. Rotate 时钟指针的旋转
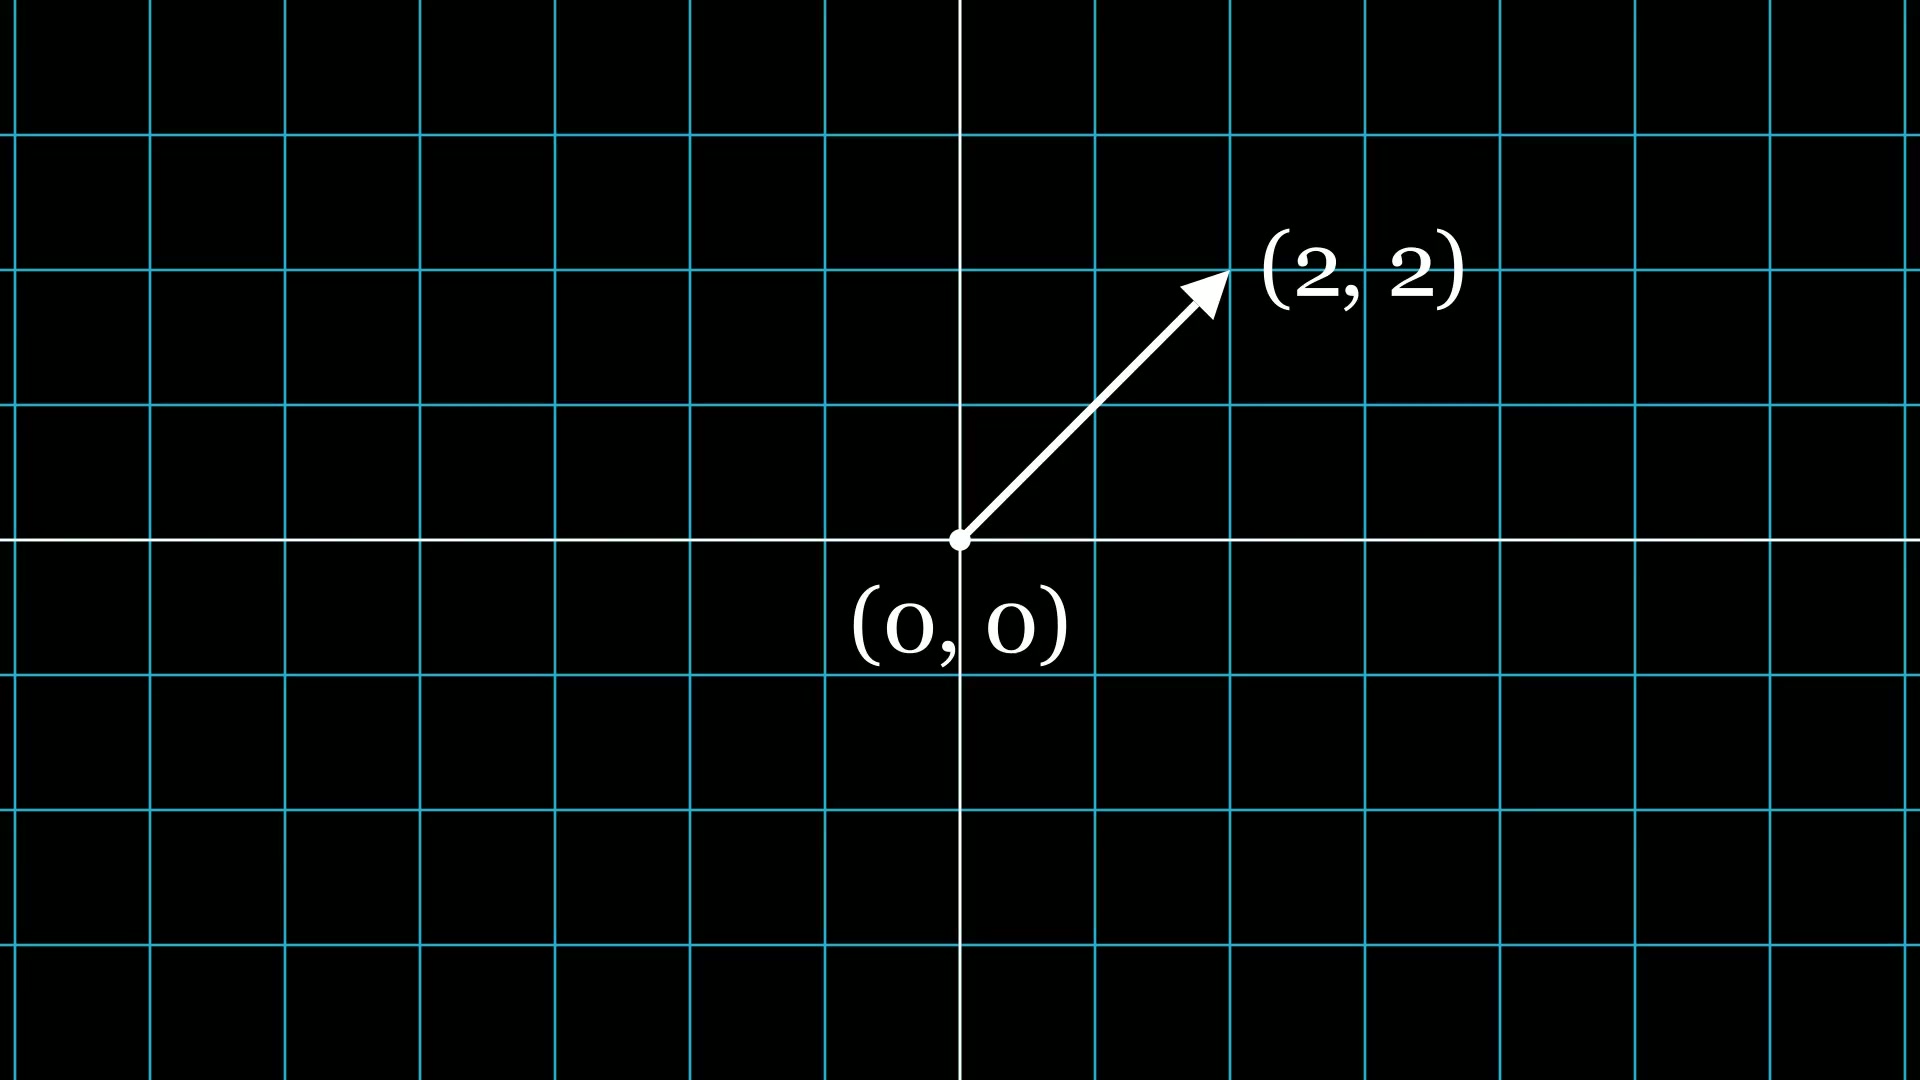
该示例用箭头线段代表时钟指针,通过 Rotate 动画,围绕原点将指针从 12点位置旋转到 3点位置(即旋转 90 度,对应PI/2弧度)。
以此简单模拟时钟指针的转动情况,直观展现 Rotate 在模拟有明确角度变化场景下的应用。
1 | from manim import * |
2.2. Rotating 风扇叶片旋转
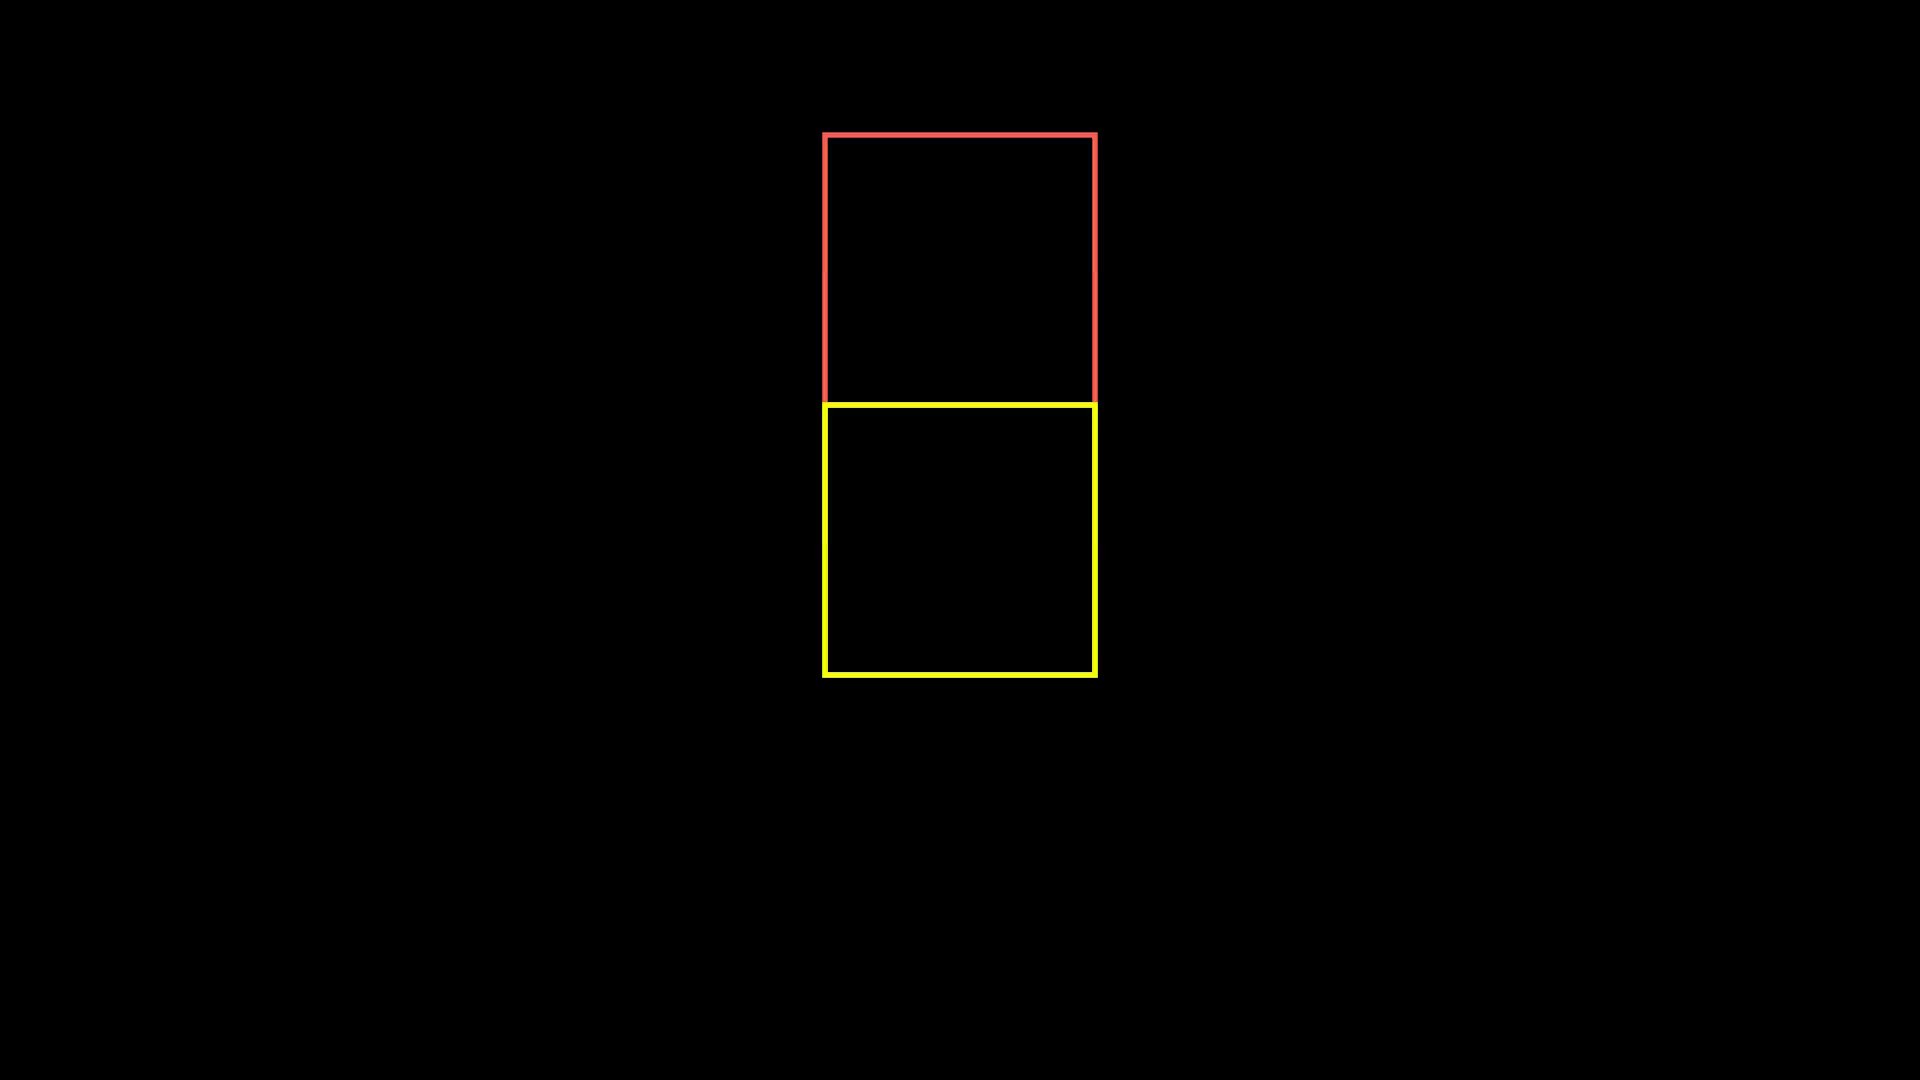
以两个矩形表示风扇叶片,借助 Rotating 动画类,让叶片围绕其中心,沿着垂直屏幕向外的轴持续旋转,一圈又一圈,设定旋转一圈的时长为 4 秒。
很好地体现了 Rotating 用于创建持续旋转效果的功能,模拟风扇叶片不停转动的场景。
1 | from manim import * |
2.3. Rotate 和 Rotating 旋转门
用矩形作为旋转门的一扇门叶,先通过 Rotate 将门叶从关闭位置旋转到一个位置,
随后使用 Rotating 让门叶在打开位置以小角度围绕其左下角持续摆动,还借助 wiggle 速率函数营造摆动效果。
以此模拟旋转门打开后受外界因素影响产生摆动的场景,展示了两个动画类结合使用的灵活性。
1 | from manim import * |