你在制作Manim动画时,是否遇到过这样的困境?

“代码写得天衣无缝,运行流畅,出来的动画却总觉得哪里不对劲?”

虽然物体确实从 A 移动到了 B,但看起来就像是老旧的工业机器人在干活——僵硬、死板,甚至有点无聊。

其实,你的动画离 “丝滑” 和 “专业”,往往只差这一个参数的距离:rate_func **(速率函数)**。

今天,我们就来聊聊 Manim 中这个不起眼但至关重要的参数,看看如何通过控制 “时间的流速”,让你的数学动画不仅能动,而且动得有节奏、有灵魂。

1. 什么是 Rate Function?(给时间的进度条)

在 Manim 中,当你写下 .animate.shift(RIGHT) 时,默认发生了什么?

如果你觉得动画只是简单的“在 Run Time 时间内移动距离 RIGHT”,那只对了一半。Rate Function 本质上是动画完成度与时间的关系。

想象一下你在看视频时的进度条:

  • 输入():当前时间过去了多少(从 0 到 1,代表 0% 到 100% 的时间)。
  • 输出():动画实际上完成了多少(从 0 到 1,代表 0% 到 100% 的进度)。

默认的魔法:Smooth

Manim 的默认 rate_func 是 smooth。
这符合物理世界的惯性定律:起步时慢(加速),中间快,快结束时慢(减速)。

这就是为什么默认的动画看起来比较自然。

如果我们把它换成 linear(线性),物体就会瞬间以最大速度启动,最后瞬间急停,看起来就会很像 “PPT 动画”。

2. 常用函数图鉴:选对“调味料”

Manim内置了一大堆写好的函数,位于 manim.utils.rate_functions。

我们可以把它们看作是给动画调味的香料。

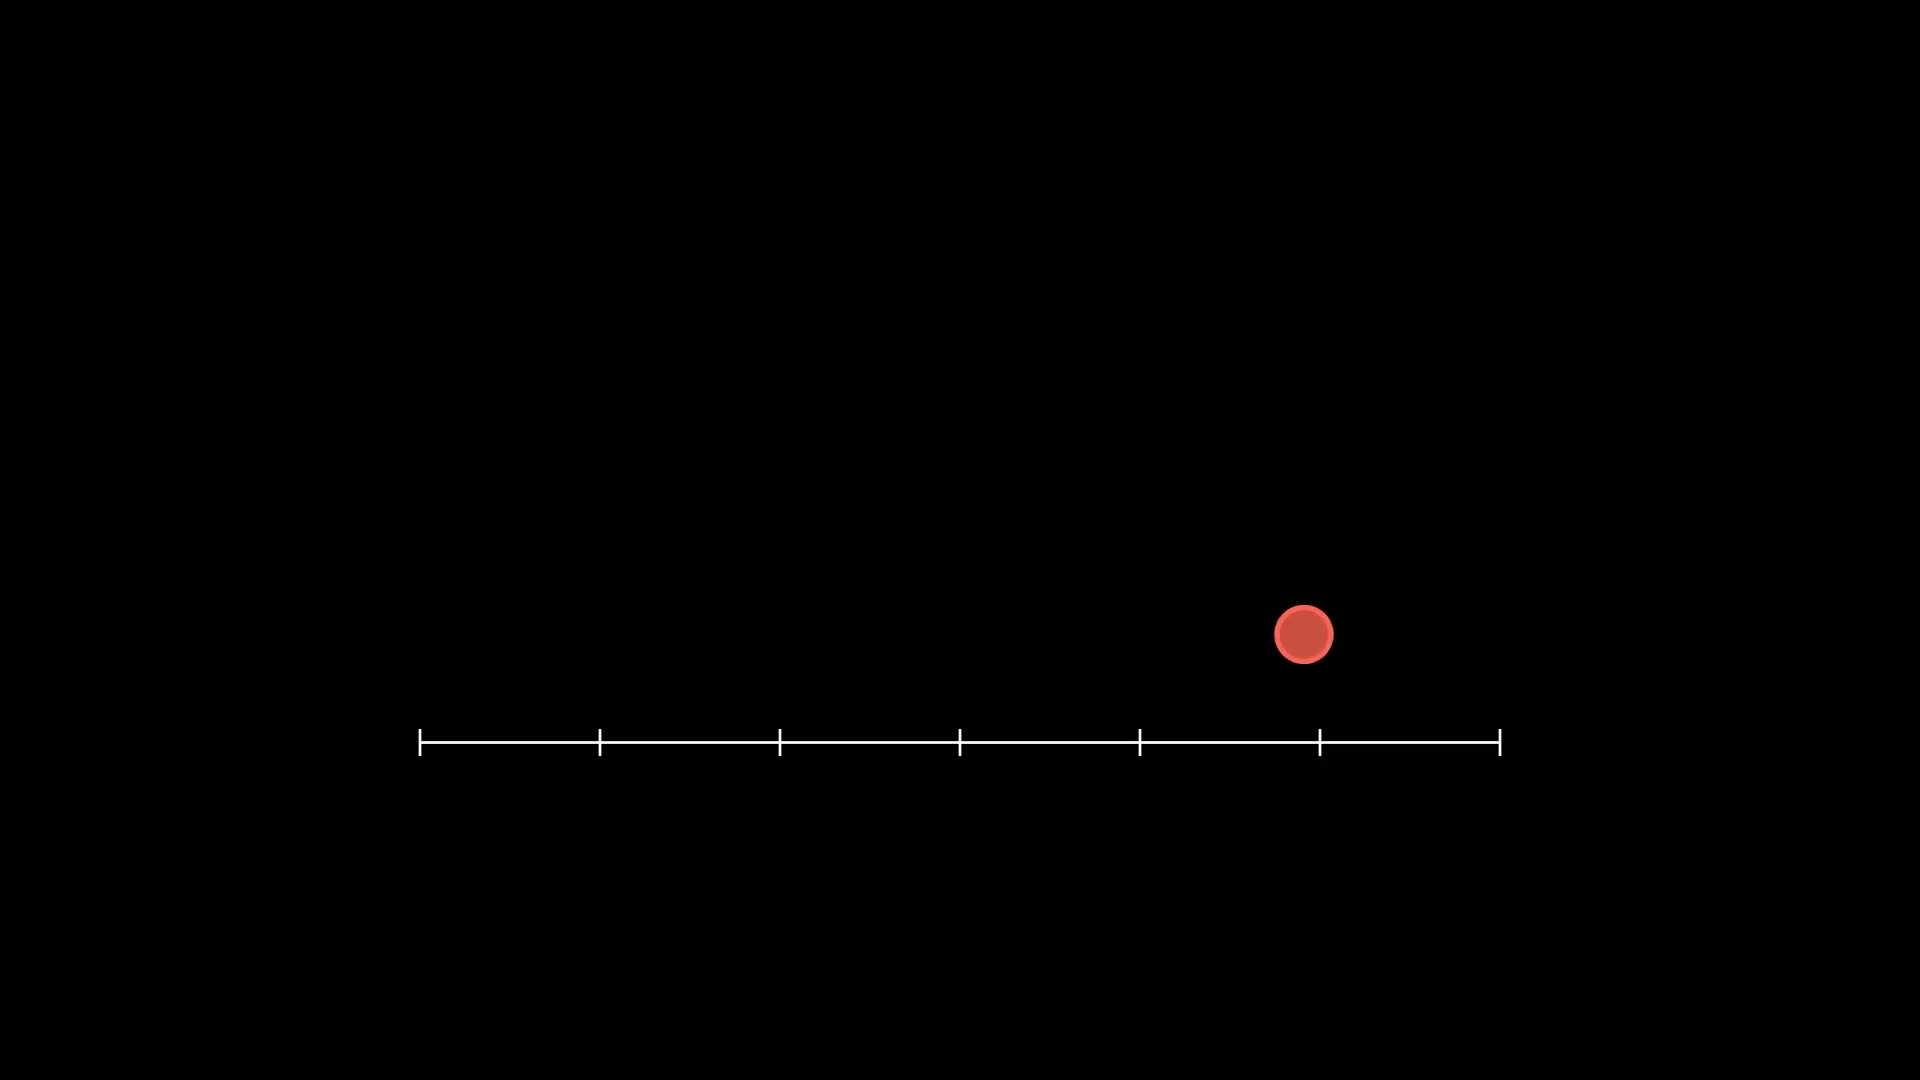
为了方便演示,我们假设我们要移动一个小球。

2.1. 基础三剑客

  • linear (匀速)
    • 效果:机械感强,速度恒定。
    • 适用场景:旋转的齿轮、循环滚动的背景、匀速扫描的雷达。
  • smooth (默认)
    • 效果:两头慢,中间快。
    • 适用场景:绝大多数物体的移动、缩放。
  • rush_into / rush_from
    • 效果:
      • rush_into: 越走越快,最后“砰”地撞线(只有加速)。
      • rush_from: 一开始很快,慢慢停下来(只有减速)。
    • 适用场景:连续动作的衔接。比如小球飞入画面停下(rush_from),或者发射出去(rush_into)。

2.2. 动感特效组

  • there_and_back (往返)
    • 效果:走到终点,又原路返回起点。
    • 适用场景:强调某个东西。比如把公式放大一下再缩回去,告诉观众“看这里!”。
  • wiggle (摆动)
    • 效果:像果冻一样左右晃动一下。
    • 适用场景:表示“错误”、“拒绝”或者引起注意。
  • running_start (助跑)
    • 效果:先向后退一点点,然后猛地向前冲。
    • 适用场景:想要表现物体很有力量感,或者像卡通片里的冲刺效果。

2.3. 物理模拟组

  • ease_out_bounce(落地反弹)
    • 效果:像篮球落地一样,到底部后弹跳几次再停下。
    • 适用场景:文字掉落、物体自由落体。

3. 动手写个 Demo

光说不练假把式。下面的示例代码可以直观感受不同函数的区别:

1
2
3
4
5
6
7
8
9
10
11
12
13
14
15
16
17
18
19
20
21
22
23
24
25
26
27
28
29
30
31
32
33
34
35
36
37
38
39
40
41
from manim import *
import numpy as np
import sympy as sp
def head(cn, en):
t = Text(cn, font="STLiti", font_size=27).to_edge(UP)
s = Text(en, font="Consolas", font_size=20, color=YELLOW).next_to(t, DOWN, buff=0.10)
return VGroup(t, s)
def foot(cn):
return Text(cn, font="STLiti", font_size=20, color=YELLOW).to_edge(DOWN)
def bg_image(h=60, w=100, mode=0):
a = np.zeros((h, w, 4), dtype=np.uint8)
a[:, :, 3] = 255
if mode == 0:
a[:, :, 0] = np.linspace(10, 90, w, dtype=np.uint8)[None, :]
a[:, :, 2] = np.linspace(60, 160, w, dtype=np.uint8)[None, :]
elif mode == 1:
a[:, :, 1] = np.linspace(20, 110, h, dtype=np.uint8)[:, None]
a[:, :, 2] = np.linspace(40, 130, h, dtype=np.uint8)[:, None]
else:
a[:, :, 0] = 120
a[:, :, 1] = 70
a[:, :, 2] = np.linspace(30, 140, w, dtype=np.uint8)[None, :]
return ImageMobject(a)
class RateCompare(Scene):
def construct(self):
self.add(head("速率曲线:同一段位移的四种节奏", "rate_func"))
labels = ["linear", "smooth", "rush_into", "rush_from"]
funcs = [linear, smooth, rush_into, rush_from]
rows = VGroup()
for lab in labels:
rows.add(Text(lab, font="Consolas", font_size=20, color=GREY_A))
rows.arrange(DOWN, buff=0.85, aligned_edge=LEFT).to_edge(LEFT)
self.add(rows)
dots = VGroup(*[Dot(color=c, radius=0.14) for c in (BLUE, GREEN, YELLOW, RED)])
for d, row in zip(dots, rows):
d.next_to(row, RIGHT, buff=0.5)
self.add(dots)
self.play(*[d.animate(rate_func=f).shift(RIGHT * 7)
for d, f in zip(dots, funcs)], run_time=4.4)
self.play(FadeIn(foot("四个点同时出发同时到达,中途快慢完全不同")), run_time=0.4)
self.wait(1.2)

下载 Python 脚本

运行后你会发现,虽然大家的 run_time 都是3秒,移动距离一样,但“性格”截然不同。


4. 进阶:自定义与时间扭曲

作为会 Python 的老手,如果内置函数满足不了你怎么办?

4.1. 自定义函数 (Lambda大法)

rate_func 接受任何一个 Python 函数。

比如,你想做一个简单的“先慢后快”的加速效果,可以直接用 Lambda:

1
2
3
4
5
6
7
8
9
10
11
12
13
14
15
16
17
18
19
20
21
22
23
24
25
26
27
28
29
30
31
32
33
34
35
36
from manim import *
import numpy as np
import sympy as sp
def head(cn, en):
t = Text(cn, font="STLiti", font_size=27).to_edge(UP)
s = Text(en, font="Consolas", font_size=20, color=YELLOW).next_to(t, DOWN, buff=0.10)
return VGroup(t, s)
def foot(cn):
return Text(cn, font="STLiti", font_size=20, color=YELLOW).to_edge(DOWN)
def bg_image(h=60, w=100, mode=0):
a = np.zeros((h, w, 4), dtype=np.uint8)
a[:, :, 3] = 255
if mode == 0:
a[:, :, 0] = np.linspace(10, 90, w, dtype=np.uint8)[None, :]
a[:, :, 2] = np.linspace(60, 160, w, dtype=np.uint8)[None, :]
elif mode == 1:
a[:, :, 1] = np.linspace(20, 110, h, dtype=np.uint8)[:, None]
a[:, :, 2] = np.linspace(40, 130, h, dtype=np.uint8)[:, None]
else:
a[:, :, 0] = 120
a[:, :, 1] = 70
a[:, :, 2] = np.linspace(30, 140, w, dtype=np.uint8)[None, :]
return ImageMobject(a)
class RateCustom(Scene):
def construct(self):
self.add(head("速率曲线:自定义函数", "rate_func = t ** 3"))
axes = Axes(x_range=[0, 1, 0.25], y_range=[0, 1, 0.25], x_length=5, y_length=4,
axis_config={"color": GREY_B}).shift(LEFT * 3)
g1 = axes.plot(lambda t: t, color=BLUE)
g2 = axes.plot(lambda t: t**3, color=YELLOW)
self.add(axes, g1, g2)
d = Dot(color=RED, radius=0.16).shift(RIGHT * 3 + DOWN * 1.5)
self.add(d)
self.play(d.animate(rate_func=lambda t: t**3).shift(UP * 3), run_time=4.2)
self.play(FadeIn(foot("t 的三次幂:起步极慢,末段突然加速")), run_time=0.4)
self.wait(1.4)

下载 Python 脚本

4.2. 时间挤压 (Squish Rate Func)

这是 Manim 中最强大的黑科技之一:squish_rate_func。

假设你写了一个 run_time=6 的动画,但你希望某个特定的变换(比如变色),

在第 1.2 秒到第 3 秒之间(即整个进度的 0.2 到 0.5)由白色变成红色;

在第 3 秒到第 4.8 秒之间(即整个进度的 0.5 到 0.8)由红色变成绿色。

你不需要把动画拆成多段写,只需要:

1
2
3
4
5
6
7
8
9
10
11
12
13
14
15
16
17
18
19
20
21
22
23
24
25
26
27
28
29
30
31
32
33
from manim import *
import numpy as np
import sympy as sp
def head(cn, en):
t = Text(cn, font="STLiti", font_size=27).to_edge(UP)
s = Text(en, font="Consolas", font_size=20, color=YELLOW).next_to(t, DOWN, buff=0.10)
return VGroup(t, s)
def foot(cn):
return Text(cn, font="STLiti", font_size=20, color=YELLOW).to_edge(DOWN)
def bg_image(h=60, w=100, mode=0):
a = np.zeros((h, w, 4), dtype=np.uint8)
a[:, :, 3] = 255
if mode == 0:
a[:, :, 0] = np.linspace(10, 90, w, dtype=np.uint8)[None, :]
a[:, :, 2] = np.linspace(60, 160, w, dtype=np.uint8)[None, :]
elif mode == 1:
a[:, :, 1] = np.linspace(20, 110, h, dtype=np.uint8)[:, None]
a[:, :, 2] = np.linspace(40, 130, h, dtype=np.uint8)[:, None]
else:
a[:, :, 0] = 120
a[:, :, 1] = 70
a[:, :, 2] = np.linspace(30, 140, w, dtype=np.uint8)[None, :]
return ImageMobject(a)
class RateCurve(Scene):
def construct(self):
self.add(head("速率曲线:there_and_back 与 wiggle", "there_and_back / wiggle"))
a = Square(side_length=1.3, color=BLUE).set_fill(BLUE, opacity=0.4).shift(LEFT * 2.5)
b = Circle(radius=0.7, color=RED).set_fill(RED, opacity=0.4).shift(RIGHT * 2.5)
self.add(a, b)
self.play(a.animate(rate_func=there_and_back).shift(UP * 2), run_time=4.2)
self.play(b.animate(rate_func=lambda t: wiggle(t, 6)).shift(UP * 1.2), run_time=1.0)
self.play(FadeIn(foot("往复型速率函数适合强调,摆动型适合提示")), run_time=0.4)
self.wait(1.0)

下载 Python 脚本

这个技巧在制作复杂的多重同步动画时非常有效!

5. 总结

Manim 不仅仅是动画工具,它更像是一个导演工具。

  • linear 是为了表现机械、循环。
  • smooth 是为了表现自然、物理。
  • there_and_back / wiggle 是为了引导观众的注意力。
  • squish_rate_func 是为了精准控制时间轴。

下次当你的动画看起来略显生硬时,不妨停下来想一想:“这个动作的节奏对吗?是不是该换个 rate function 了?”